Tips are presented on the loading screen before the hunt starts
Tips screens[ | ]


Bounty Hunt tips[ | ]
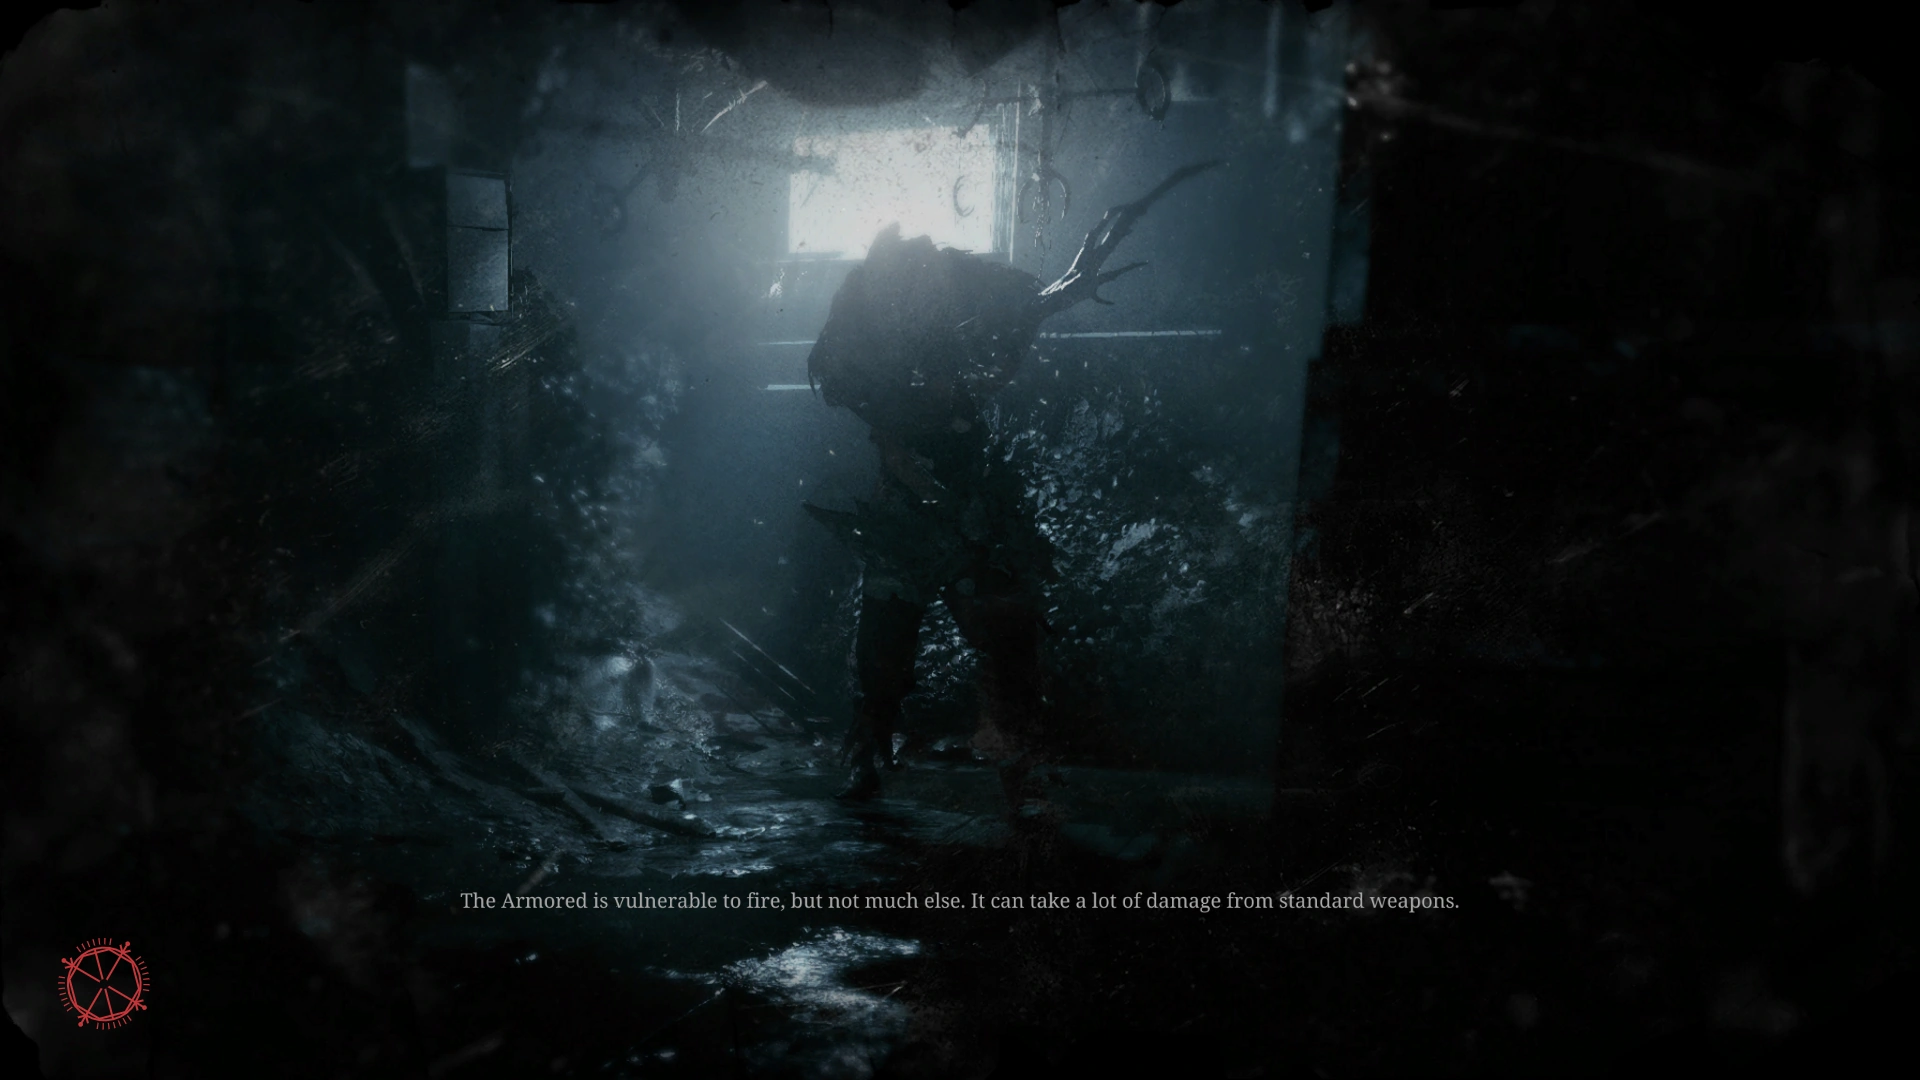
- The Armored is vulnerable to fire, but not much else. It can take a lot of damage from standard weapons.
- Take out Hives from far away. Their swarms will otherwise poison you, dealing hefty damage and disorienting you.
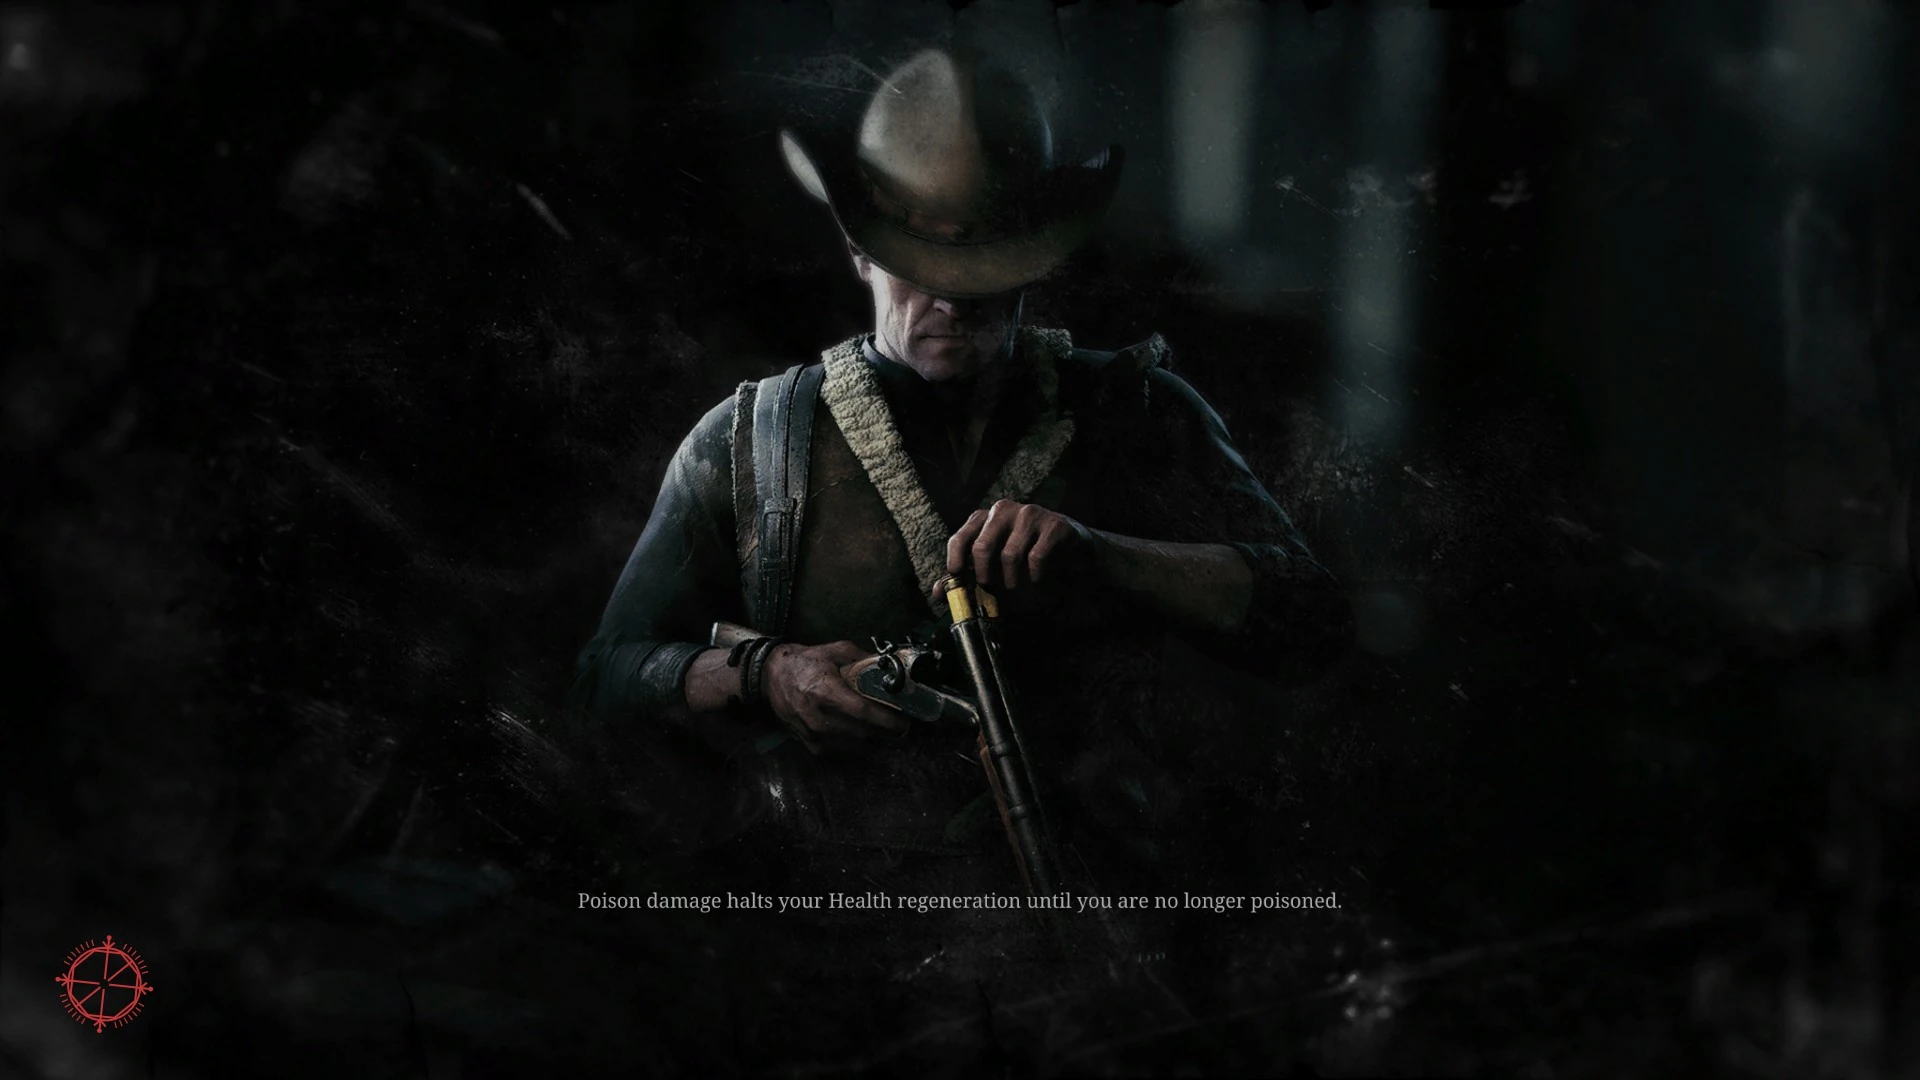
- Poison damage halts your Health regeneration until you are no longer poisoned.
- The Antidote Shot makes you immune to poison for a very long time; take one at the beginning of the match and no longer worry about poison from hives and such.
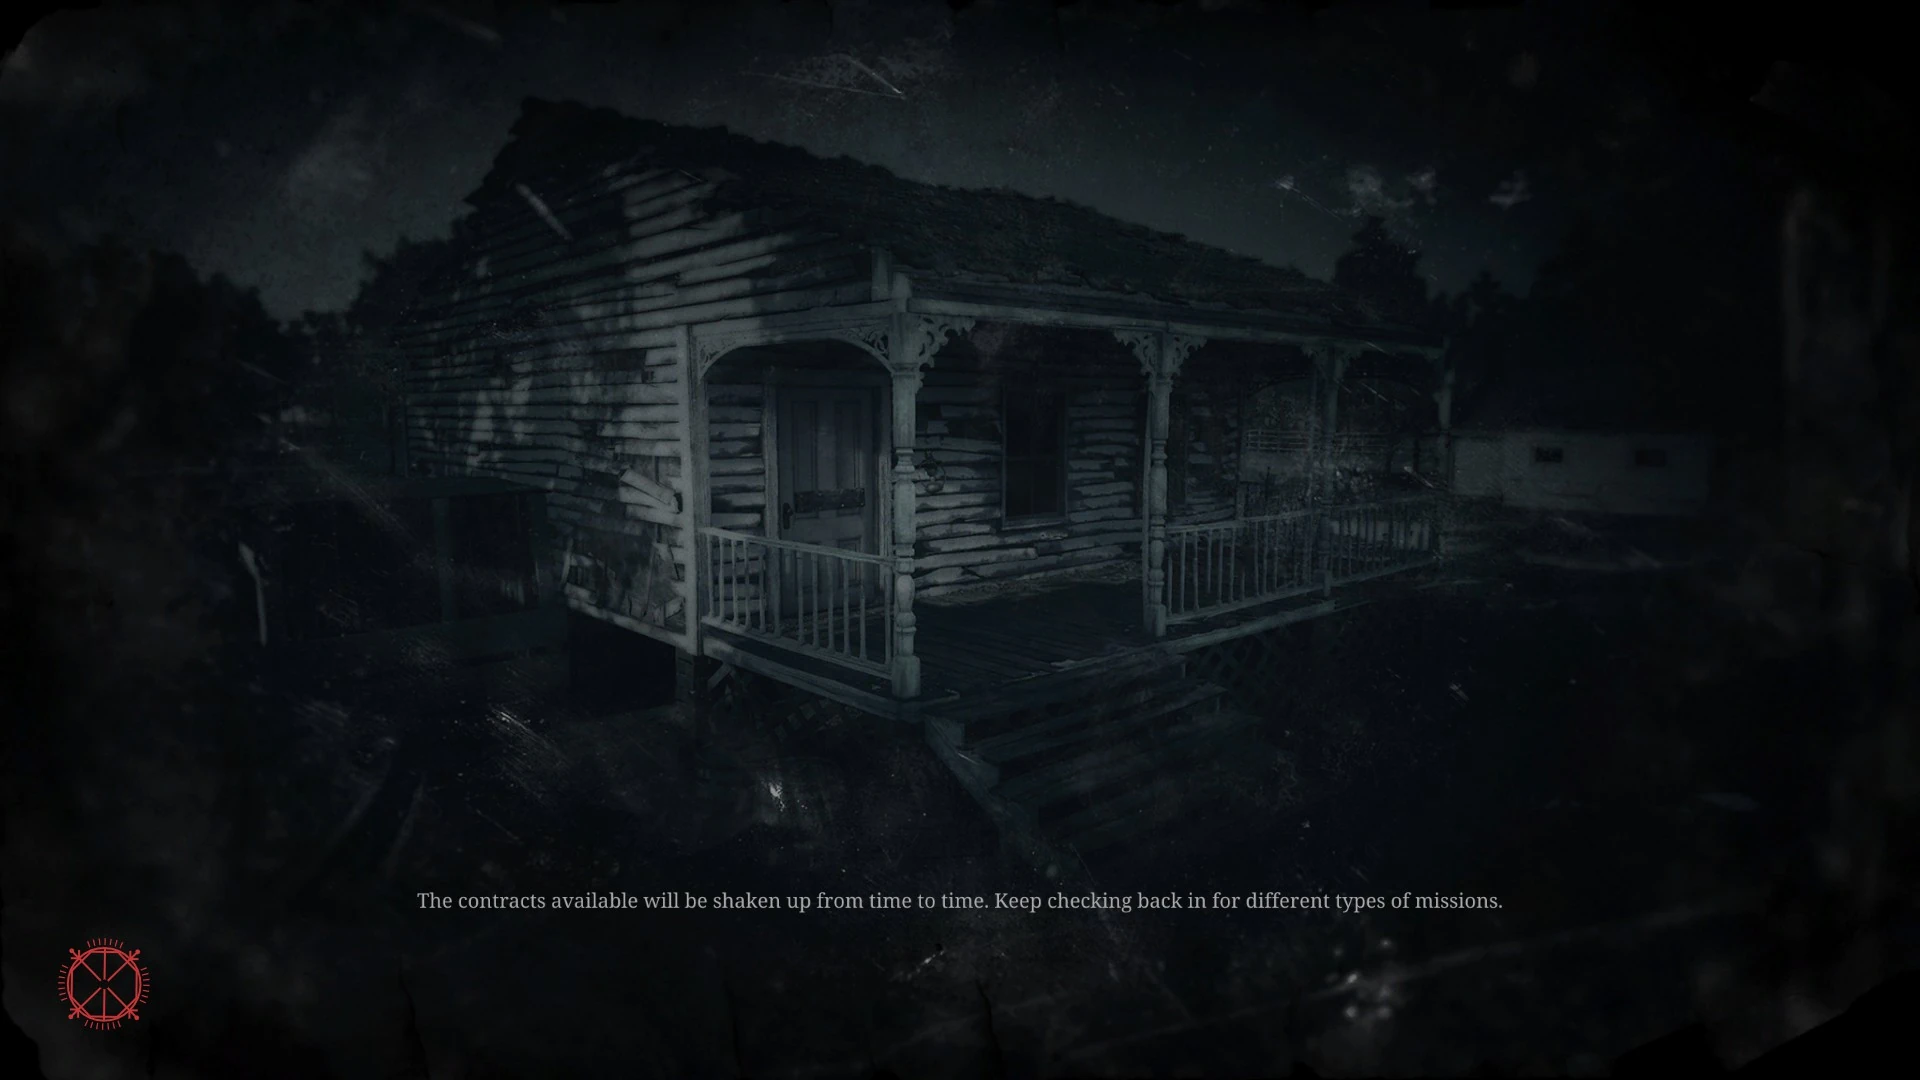
- The contracts available will be shaken up from time to time. Keep checking back in for different types of missions.
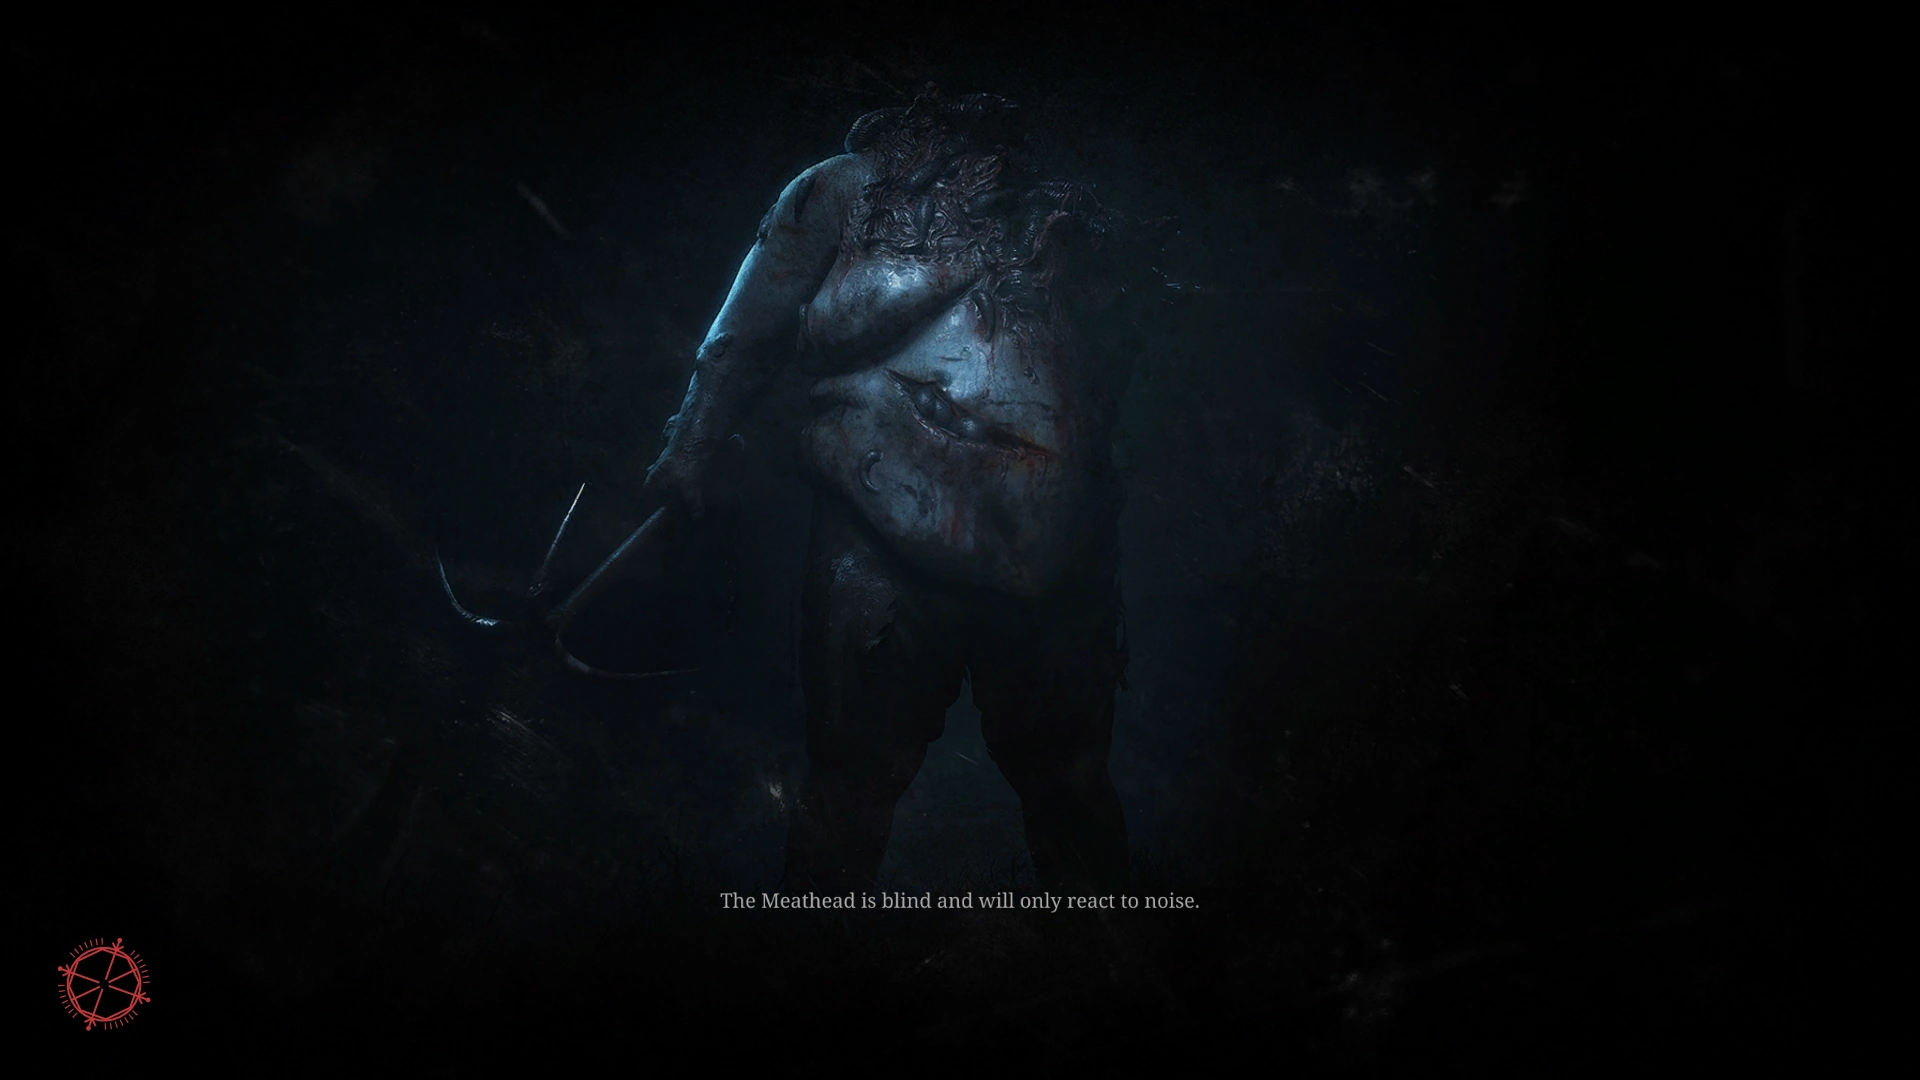
- The Meathead is blind and will only react to noise.
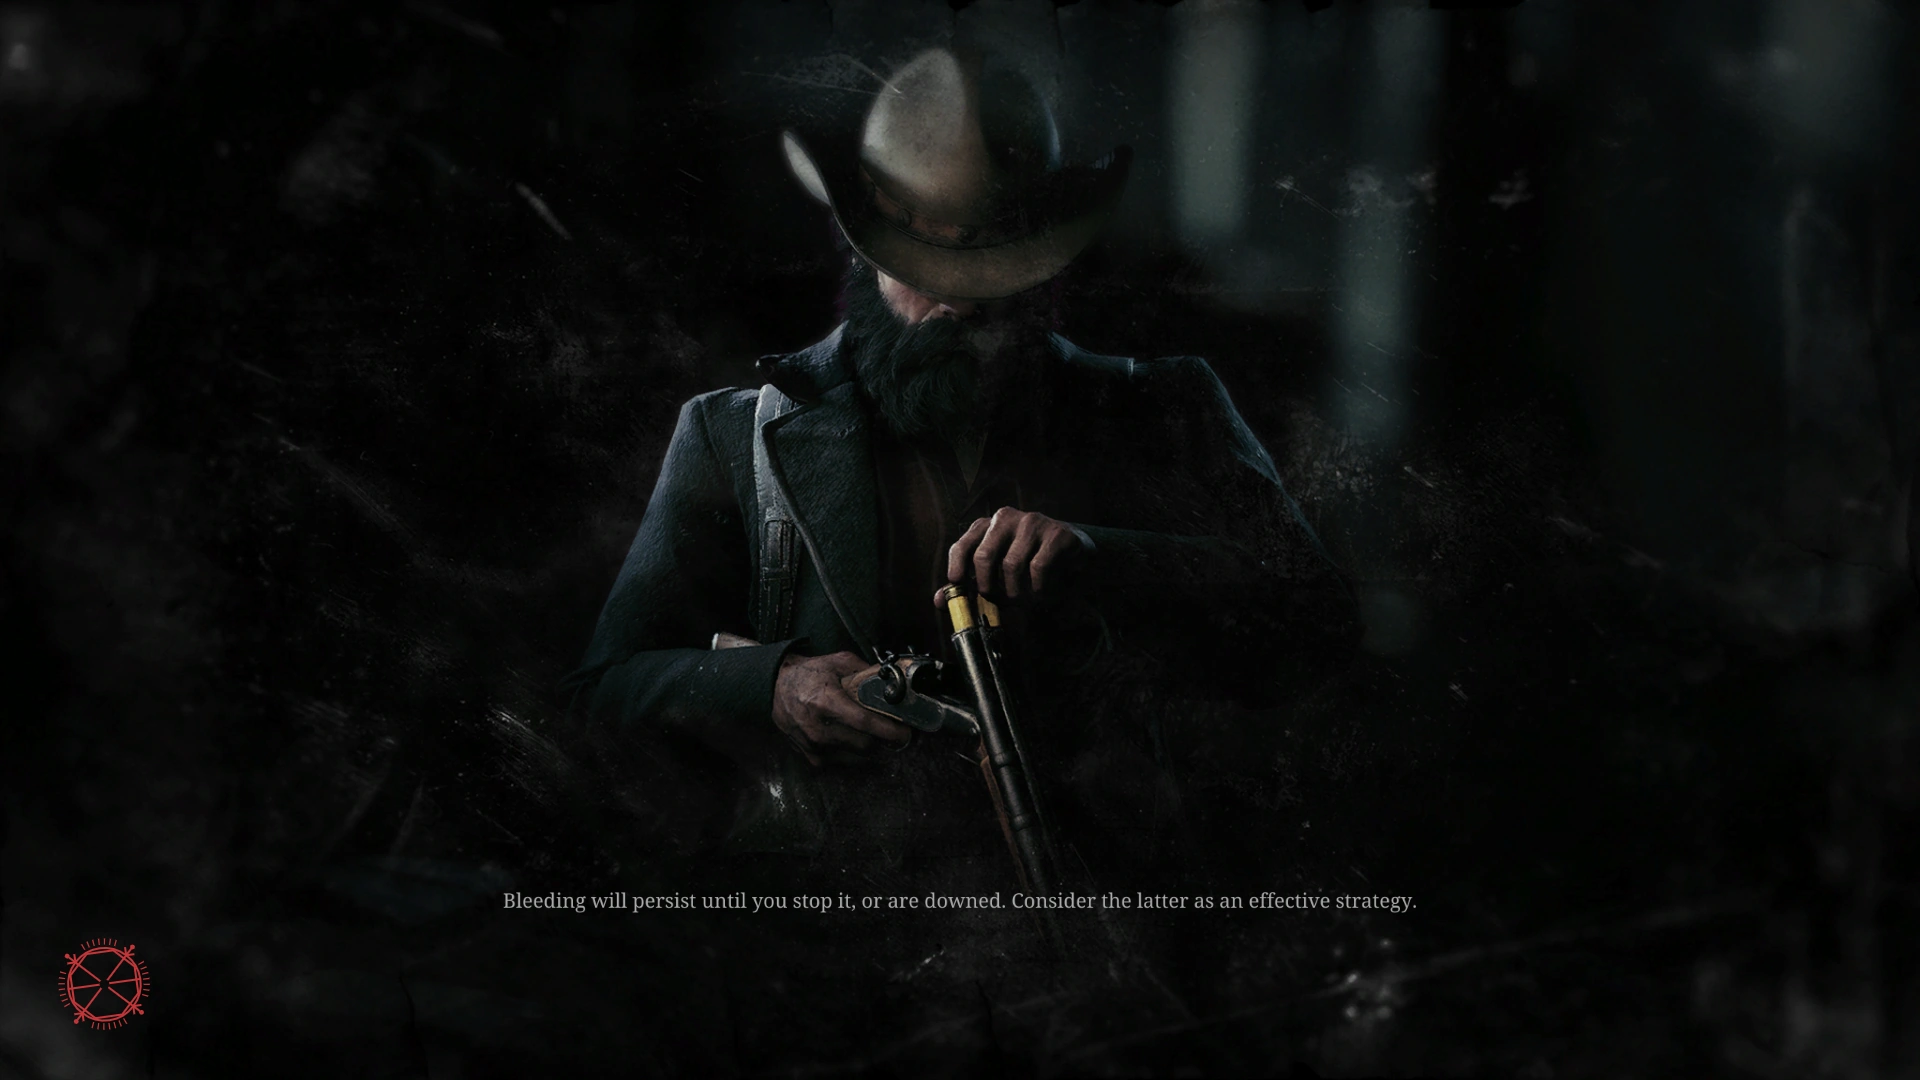
- Bleeding will persist until you stop it, or are downed. Consider the latter as an effective strategy.
- After you banished your target, make sure to retrieve your reward token from the corpse
- Each mission type provides information upfront about the target(s) and bounty reward
- The matchmaking system will try to make sure equally experienced players are playing together
- The Butcher is immune to fire damage, but weak against rending damage. Keep this in mind while taking him on.
- Some weapons, like Dolch 96 will reload faster by using striper clips, if the magazine is fully emptied.
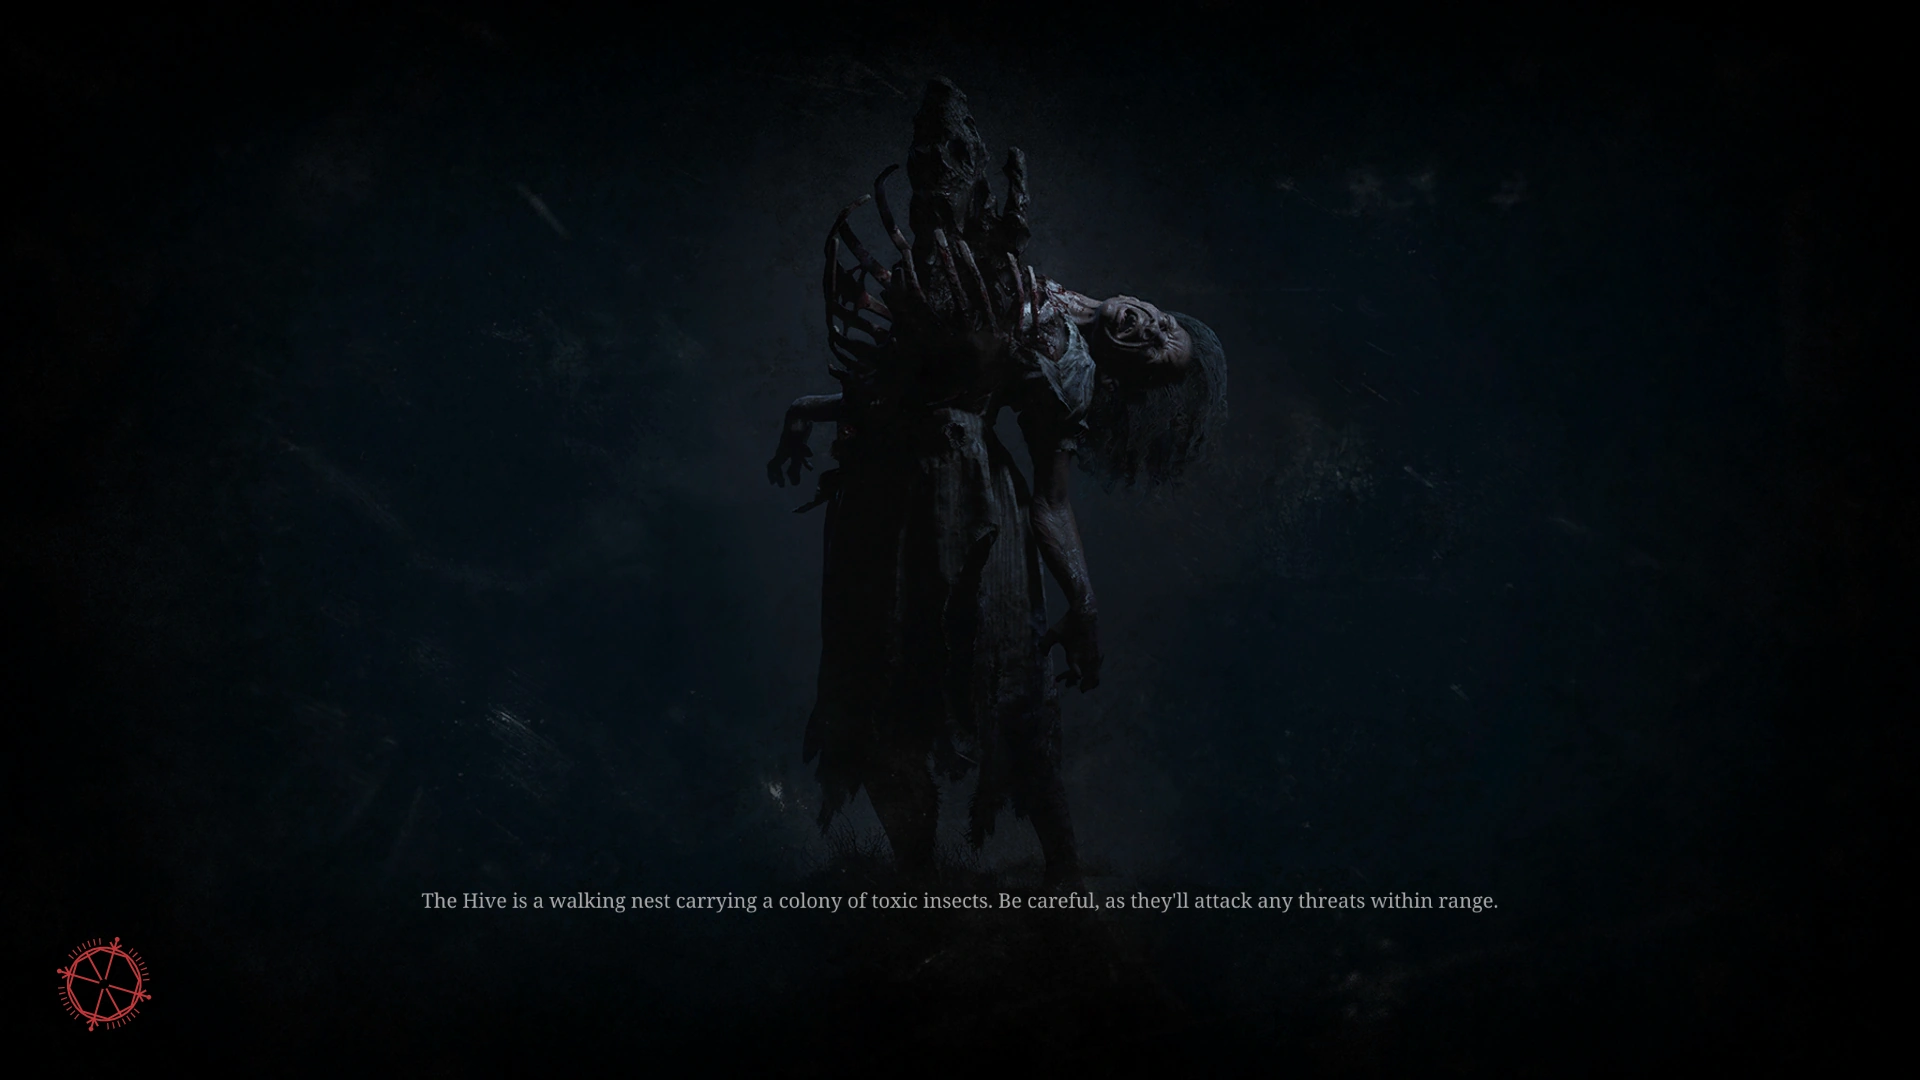
- The Hive is a walking nest carrying a colony of toxic insects. Be careful, as they'll attack any threats within range.
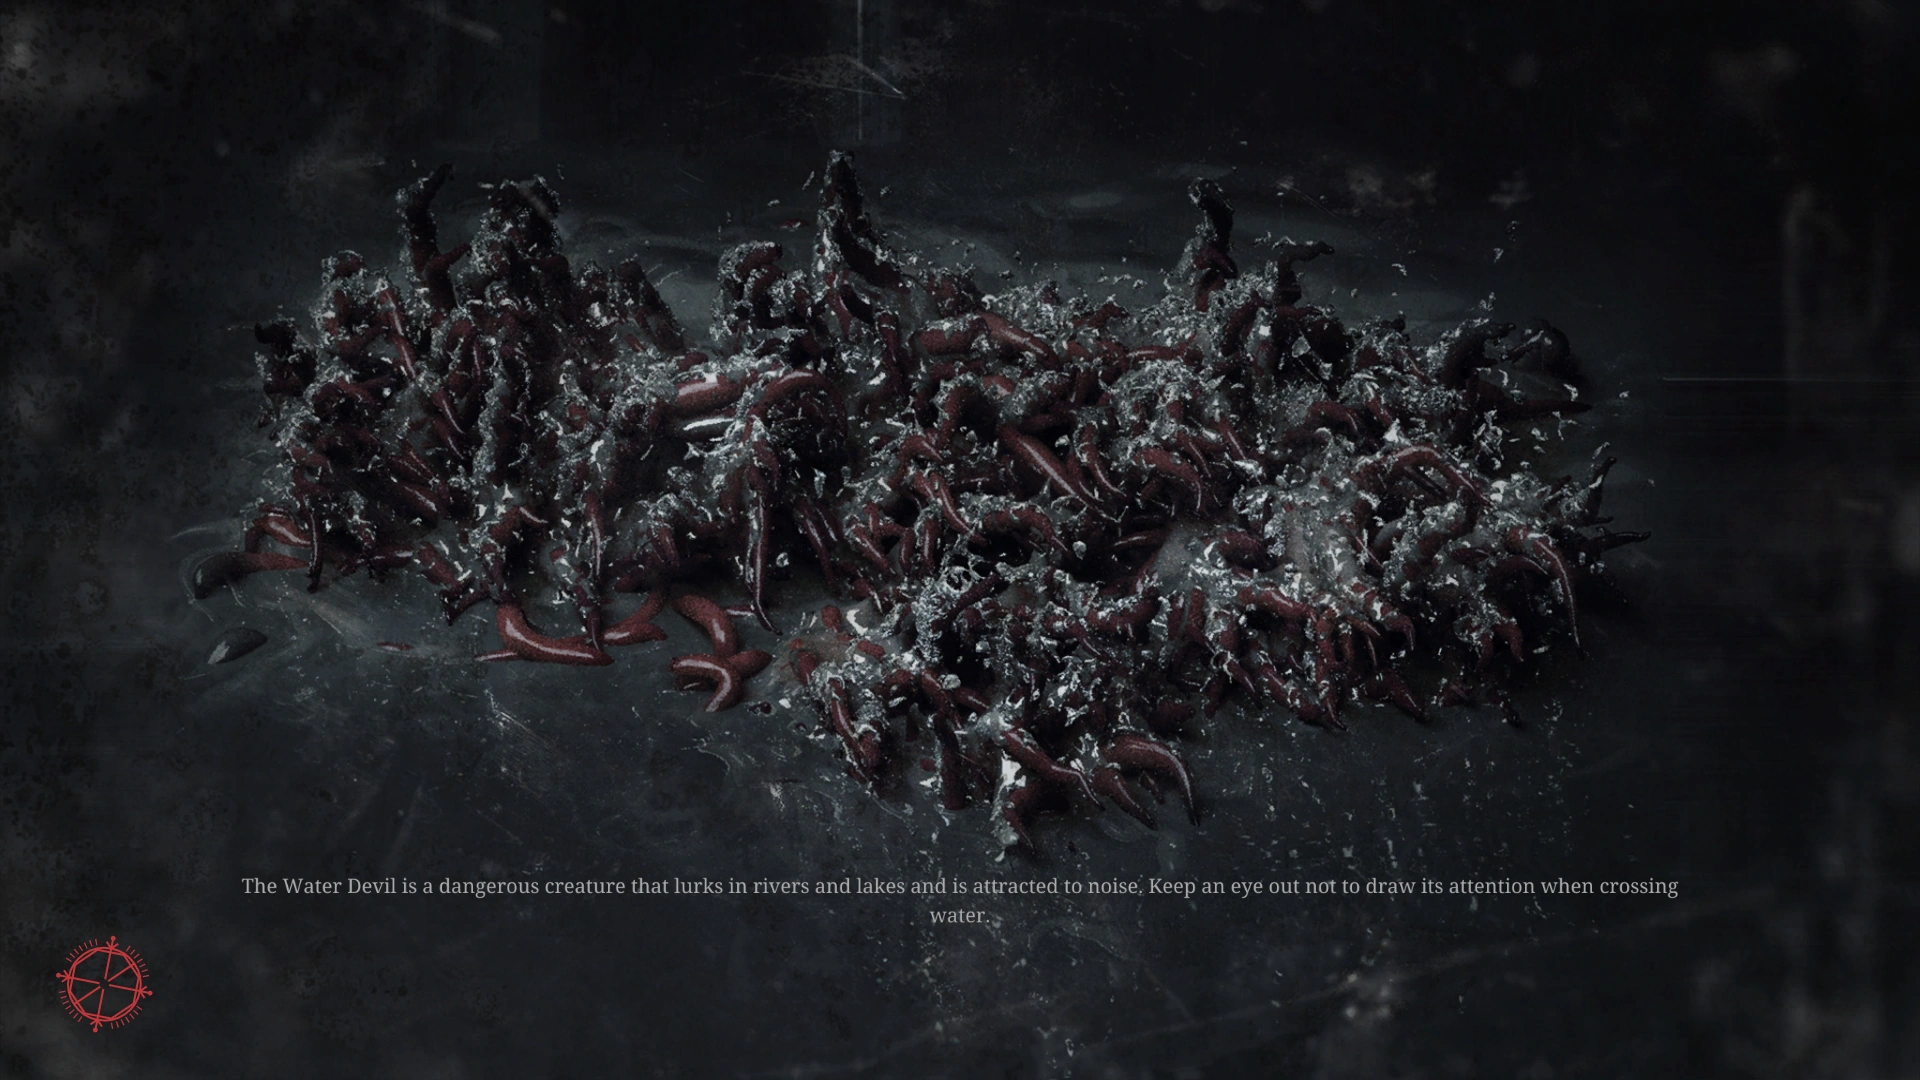
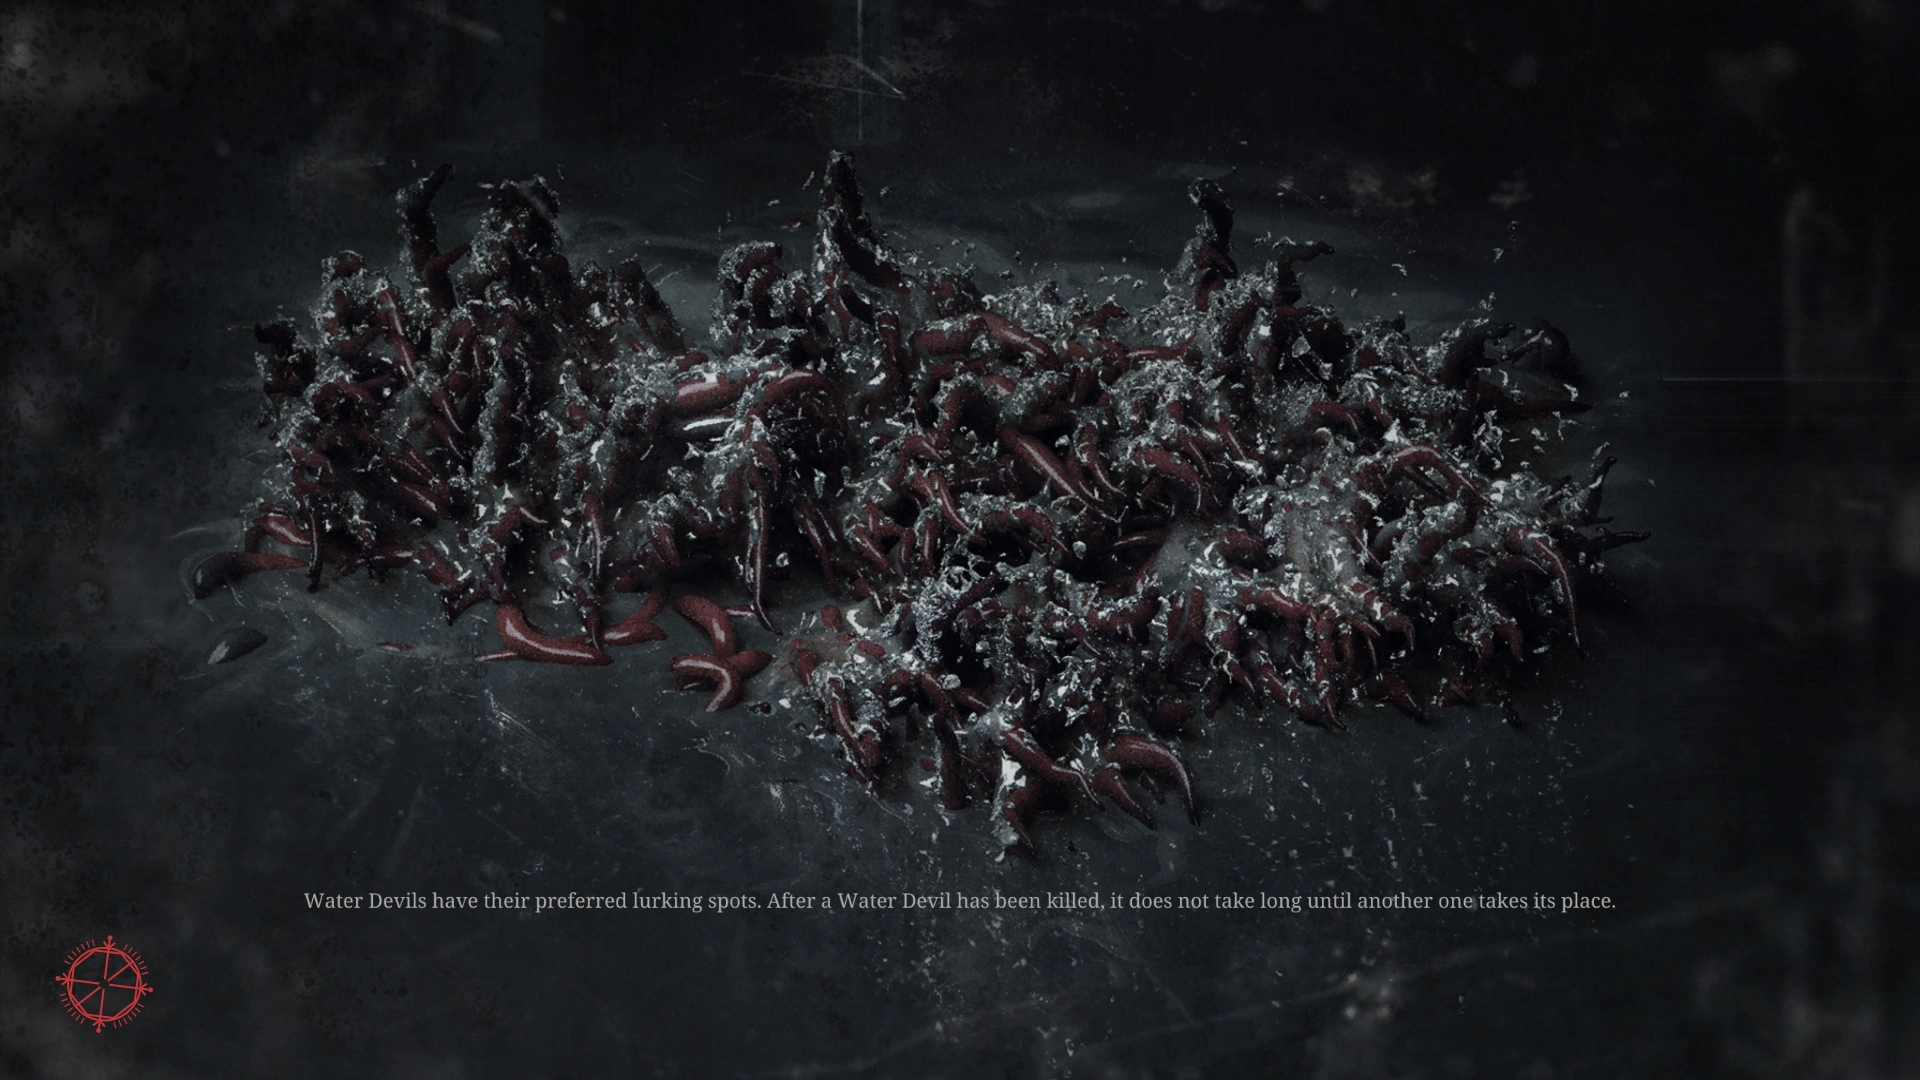
- The Water Devil is a dangerous creature that lurks in rivers and lakes and is attracted to noise. Keep an eye out not to draw its attention when crossing water.
- Water Devils have their preferred lurking spots. After a Water Devil has been killed, it does not take long until another one takes its place.
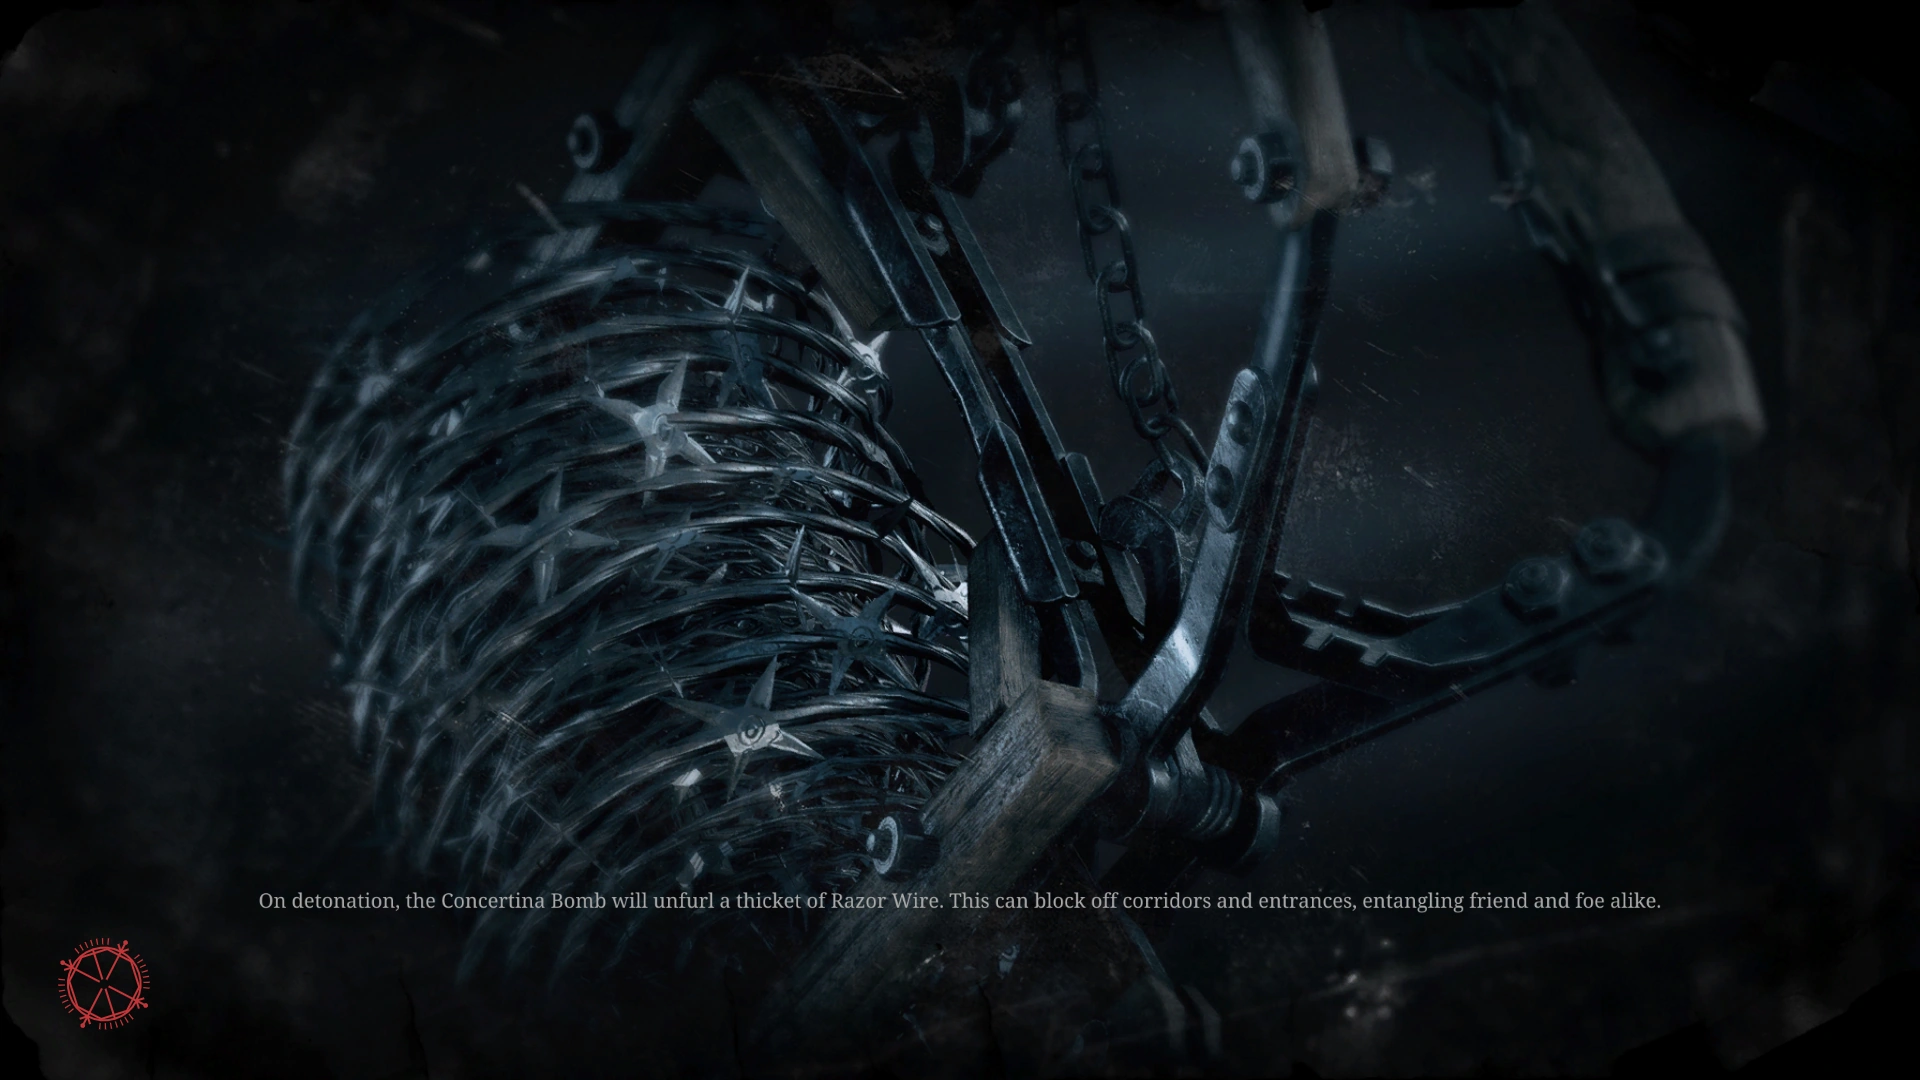
- On detonation, the Concertina Bomb will unfurl a thicket of Razor Wire. This can block off corridors and entrances, entangling friend and foe alike.
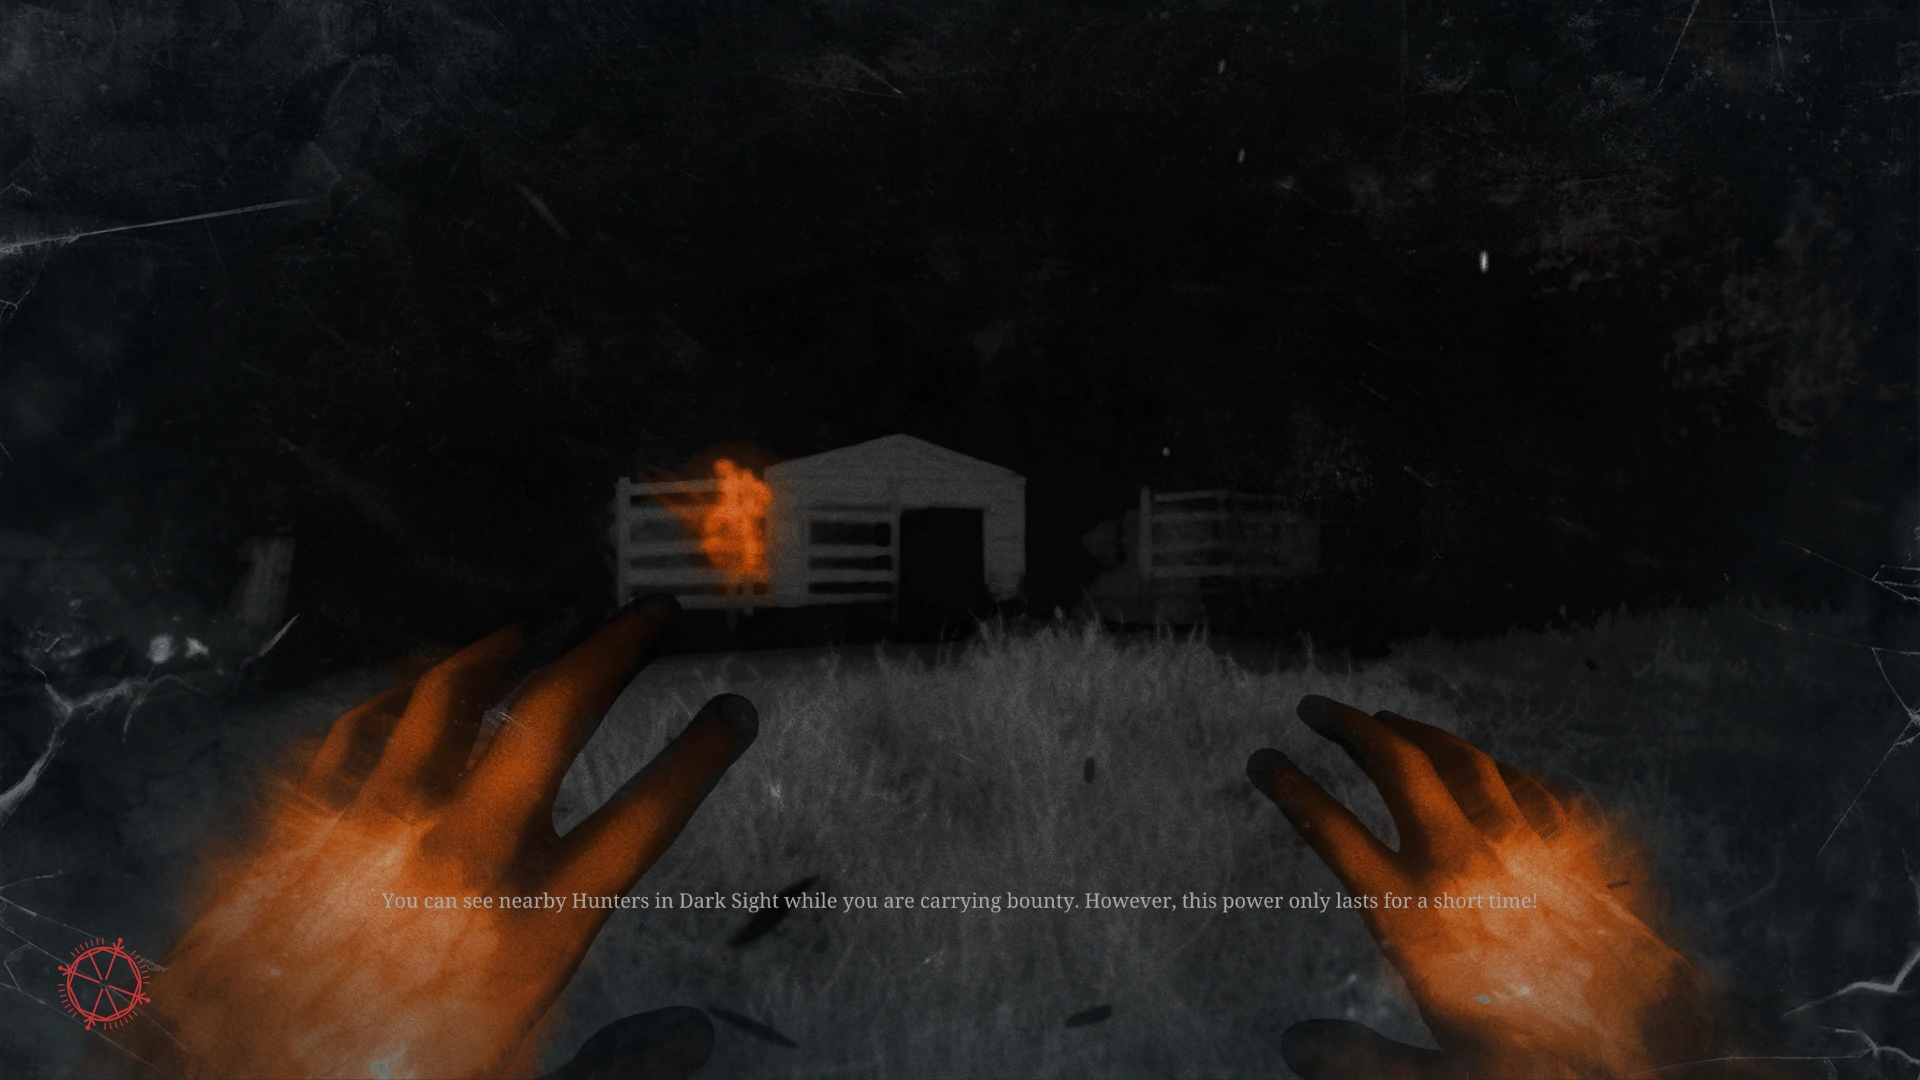
- You can see nearby Hunters in Dark Sight while you are carrying bounty. However, this power only lasts for a short time!
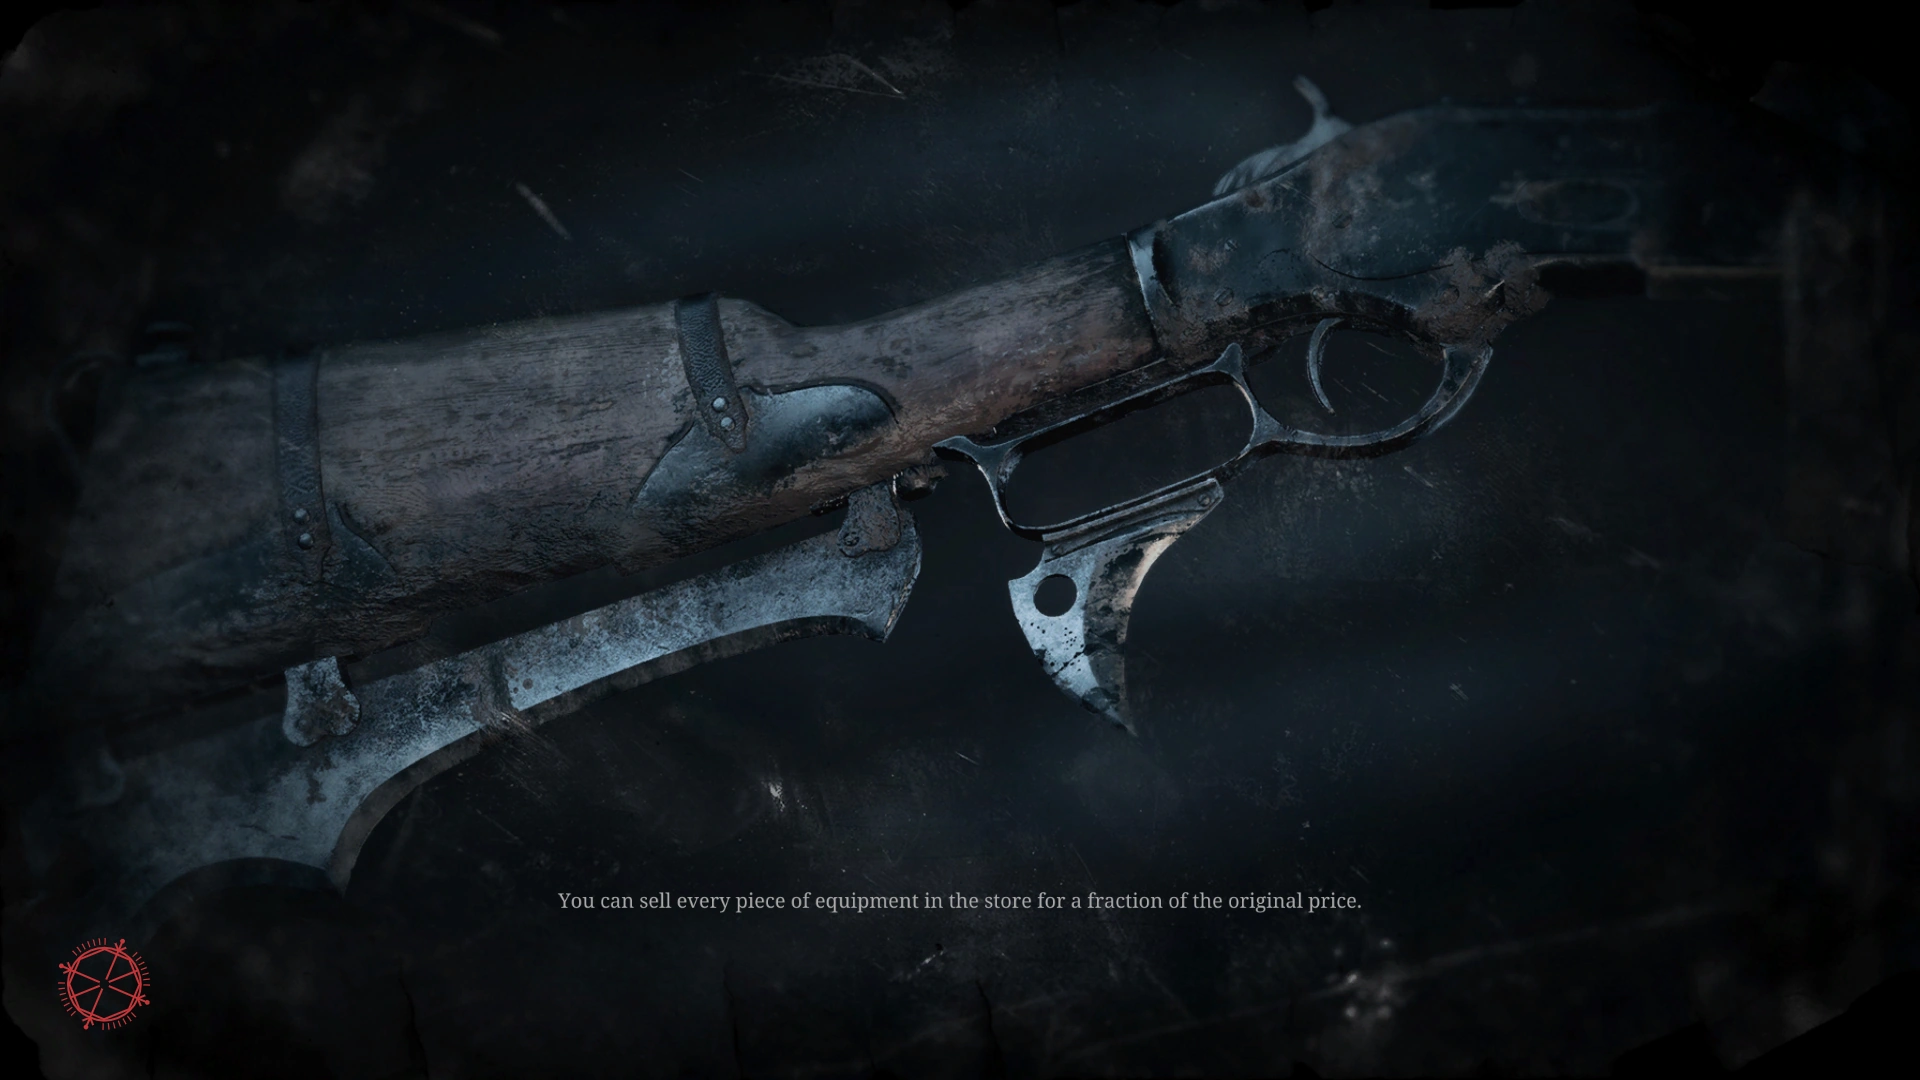
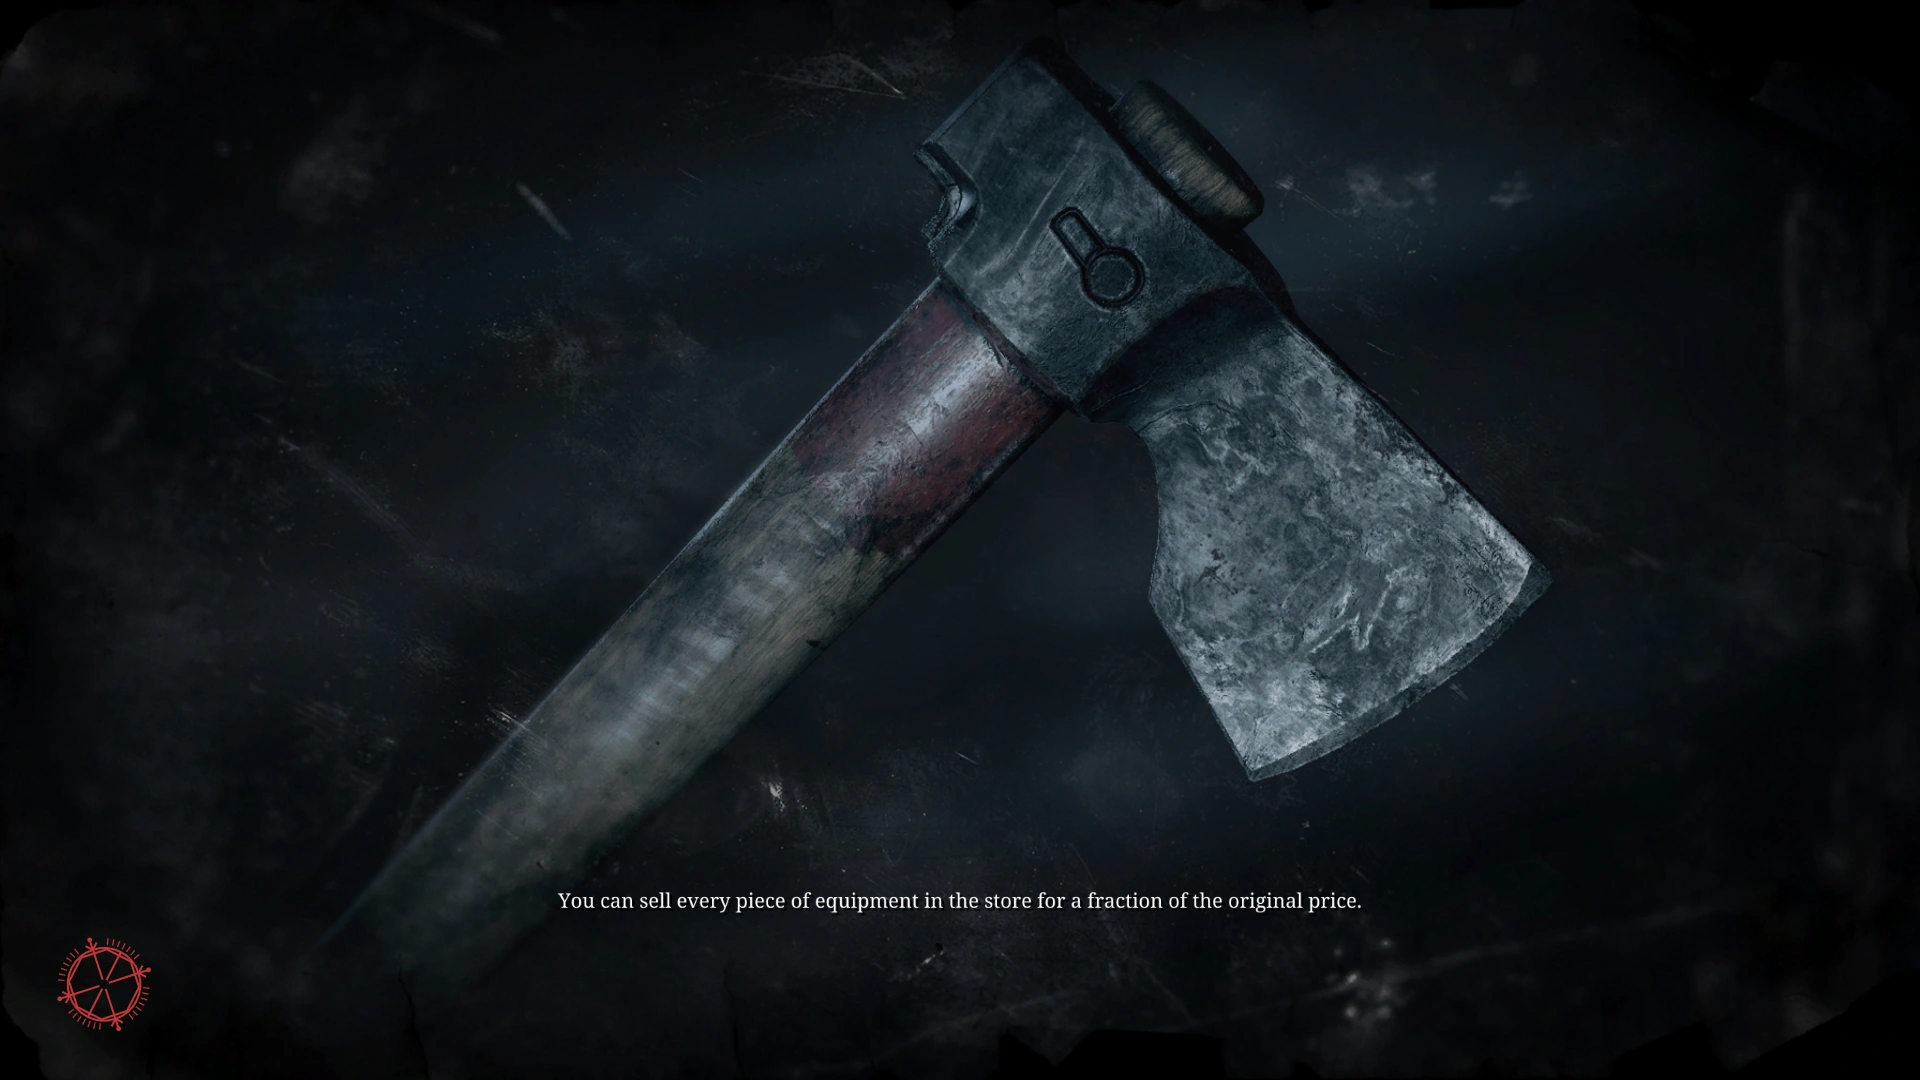
- You can sell every piece of equipment in the store for a fraction of the original price.
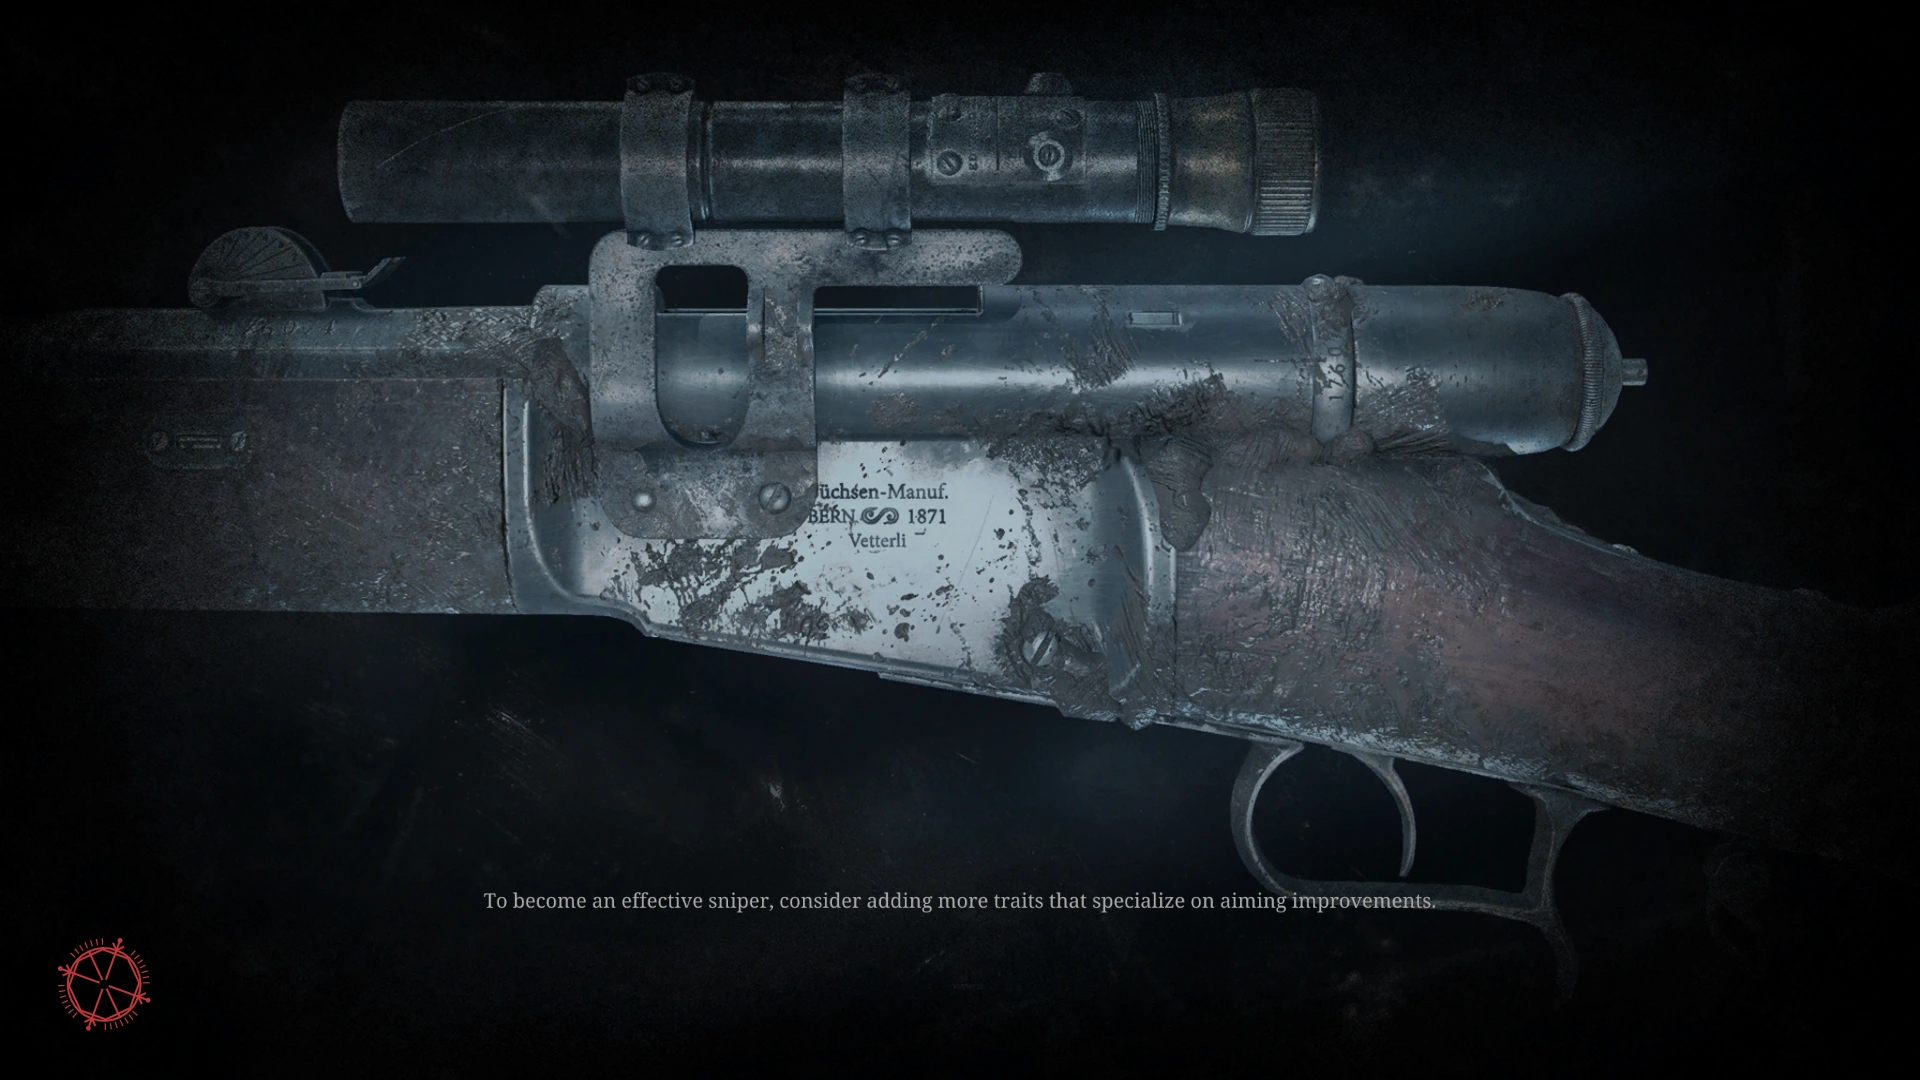
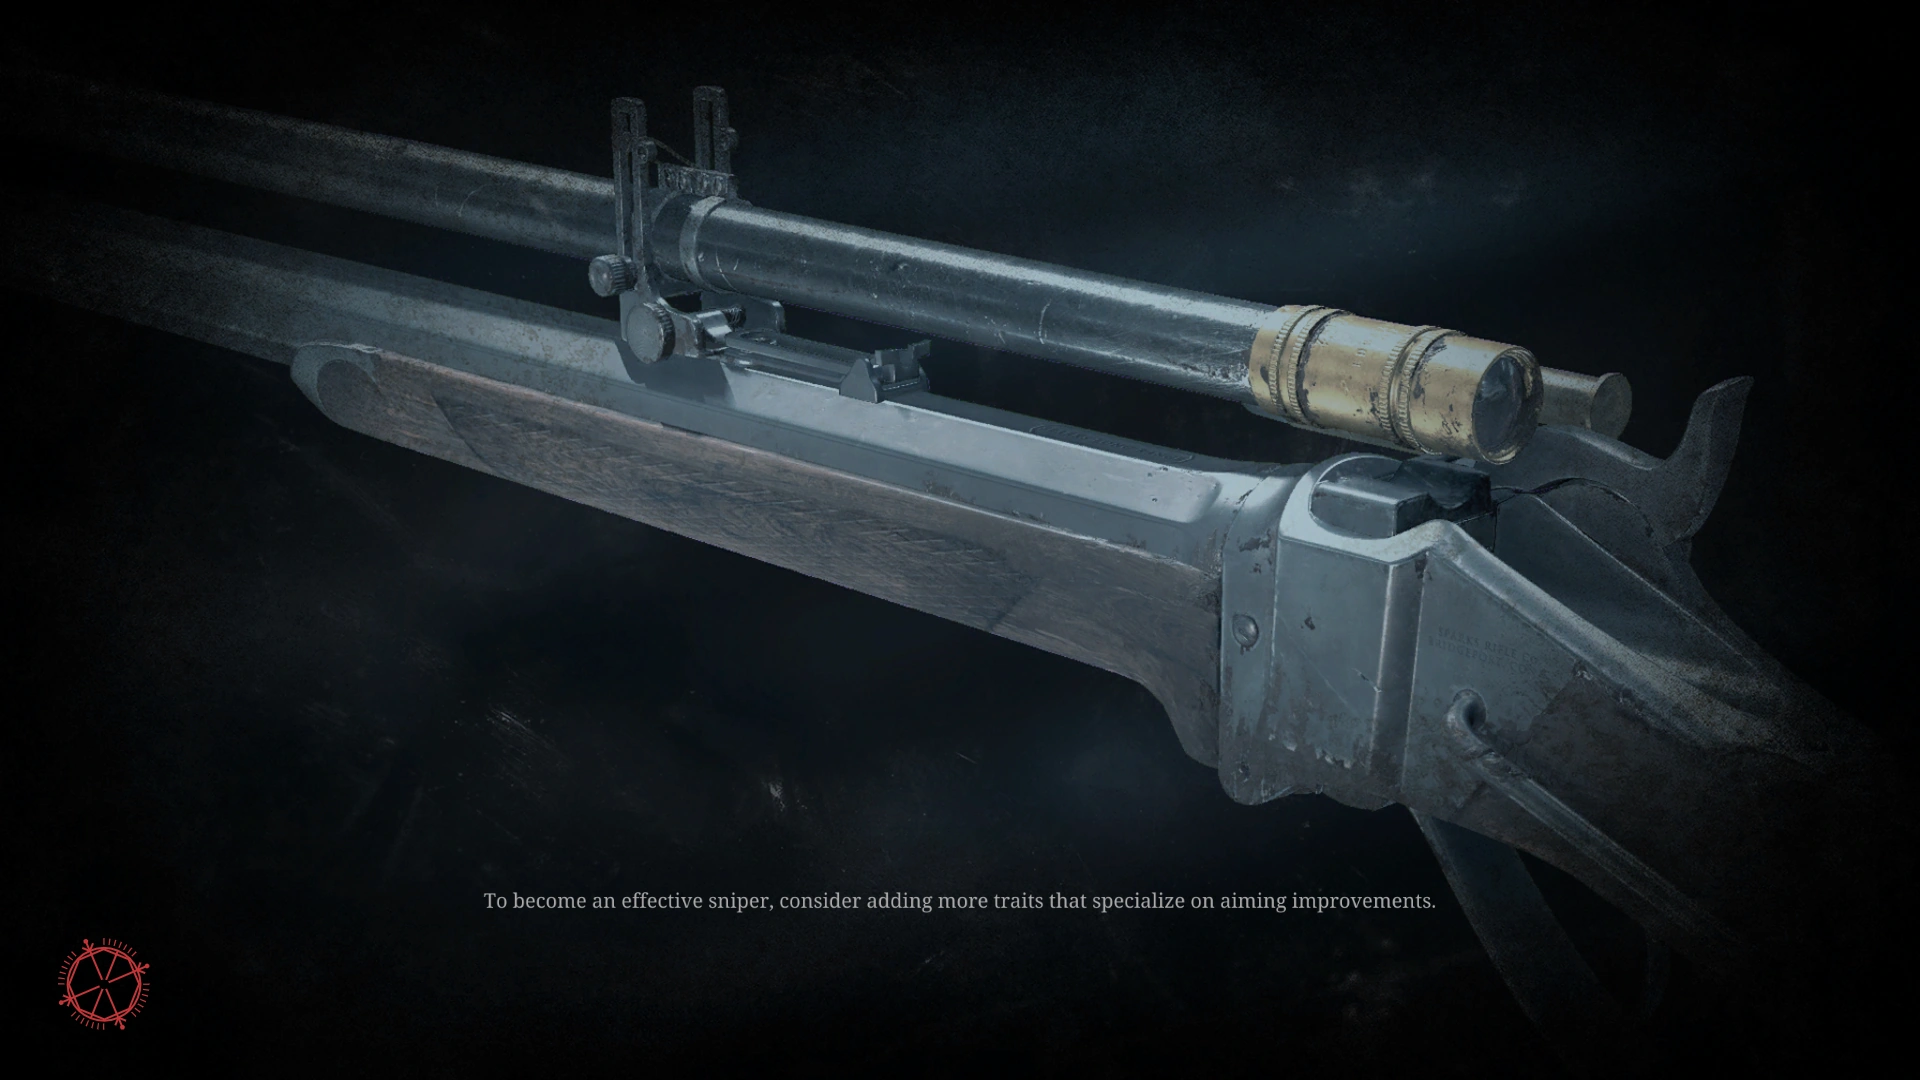
- To become an effective sniper, consider adding more traits that specialize on aiming improvements.
- A banishing ritual is broadcasted to all players. You can see the exact location on the map and in Dark Sight.
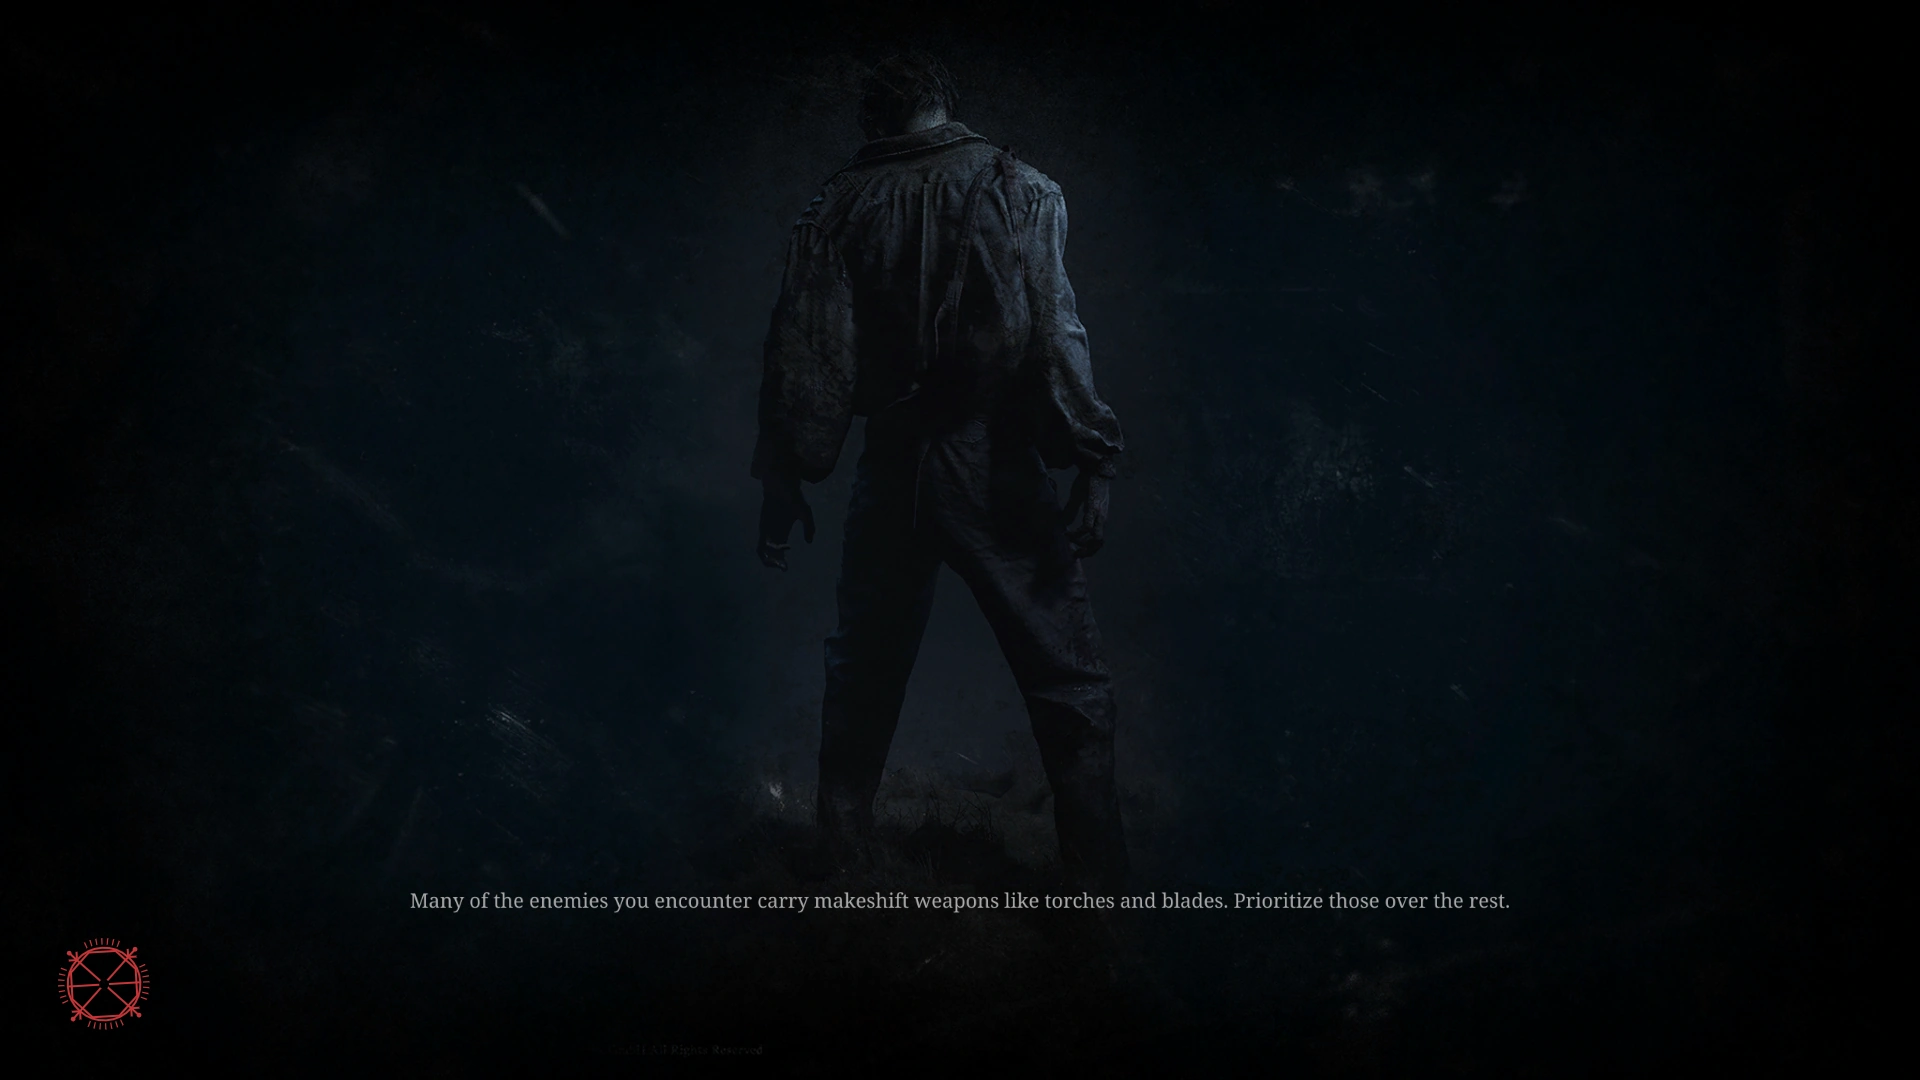
- Many of the enemies you encounter carry makeshift weapons like torches and blades. Prioritize those over the rest.
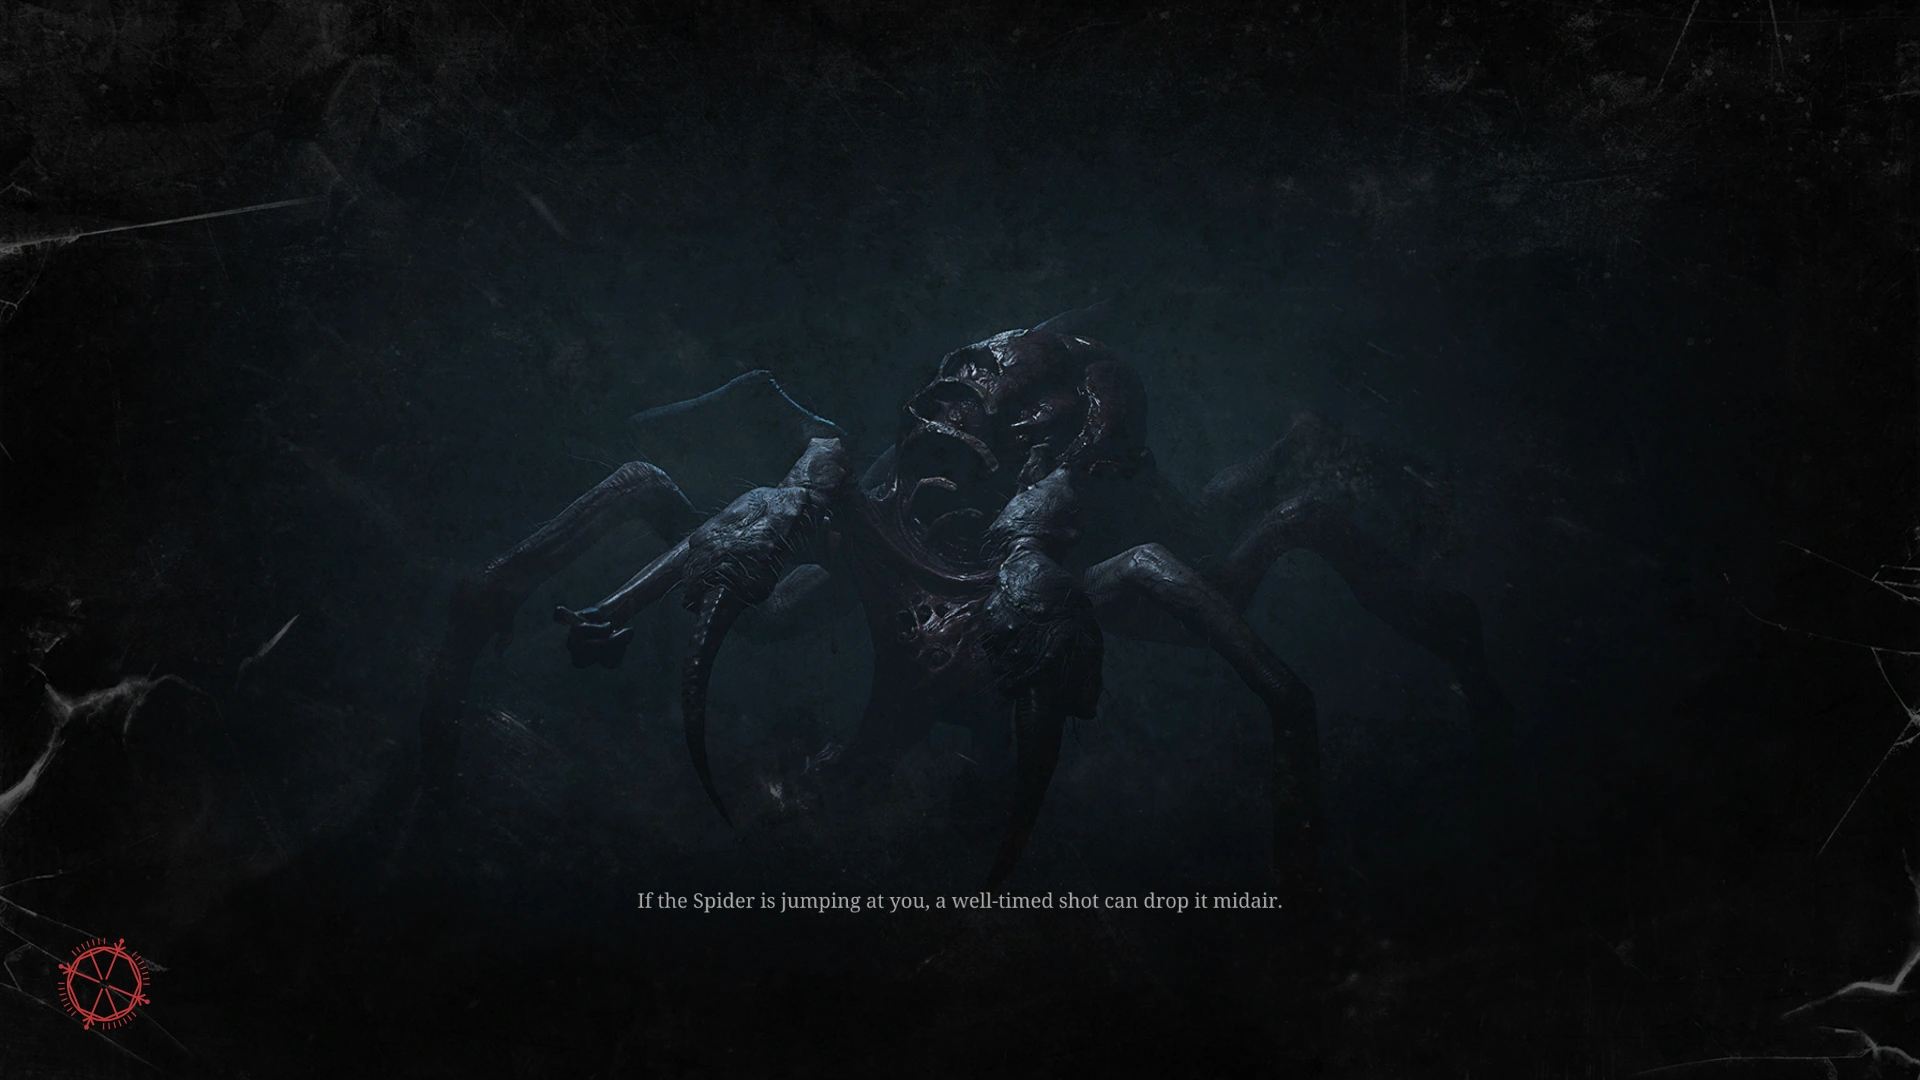
- If the Spider is jumping at you, a well-timed shot can drop it midair.
- Heal your partner using a Vitality Shot or a First Aid Kit. Remember, what goes around comes around.
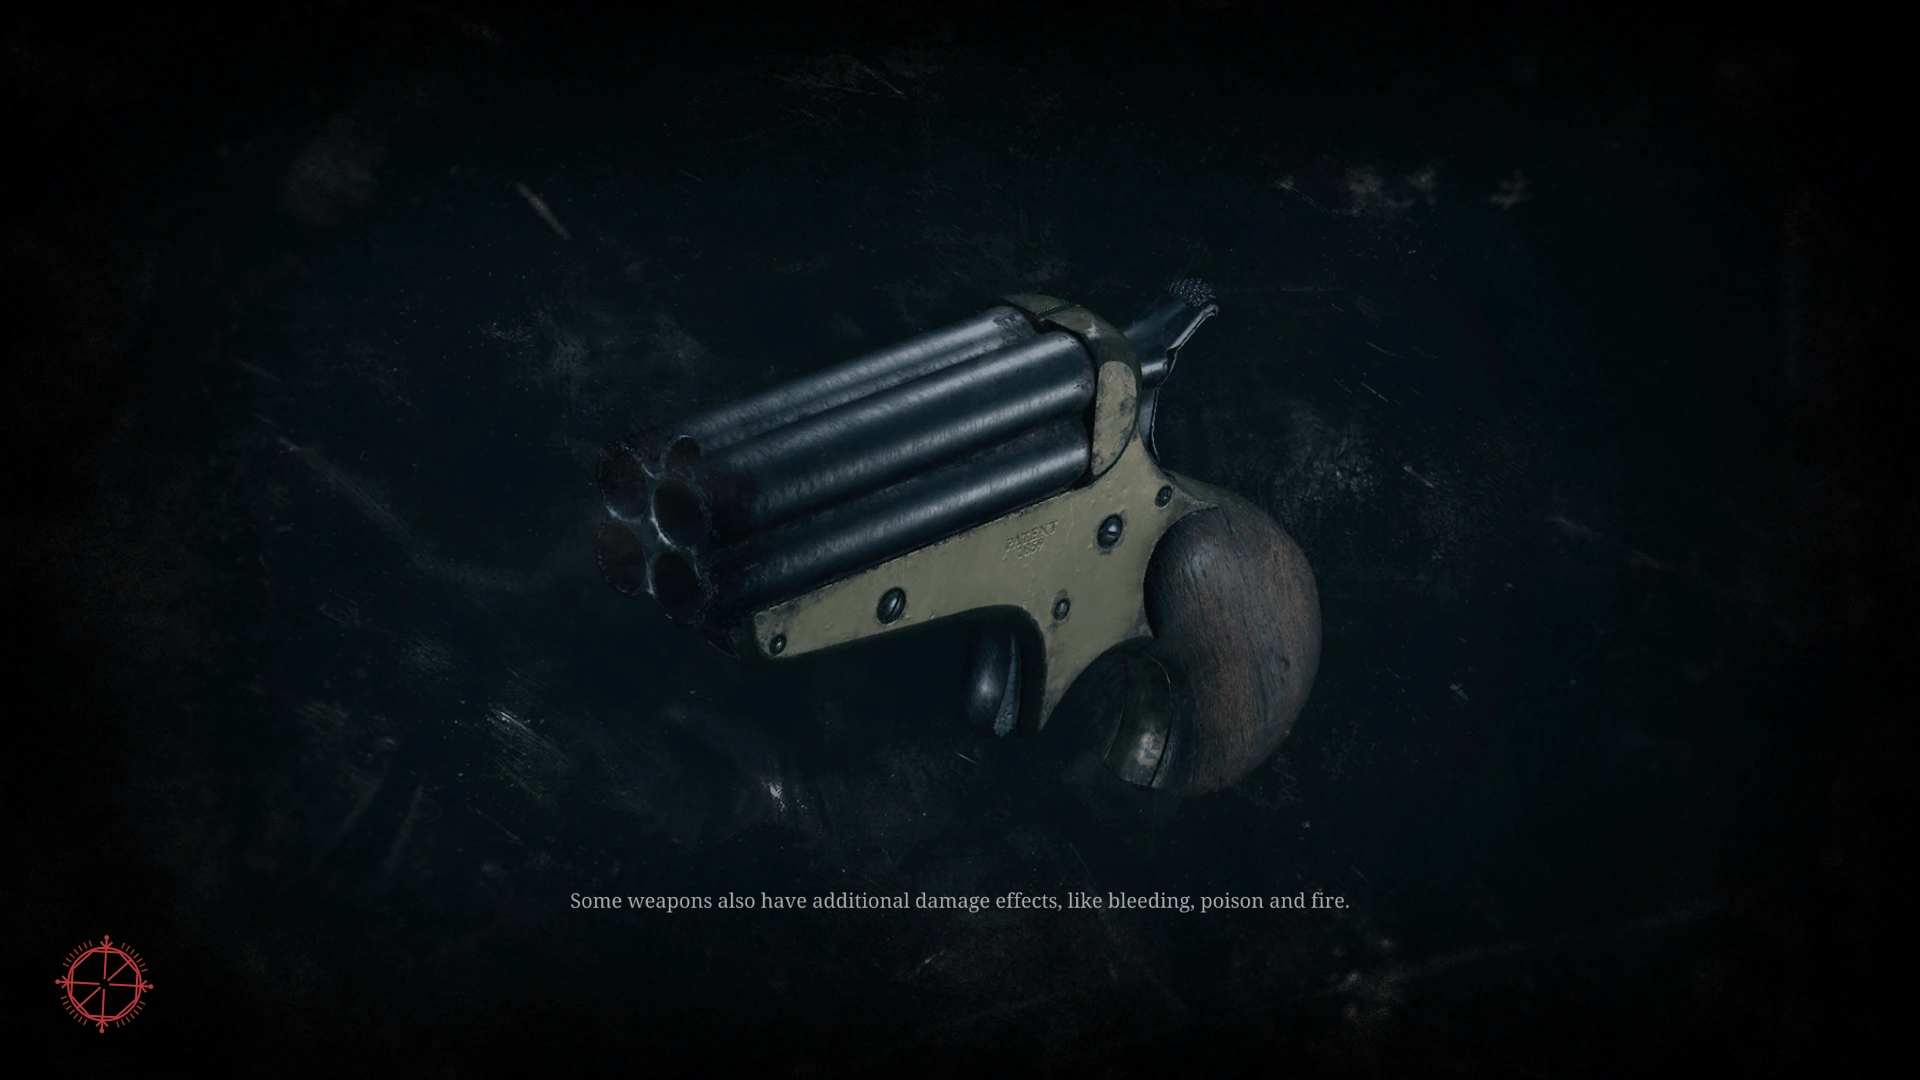
- Some weapons also have additional damage effects, like bleeding, poison and fire.
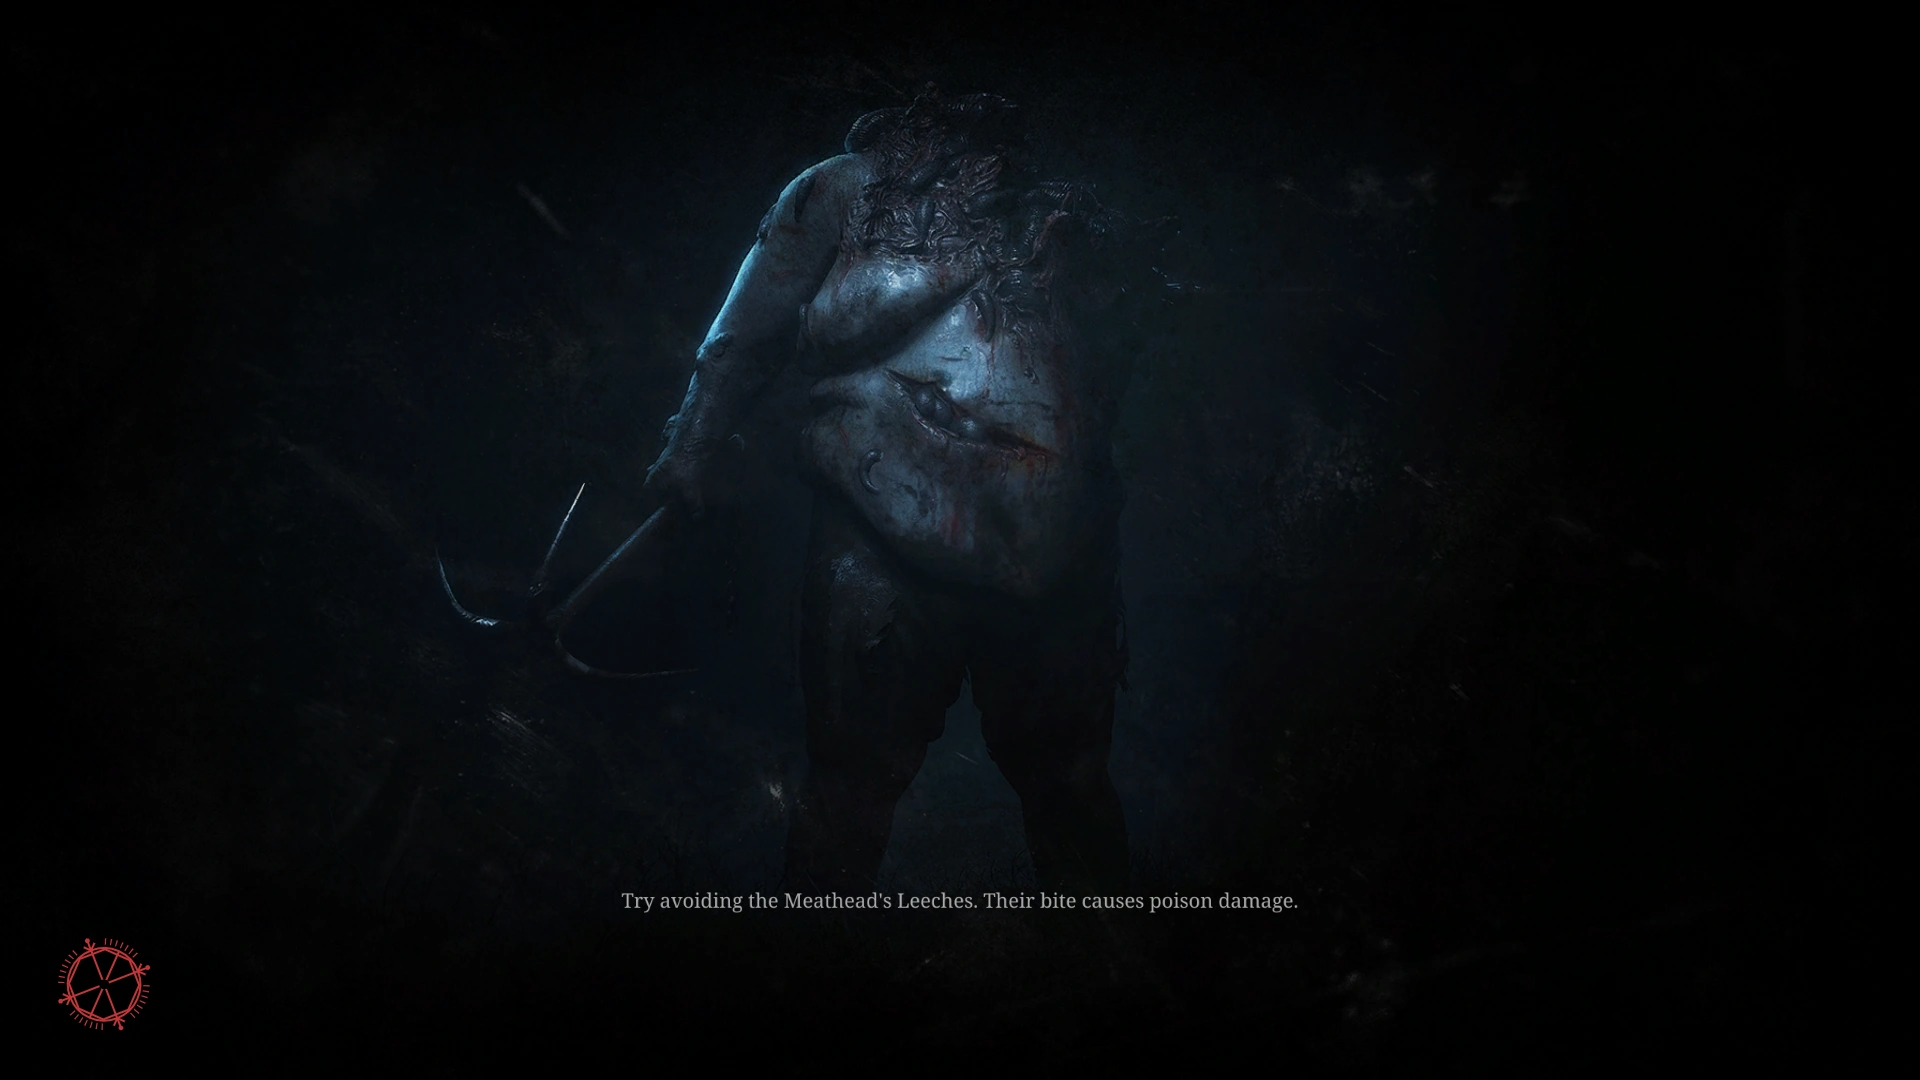
- Try avoiding the Meathead's Leeches. Their bite causes poison damage.
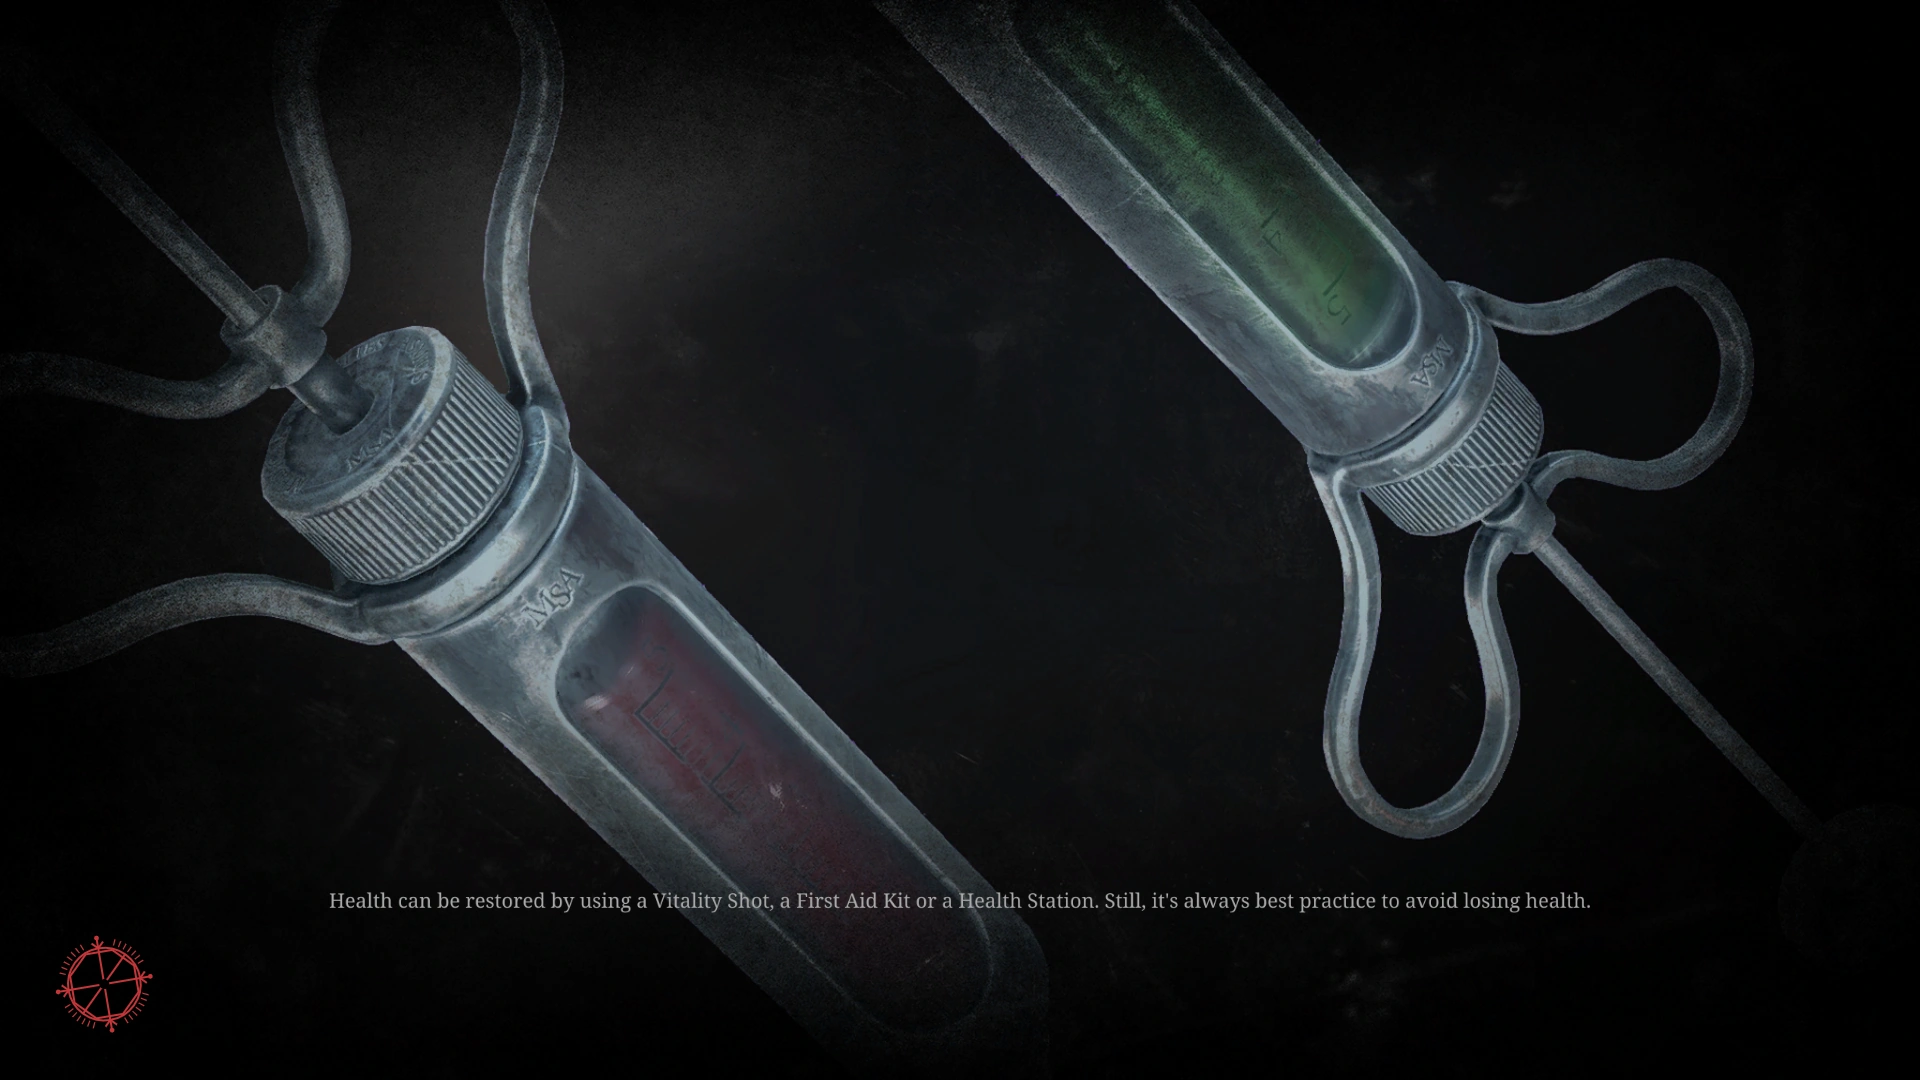
- Health can be restored by using a Vitality Shot, a First Aid Kit or a Health Station. Still, it's always best practice to avoid losing health.
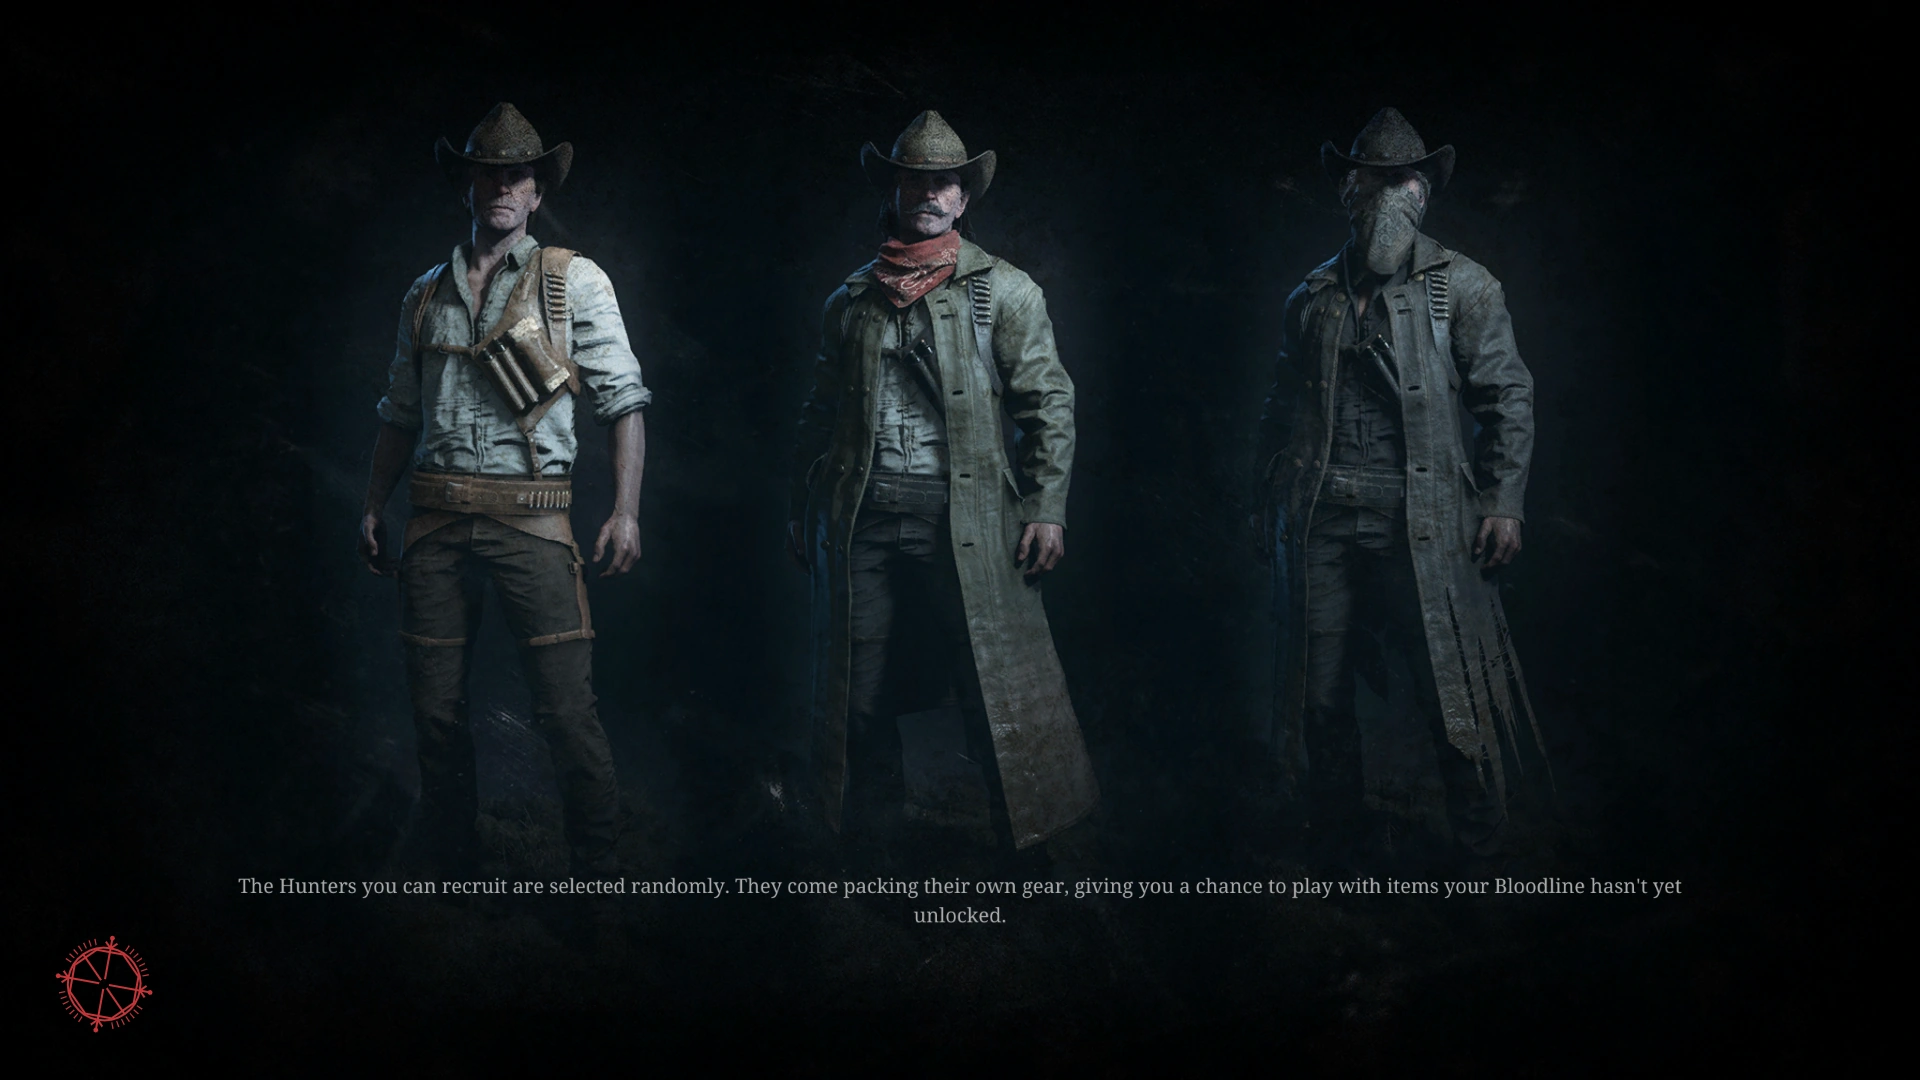
- The Hunters you can recruit are selected randomly. They come packing their own gear, giving you a chance to play with items your Bloodline hasn't yet unlocked.
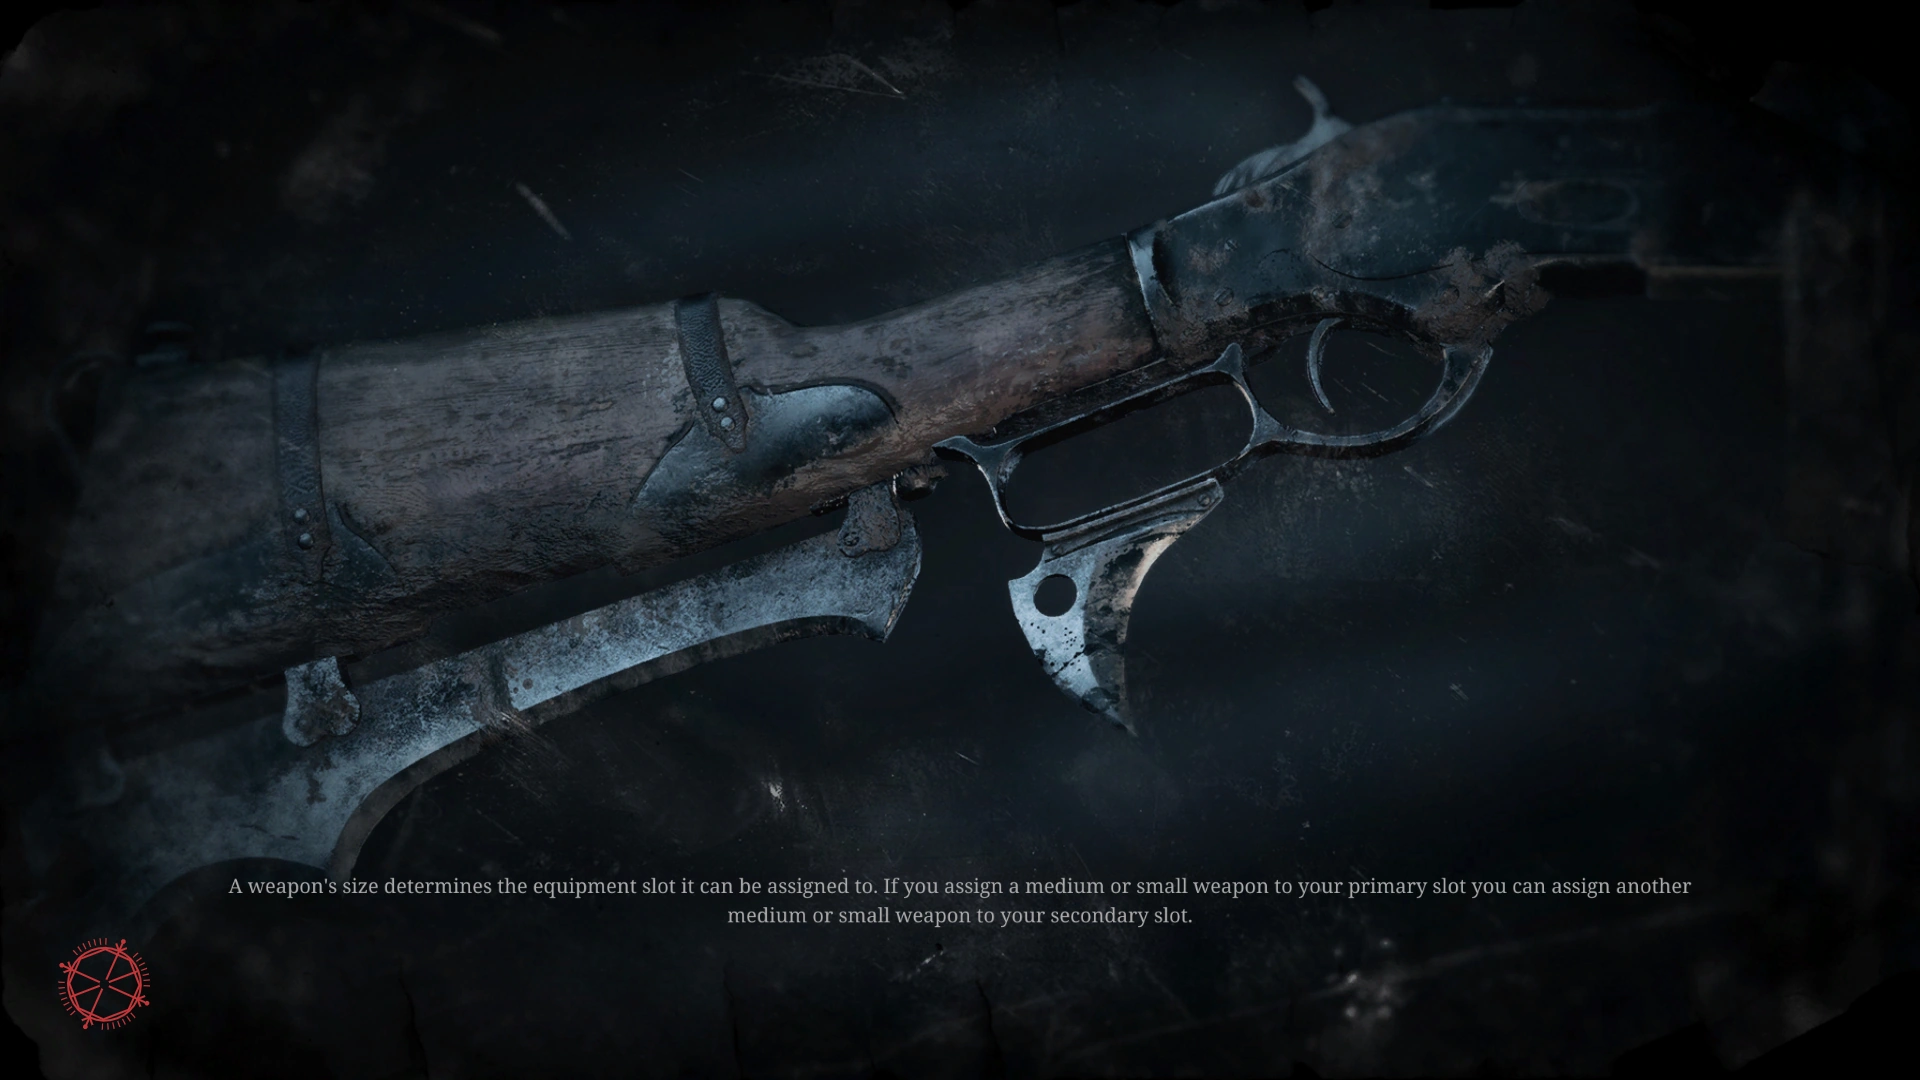
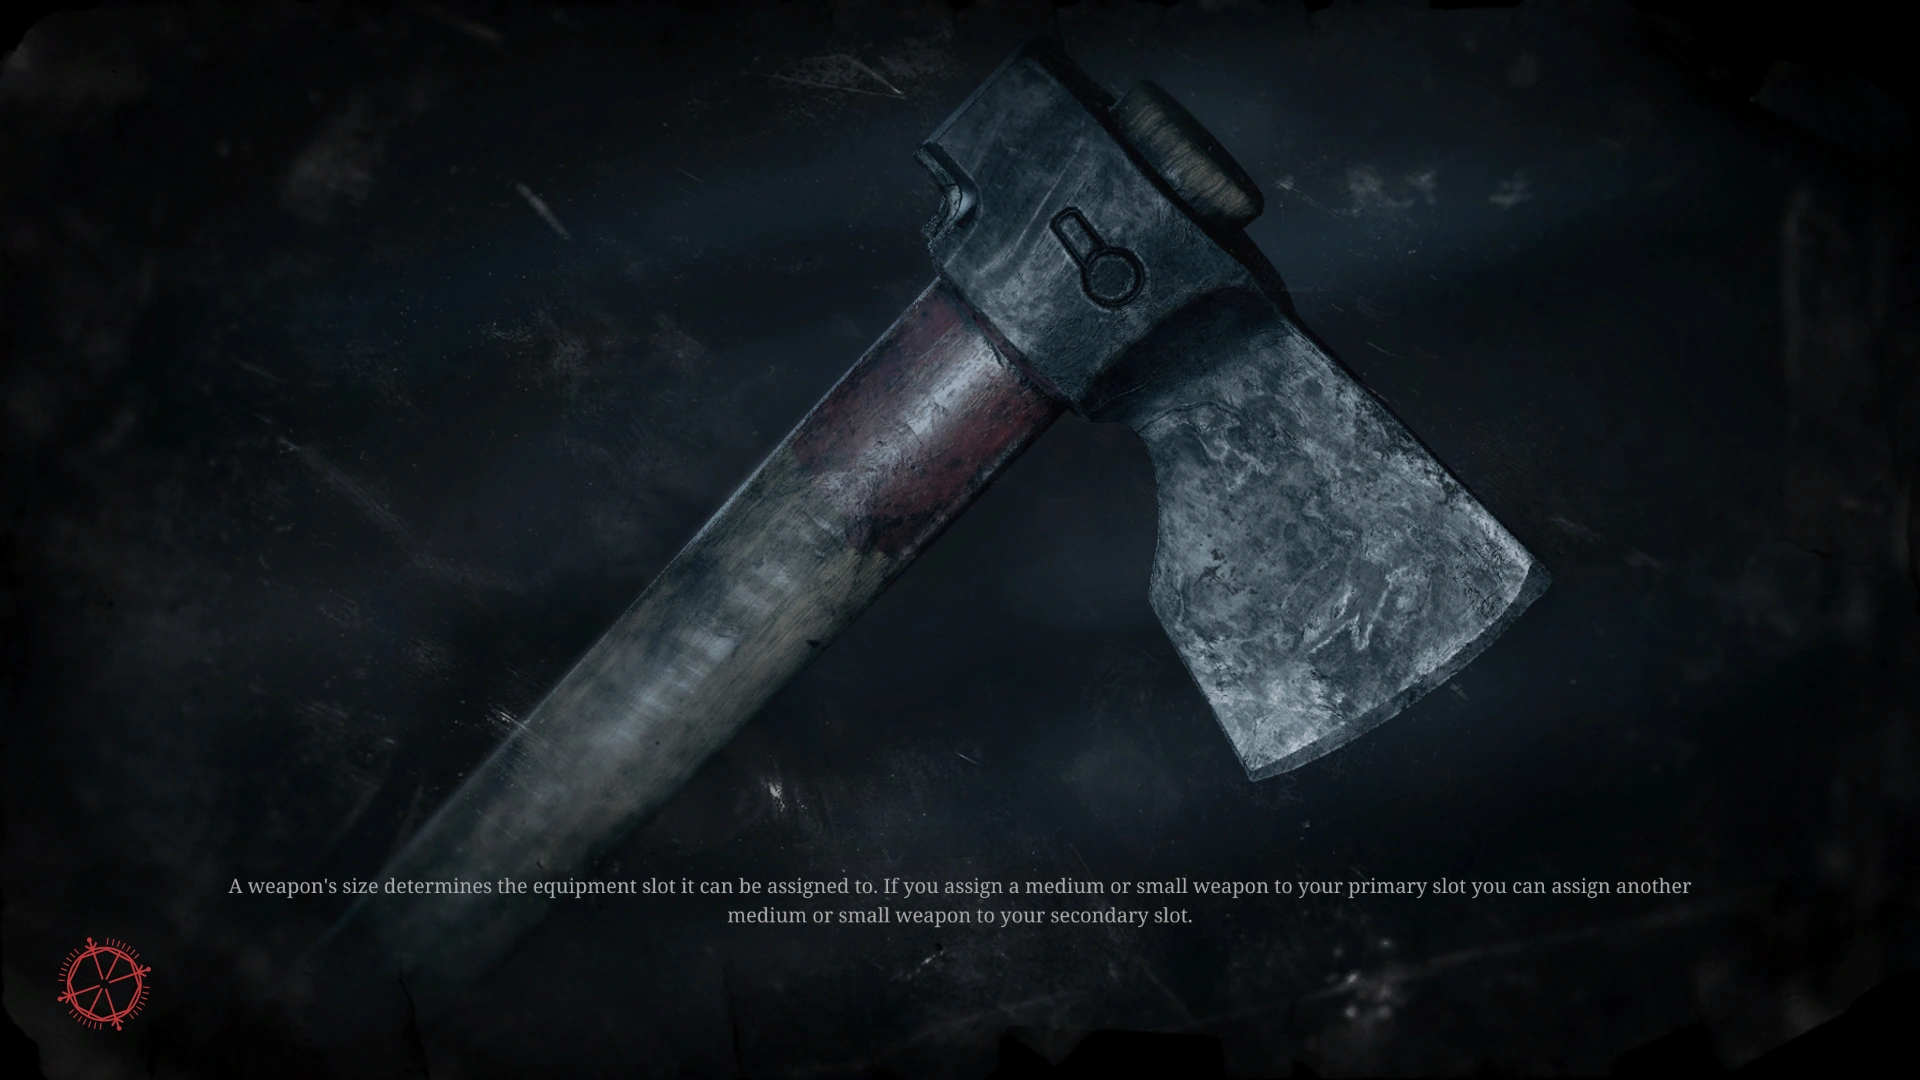
- A weapon's size determines the equipment slot it can be assigned to. If you assign a medium or small weapon to your primary slot you can can asign another medium or small weapon to your secondary slot.
- You can loot the body of fallen enemy players. This way you can replenish your supply of ammo or consumables providing you have the space for it.
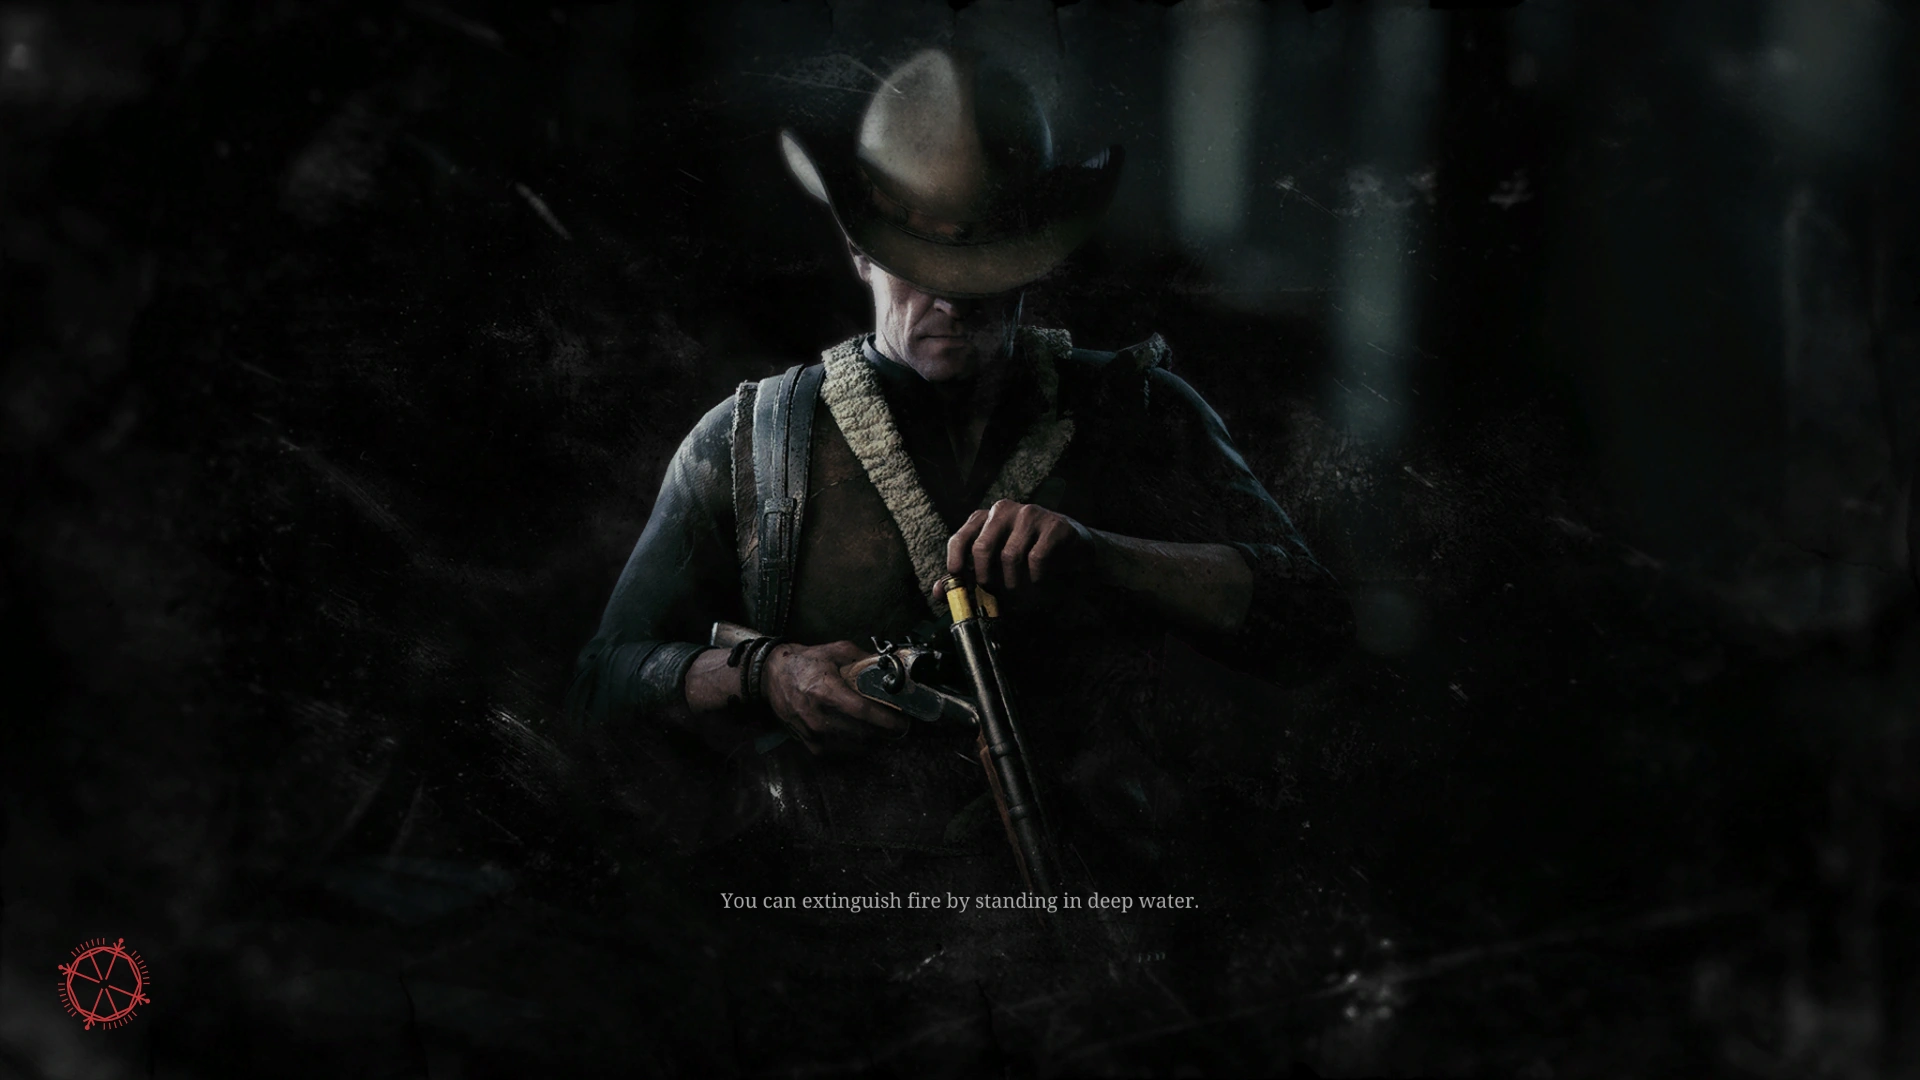
- You can extinguish fire by standing in deep water.
- Hunters are ready to recruit in three different tiers. Naturally, the higher your Bloodline rank, the higher tier of Hunter you have access to.
- After you banished your target, make sure to retrieve your reward token from the corpse.
- Once your Hunter's level passes a bonus gate, some XP are added to your Bloodline. The higher your Hunter's level, the more XP you receive this way.
- Your health will be restored by 50 HP when your team starts banishing. You cannot exceed your maximum health of 150 HP this way.
- You'll be slowed down while moving through water. Plan your route carefully and don't get caught in this disadvantageous position.
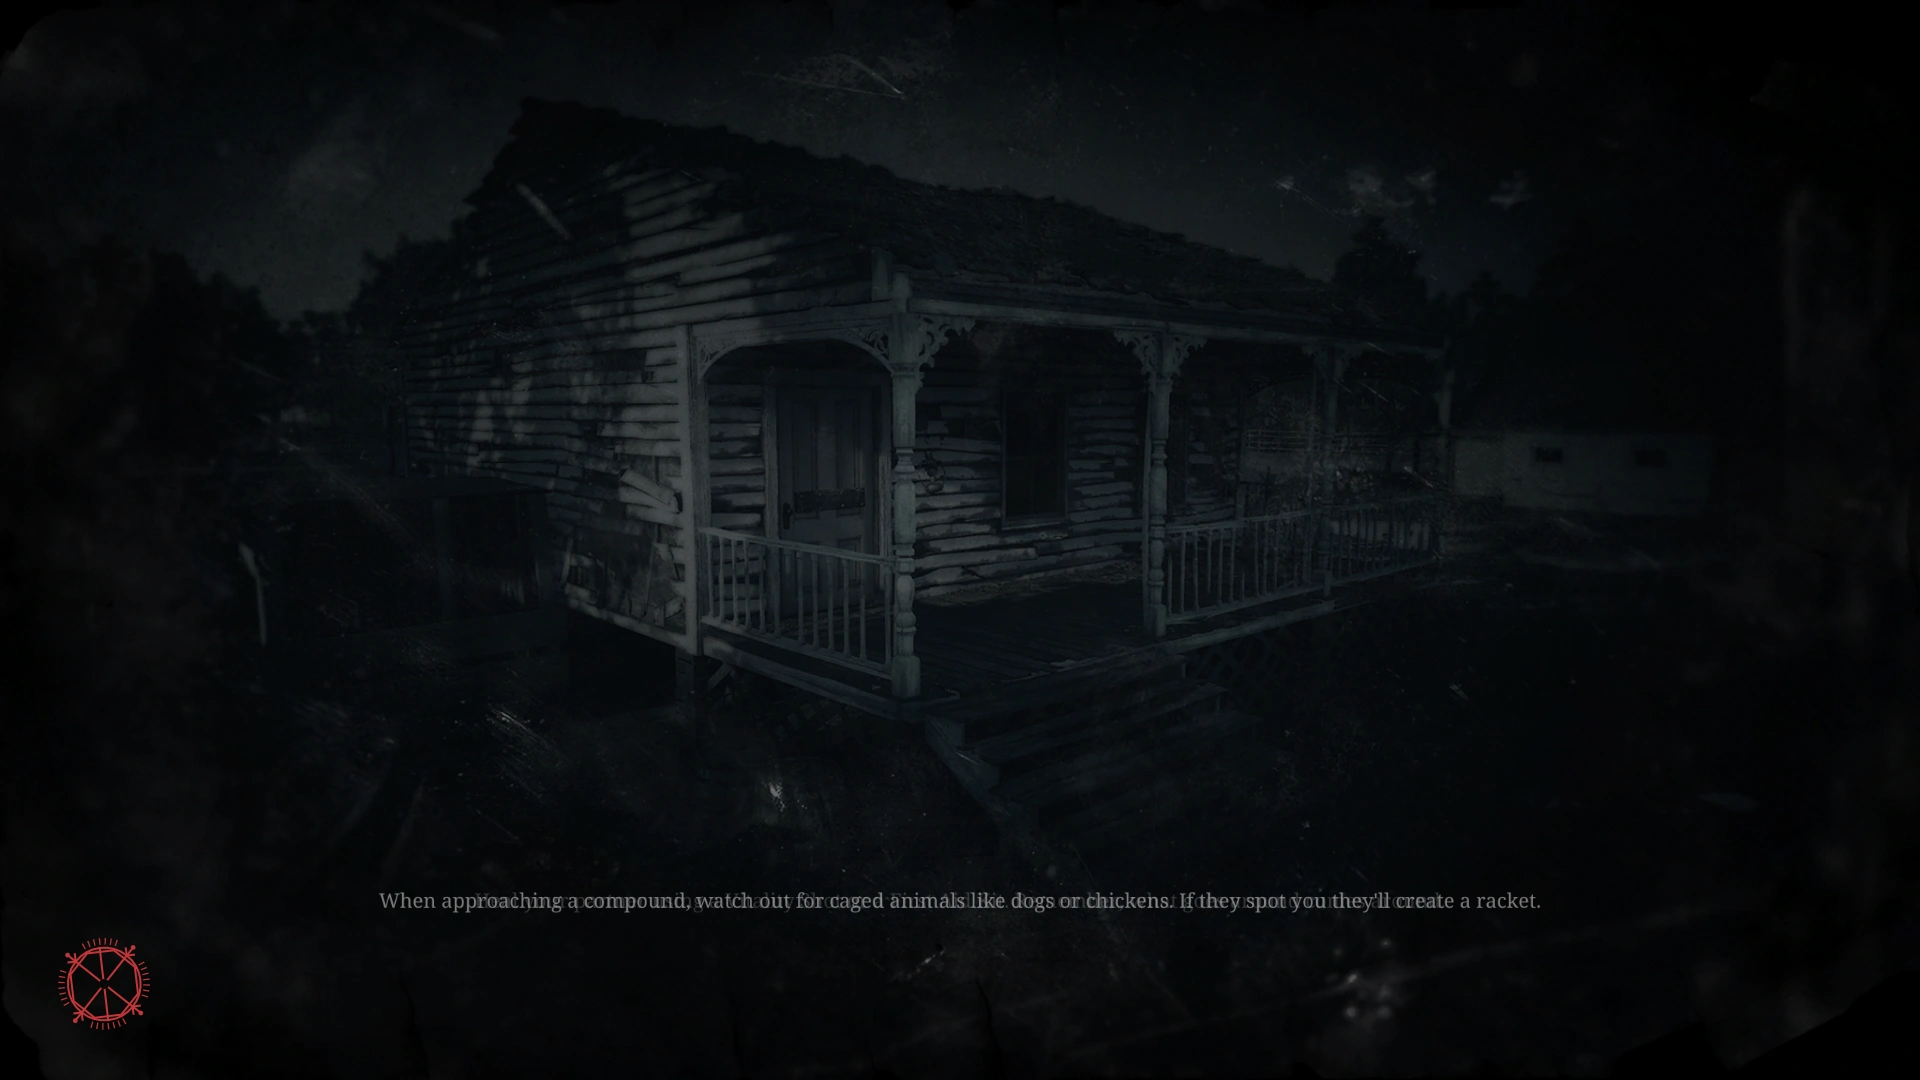
- When approaching a compound, watch out for caged animals like dogs or chickens. If they spot you, they'll create a racket.
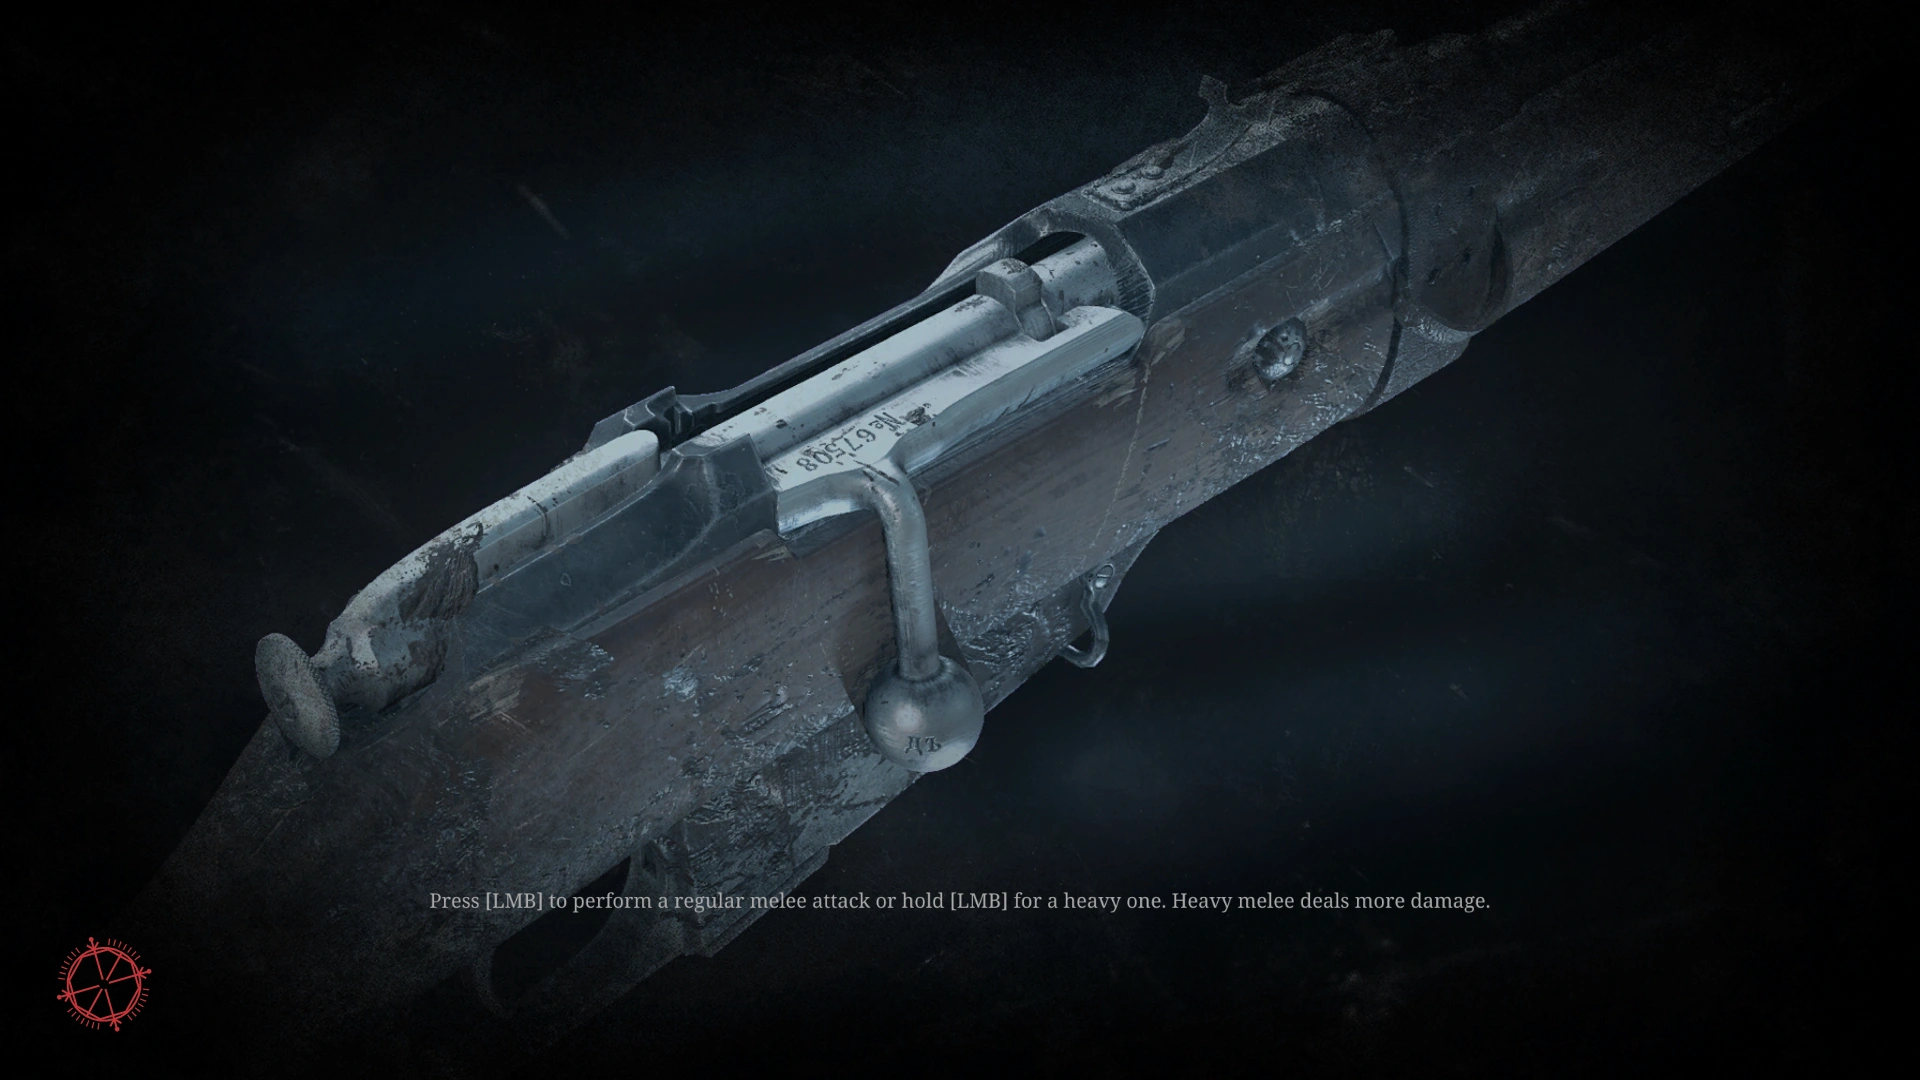
- Press [LMB] to perform a regular melee attack or hold [LMB] for a heavy one. Heavy melee deals more damage.
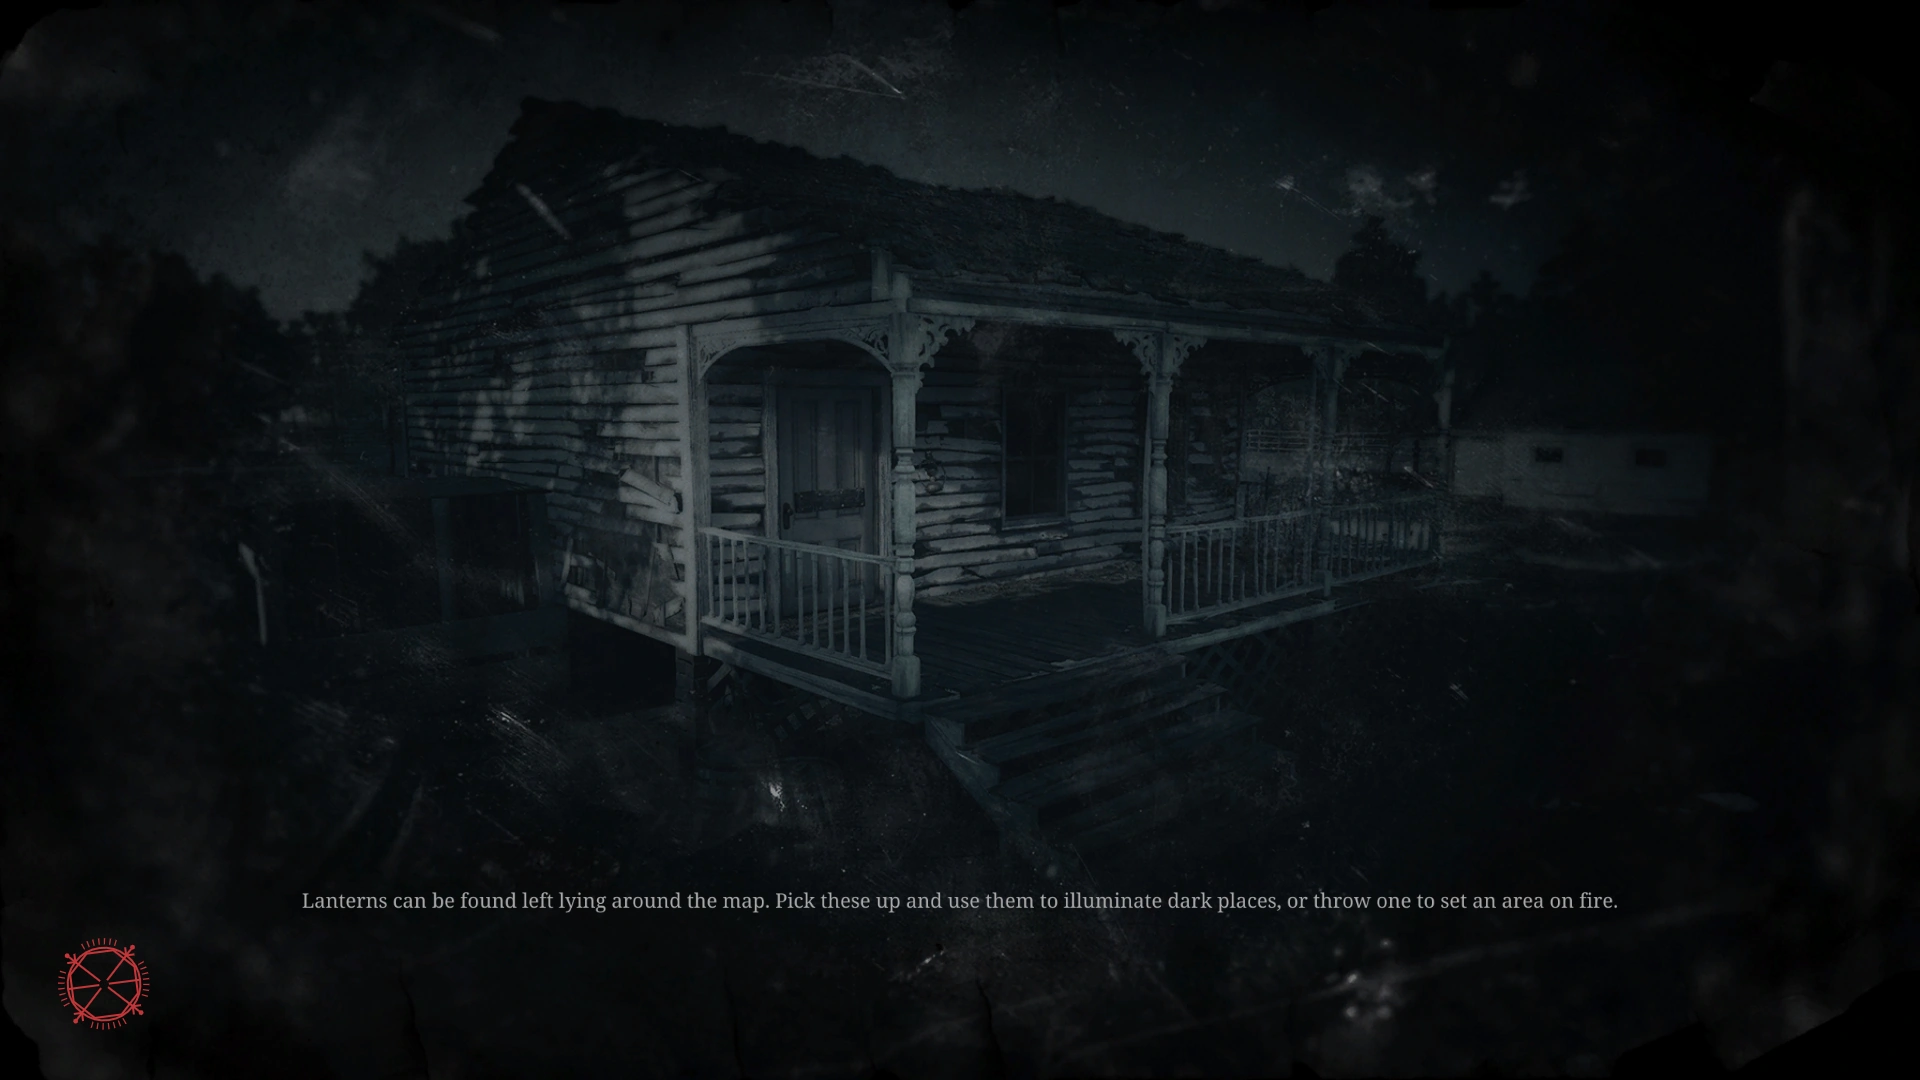
- Lanterns can be found left lying around the map. Pick these up and use them to illuminate dark places, or throw one to set an area on fire.
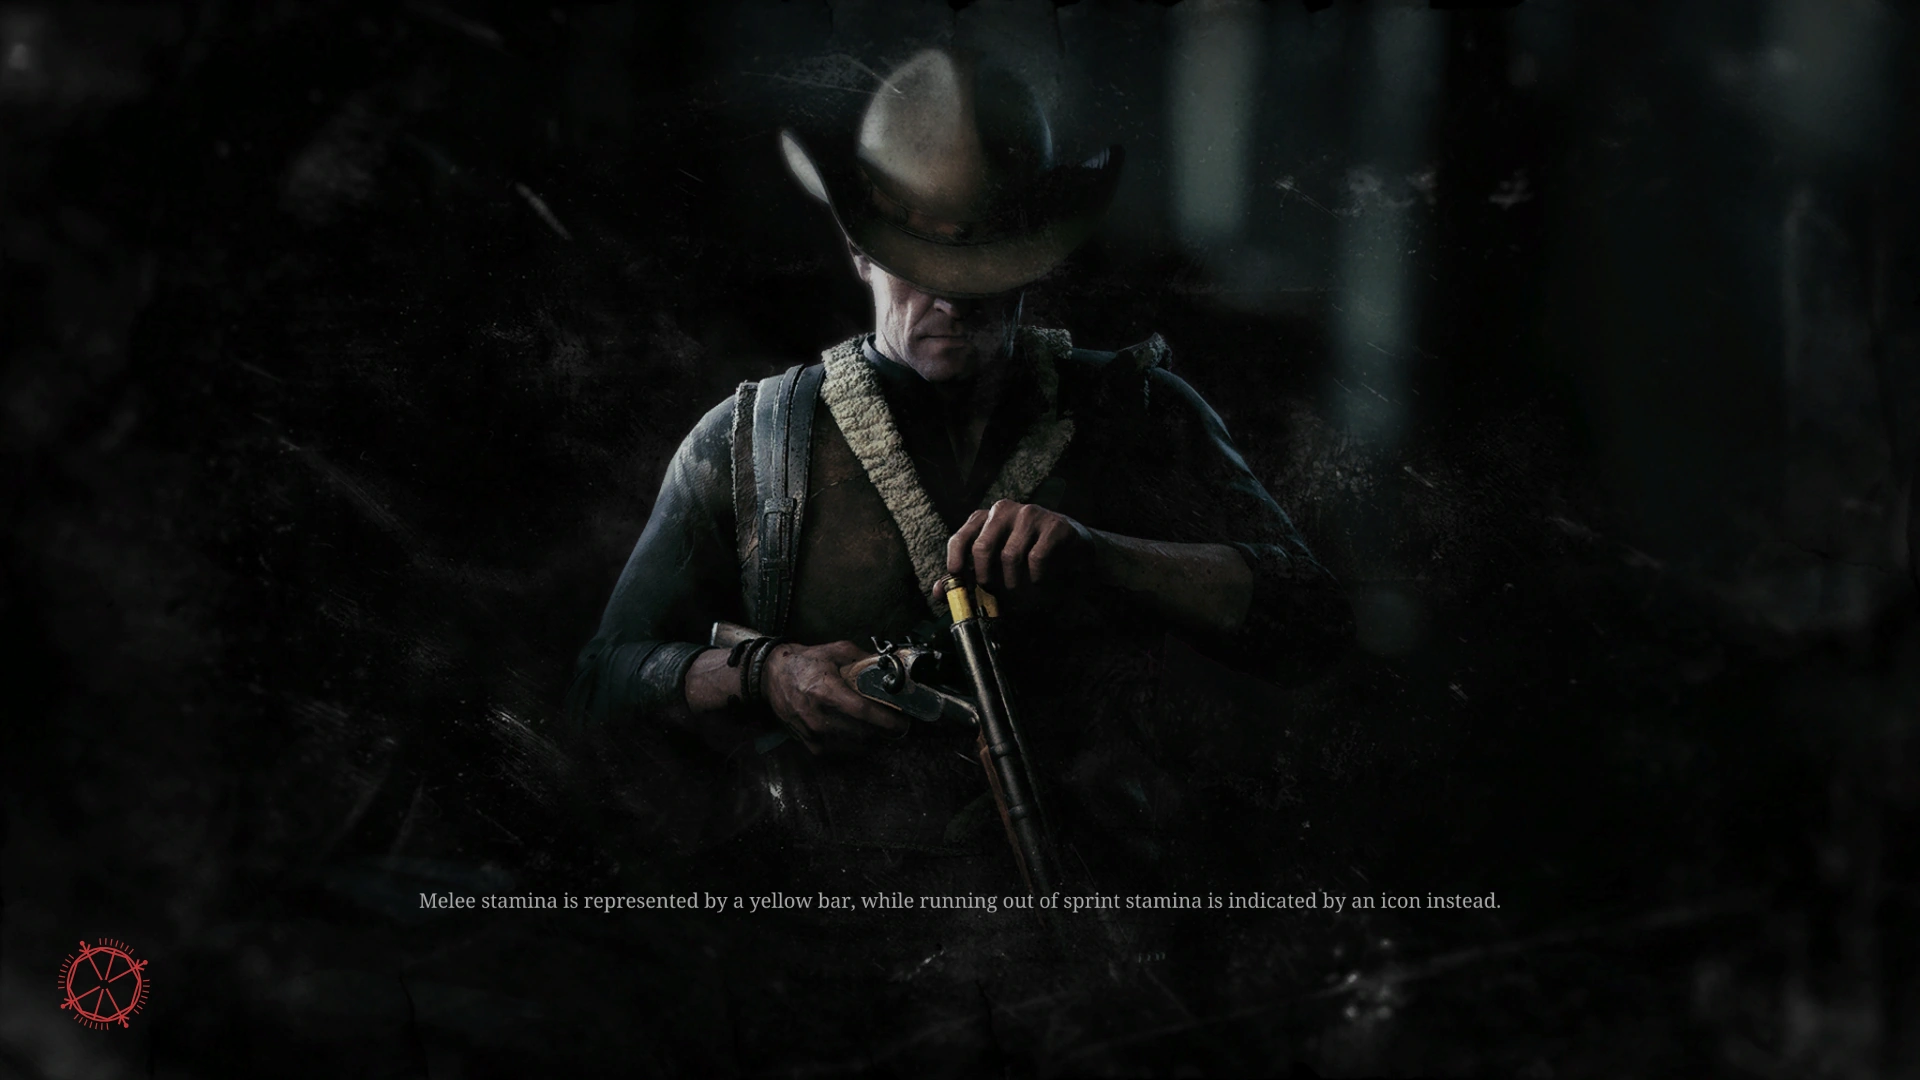
- Melee stamina is represented by a yellow bar, while running out of sprint stamina is indicated by an icon instead
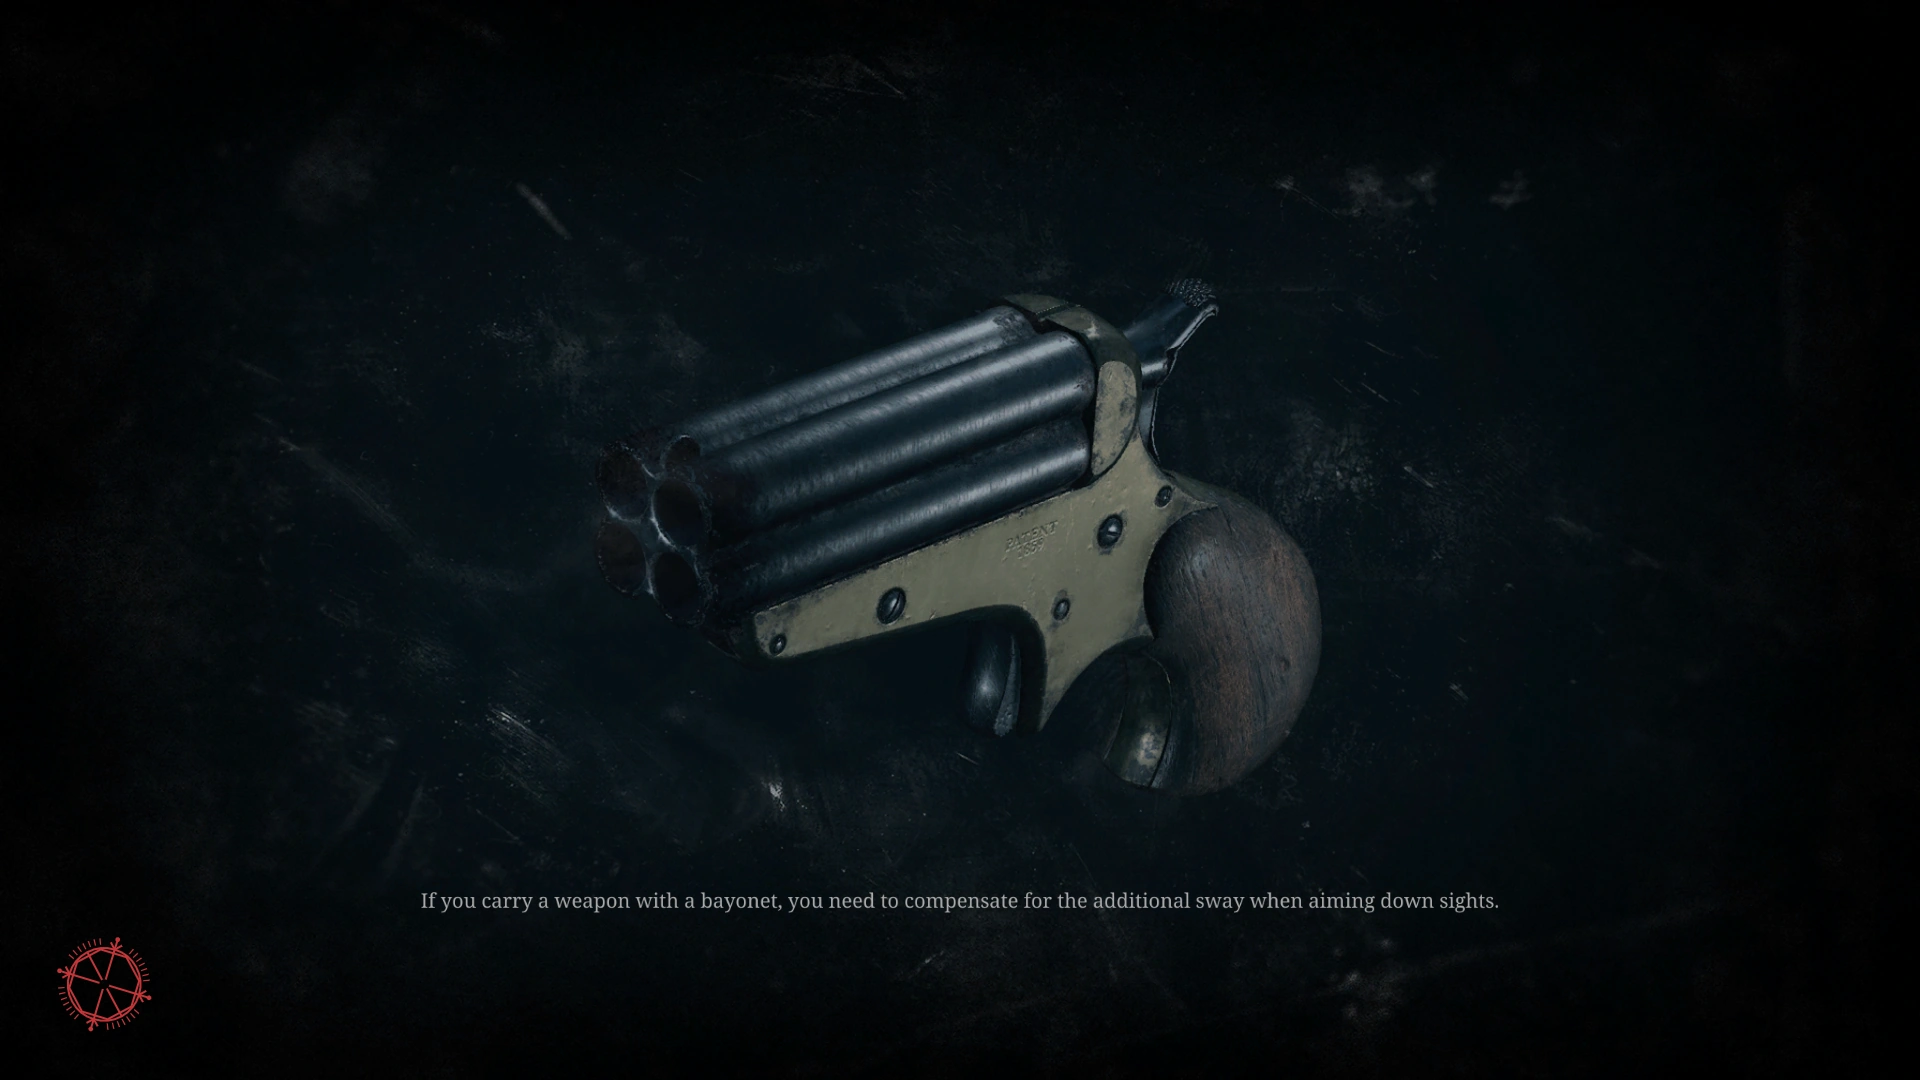
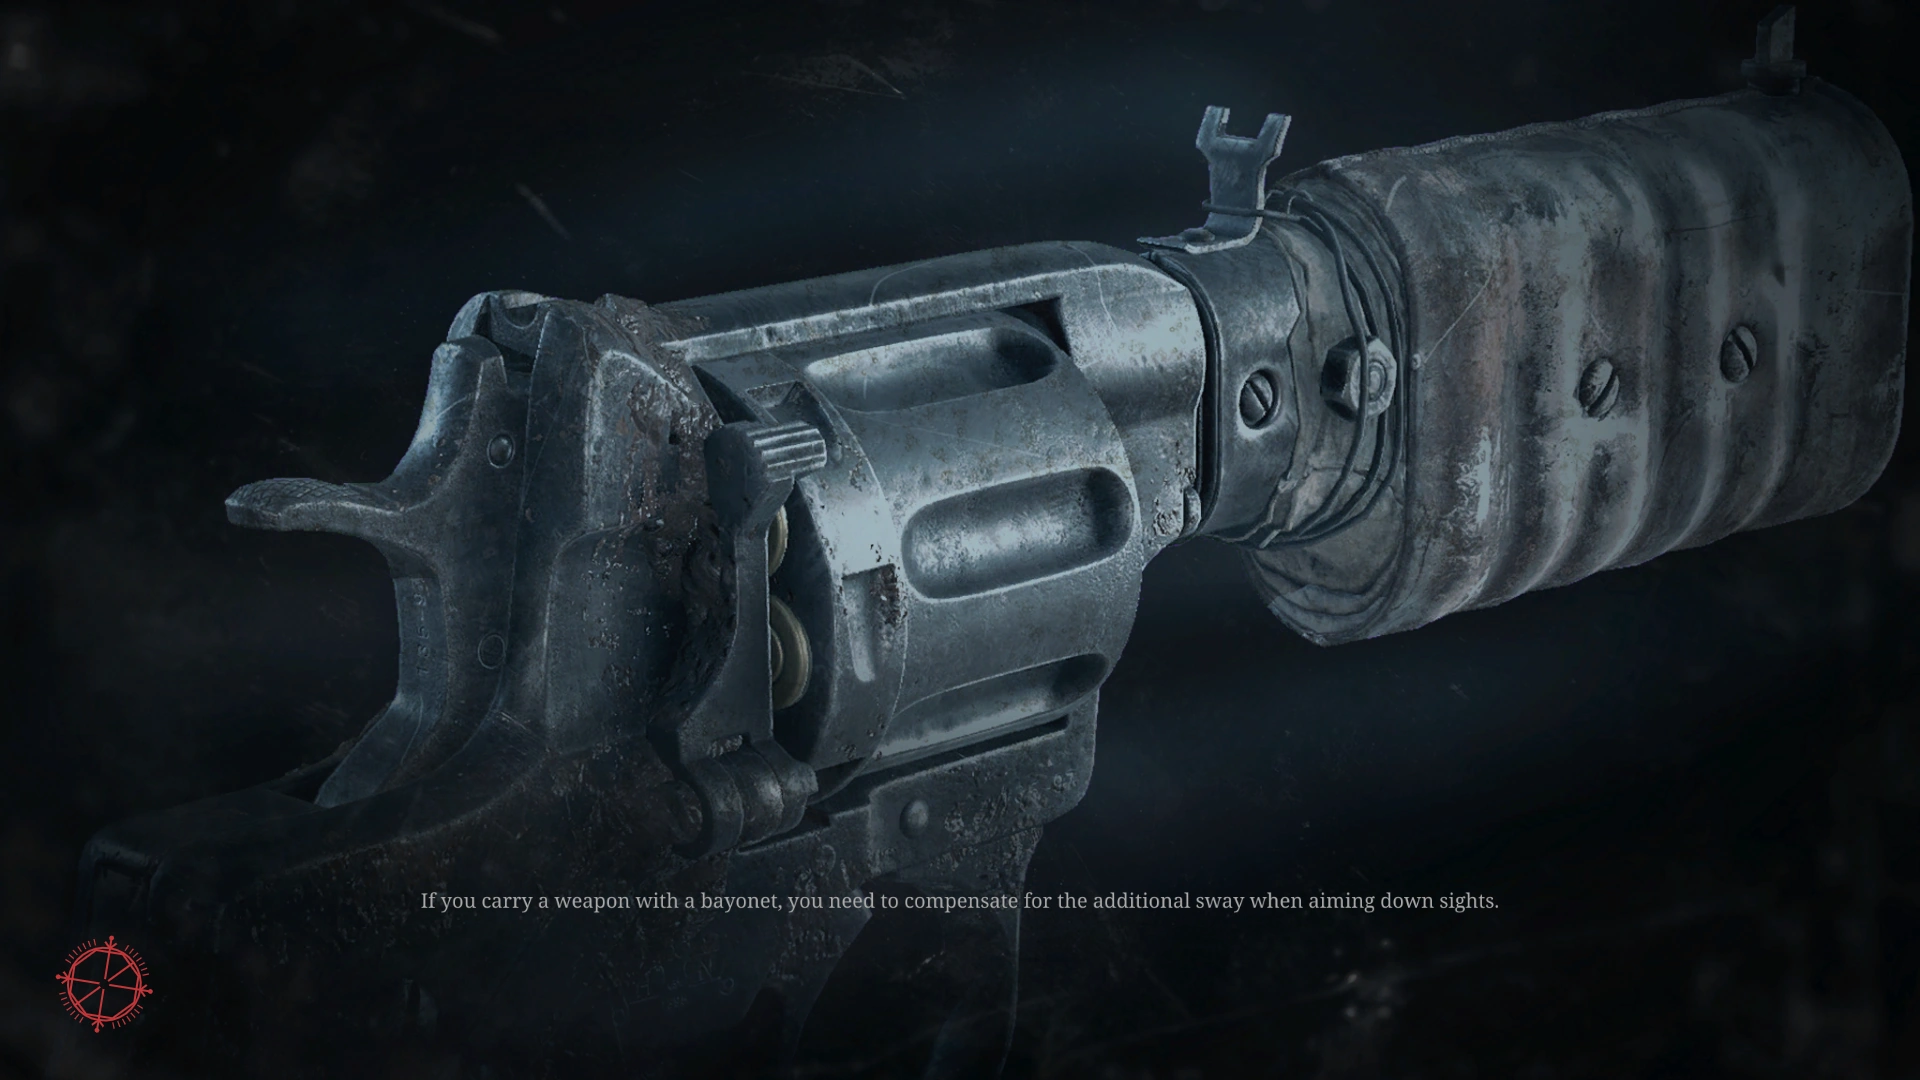
- If you carry a weapon with a bayonet, you need to compensate for the additional sway when aiming down sights.
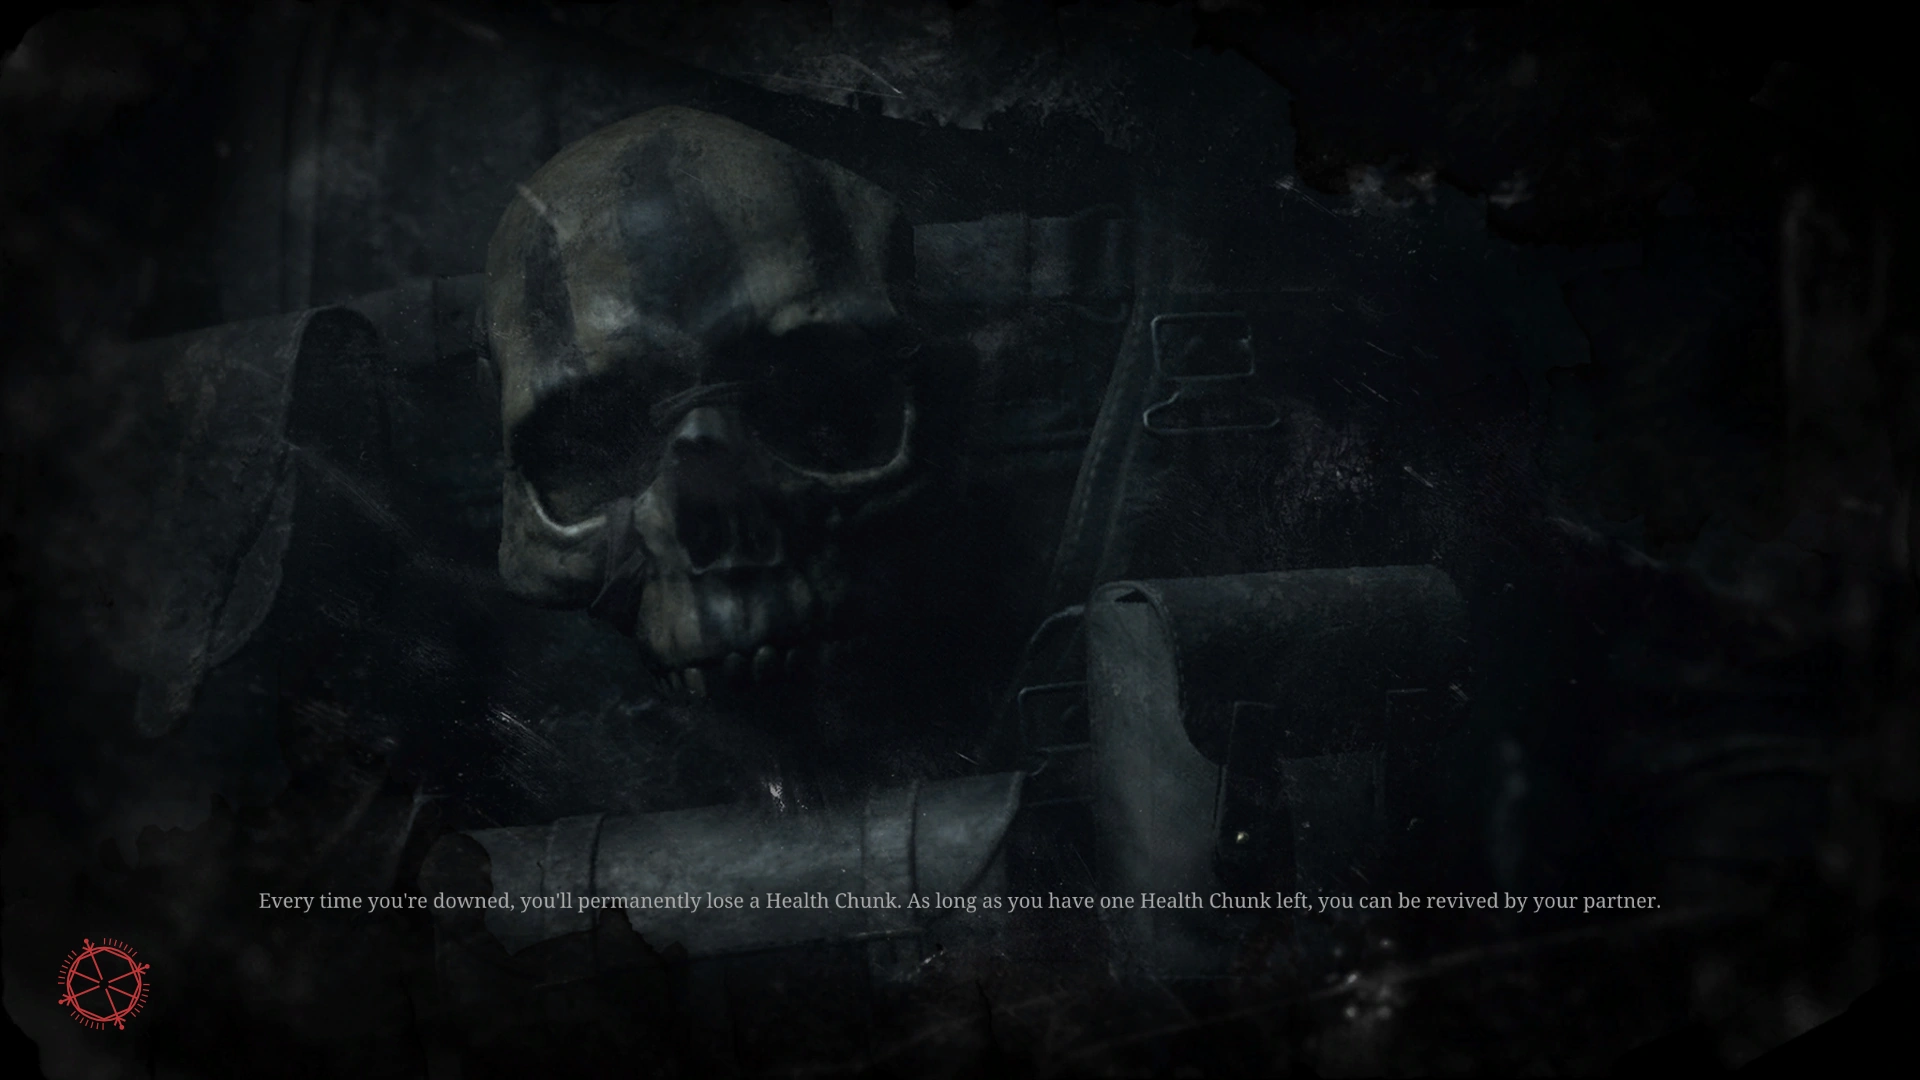
- Every time you're downed, you'll permamently lose a Health Chunk. As long as you have on Health Chunk left, you can be revived by your partner.
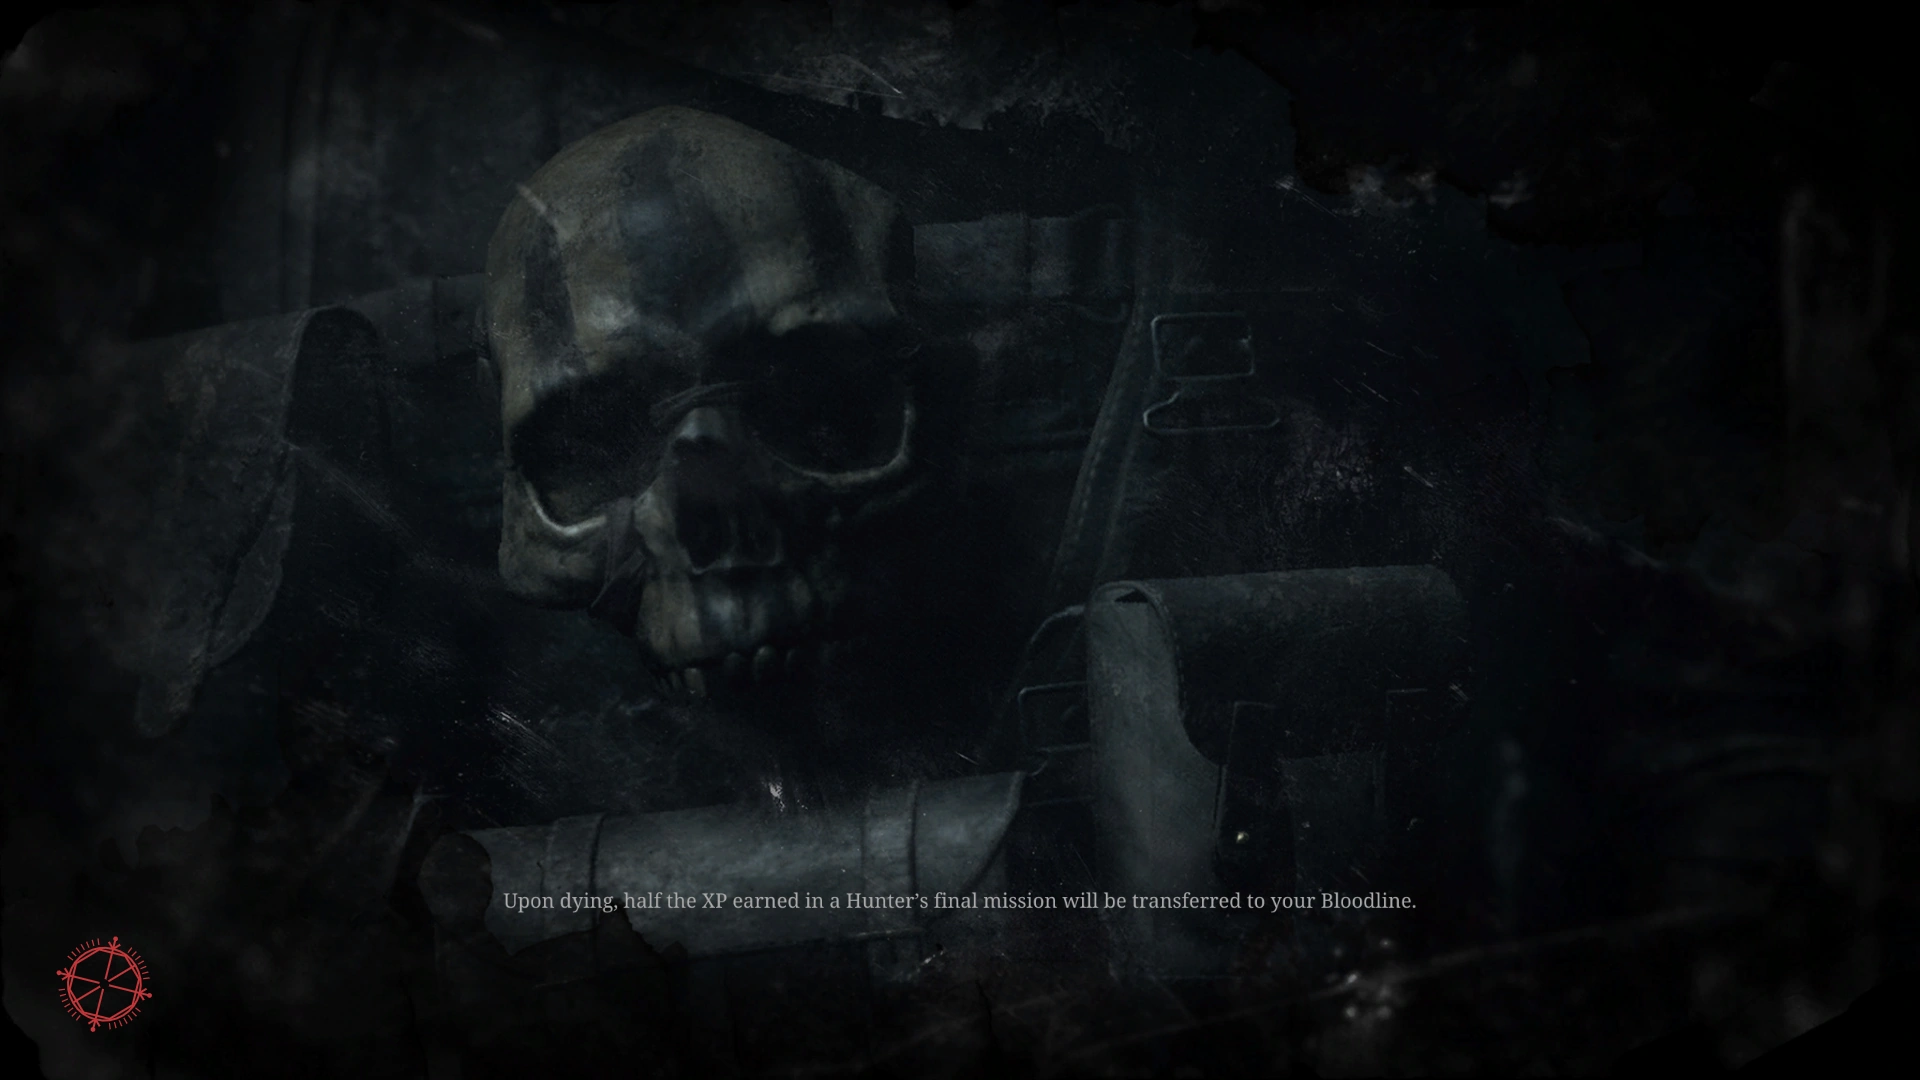
- Upon dying, half the XP earned in a Hunter's final mission will be transferred to your Bloodline.
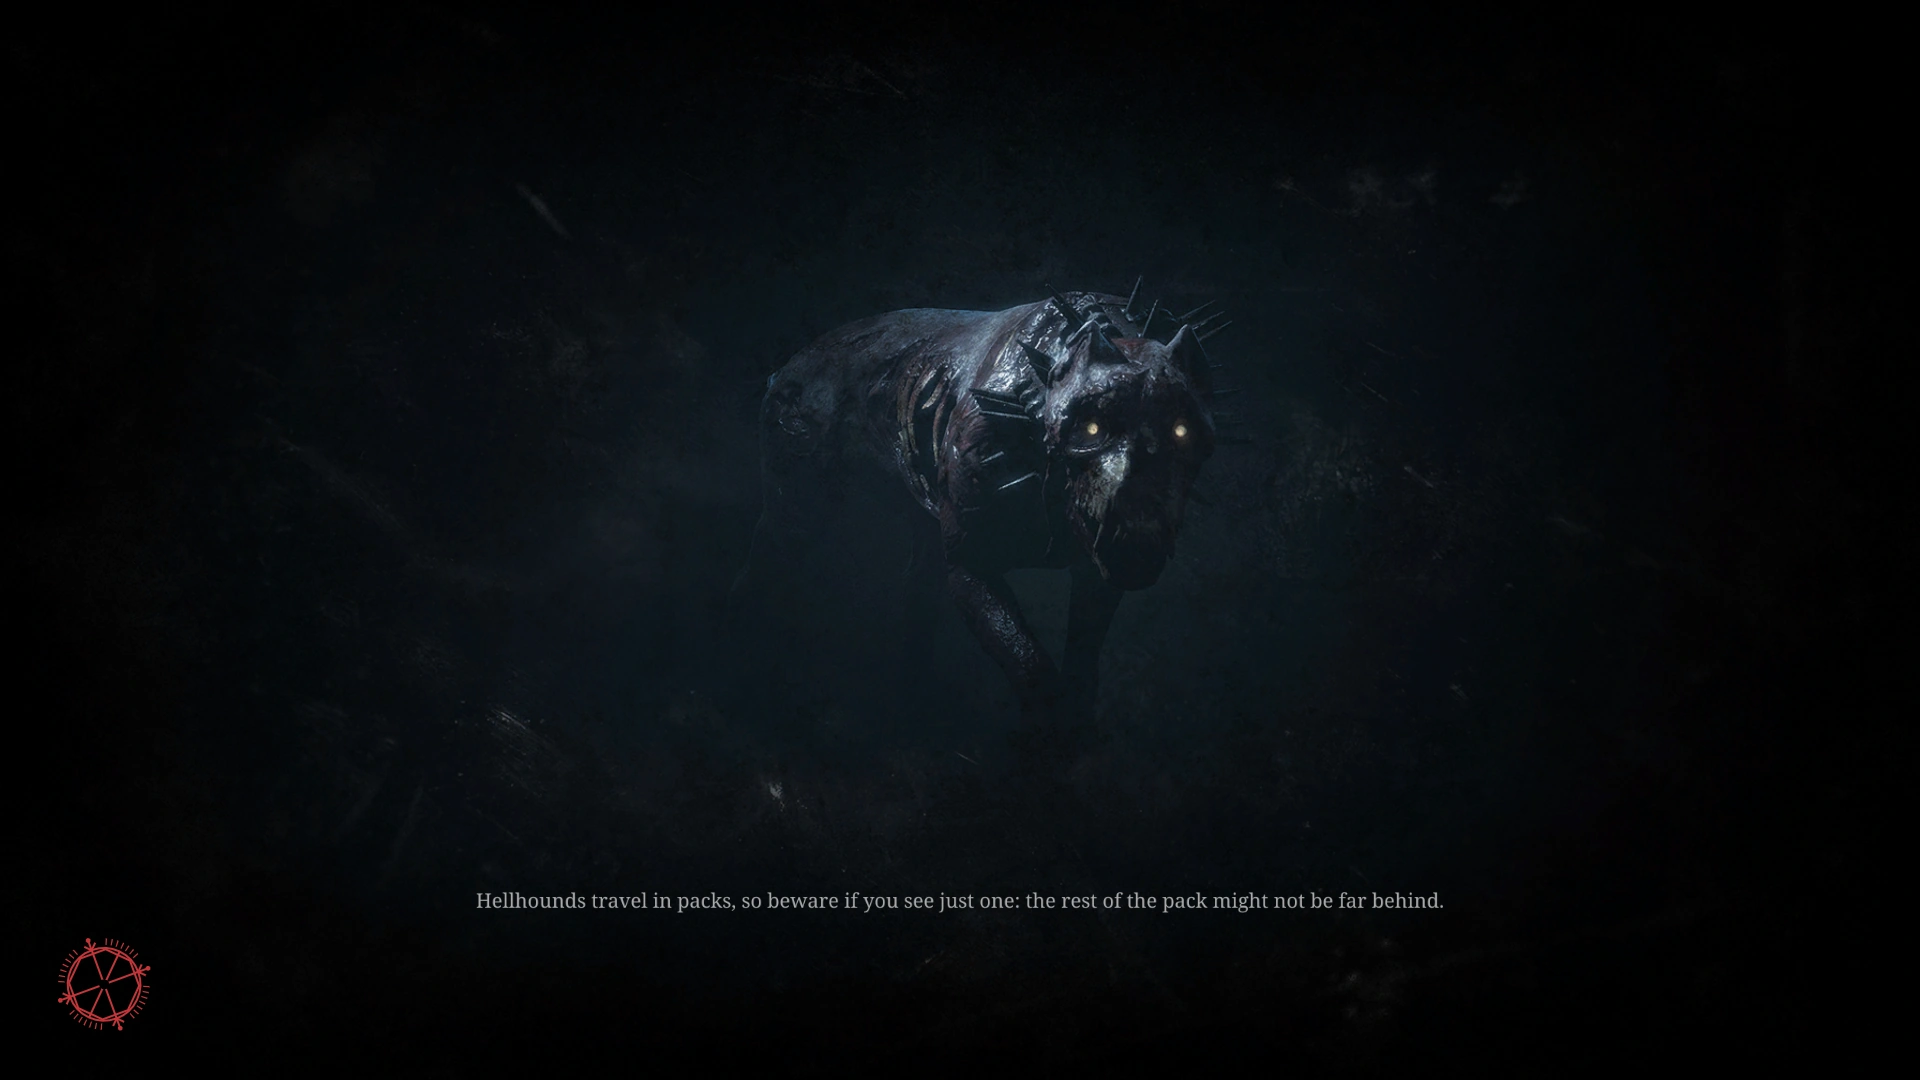
- Hellhounds travel in packs, so beware if you see just one: the rest of the pack might not be far behind.
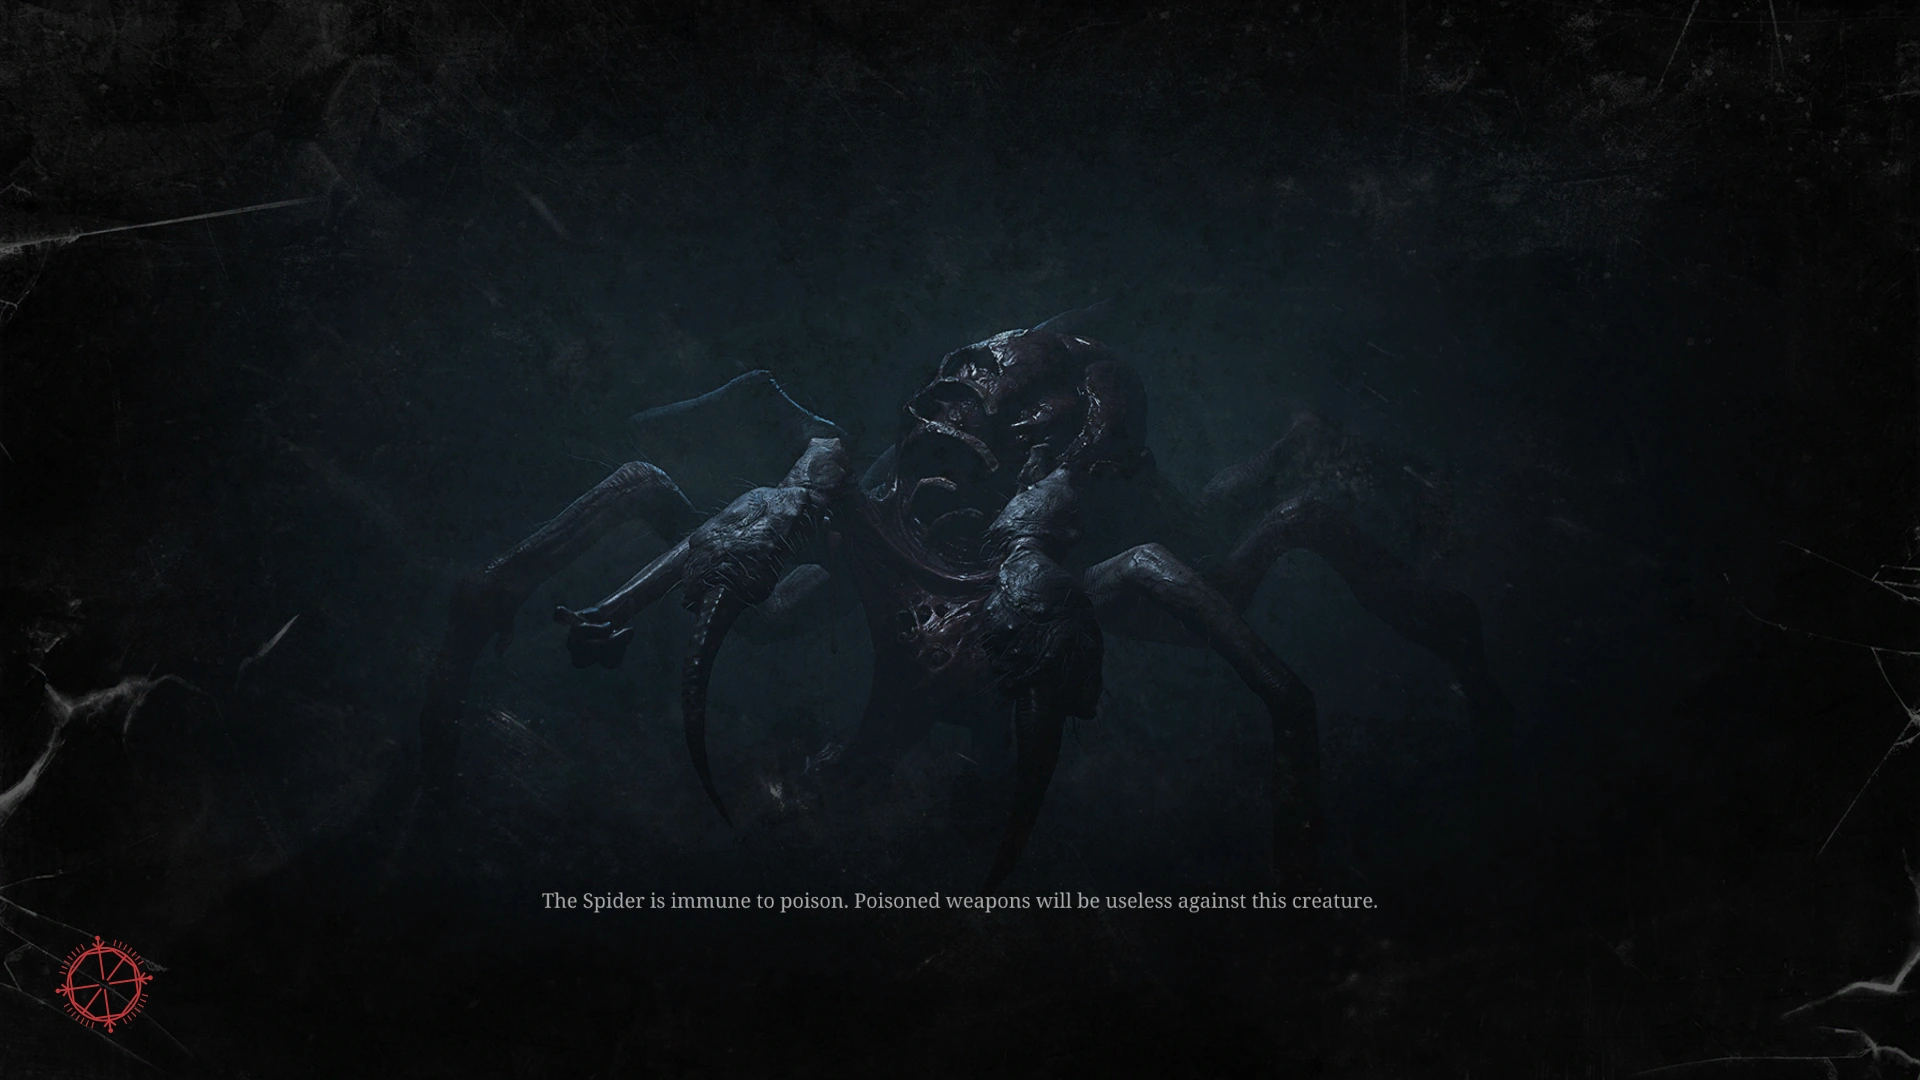
- The Spider is immune to poison. Poisoned weapons will be useless against this creature.
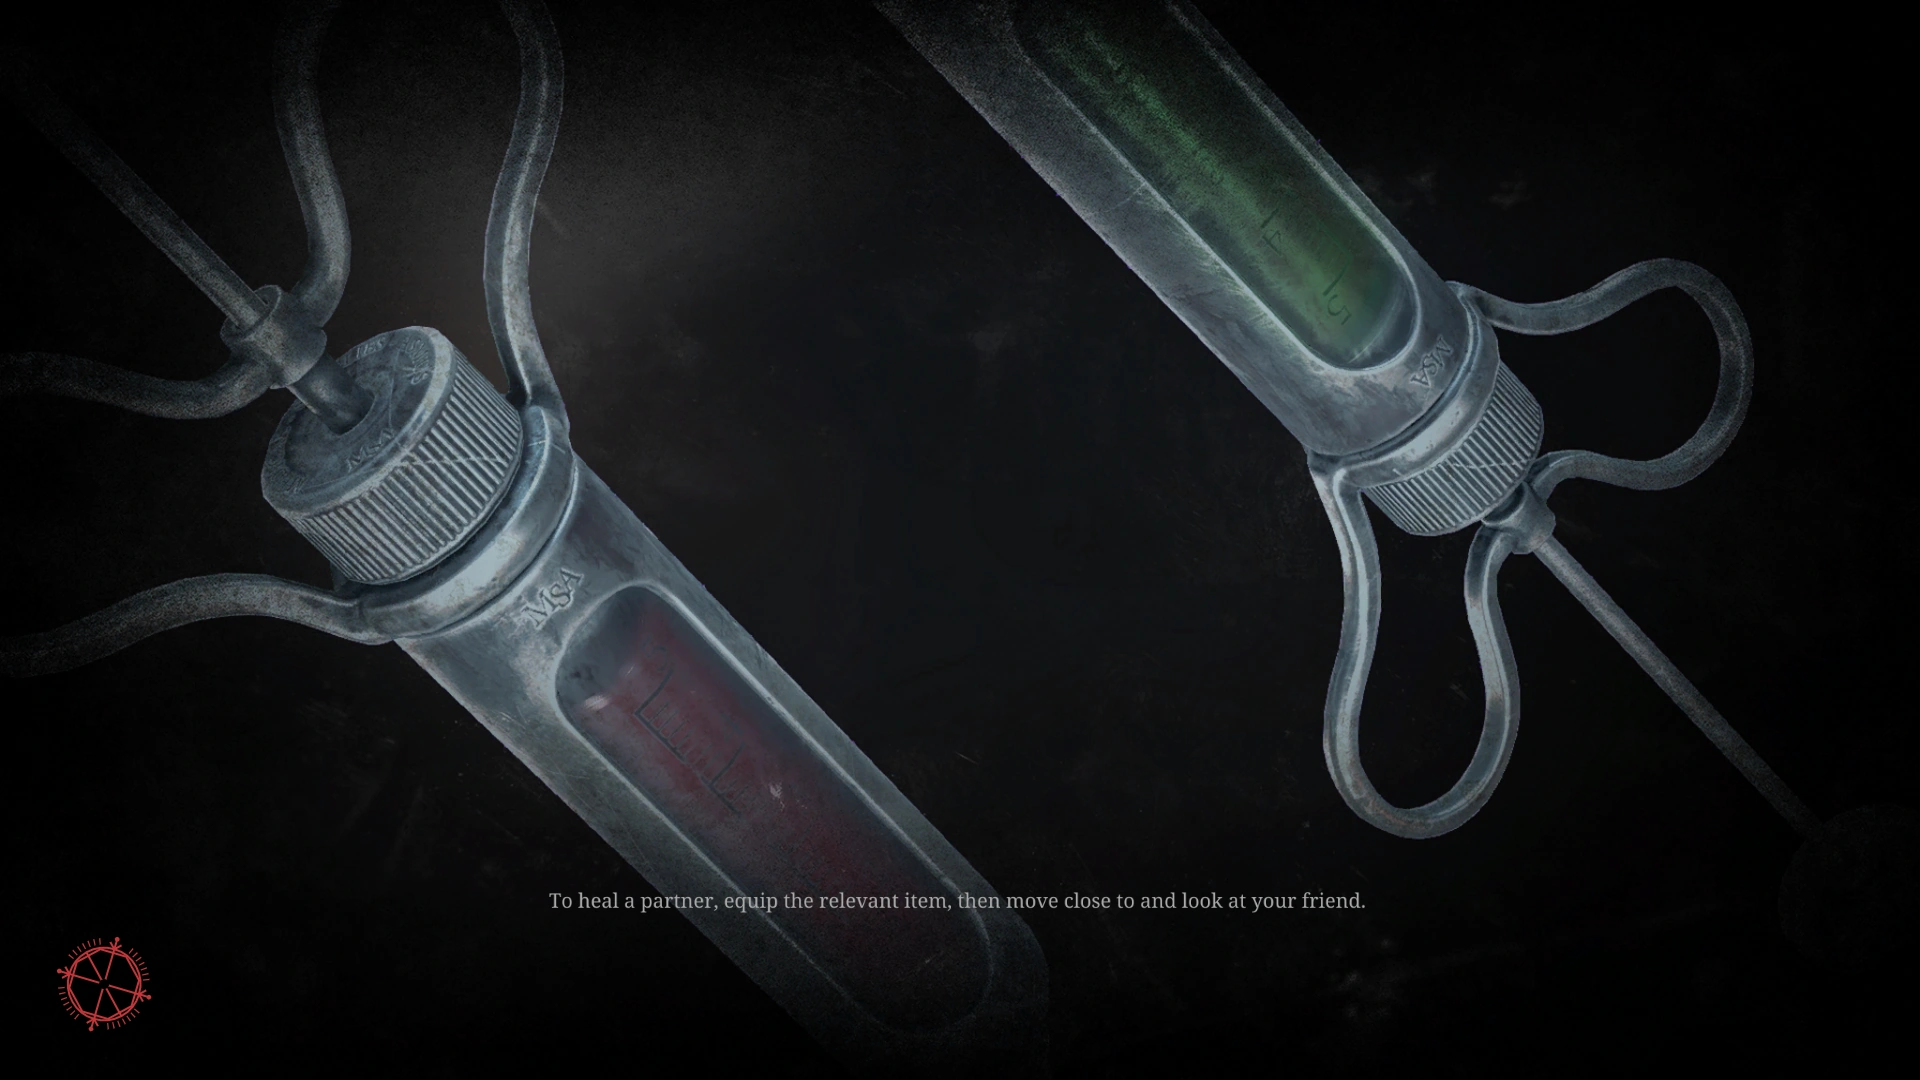
- To heal a partner, equip the relevant item, then move close to and look at your friend.
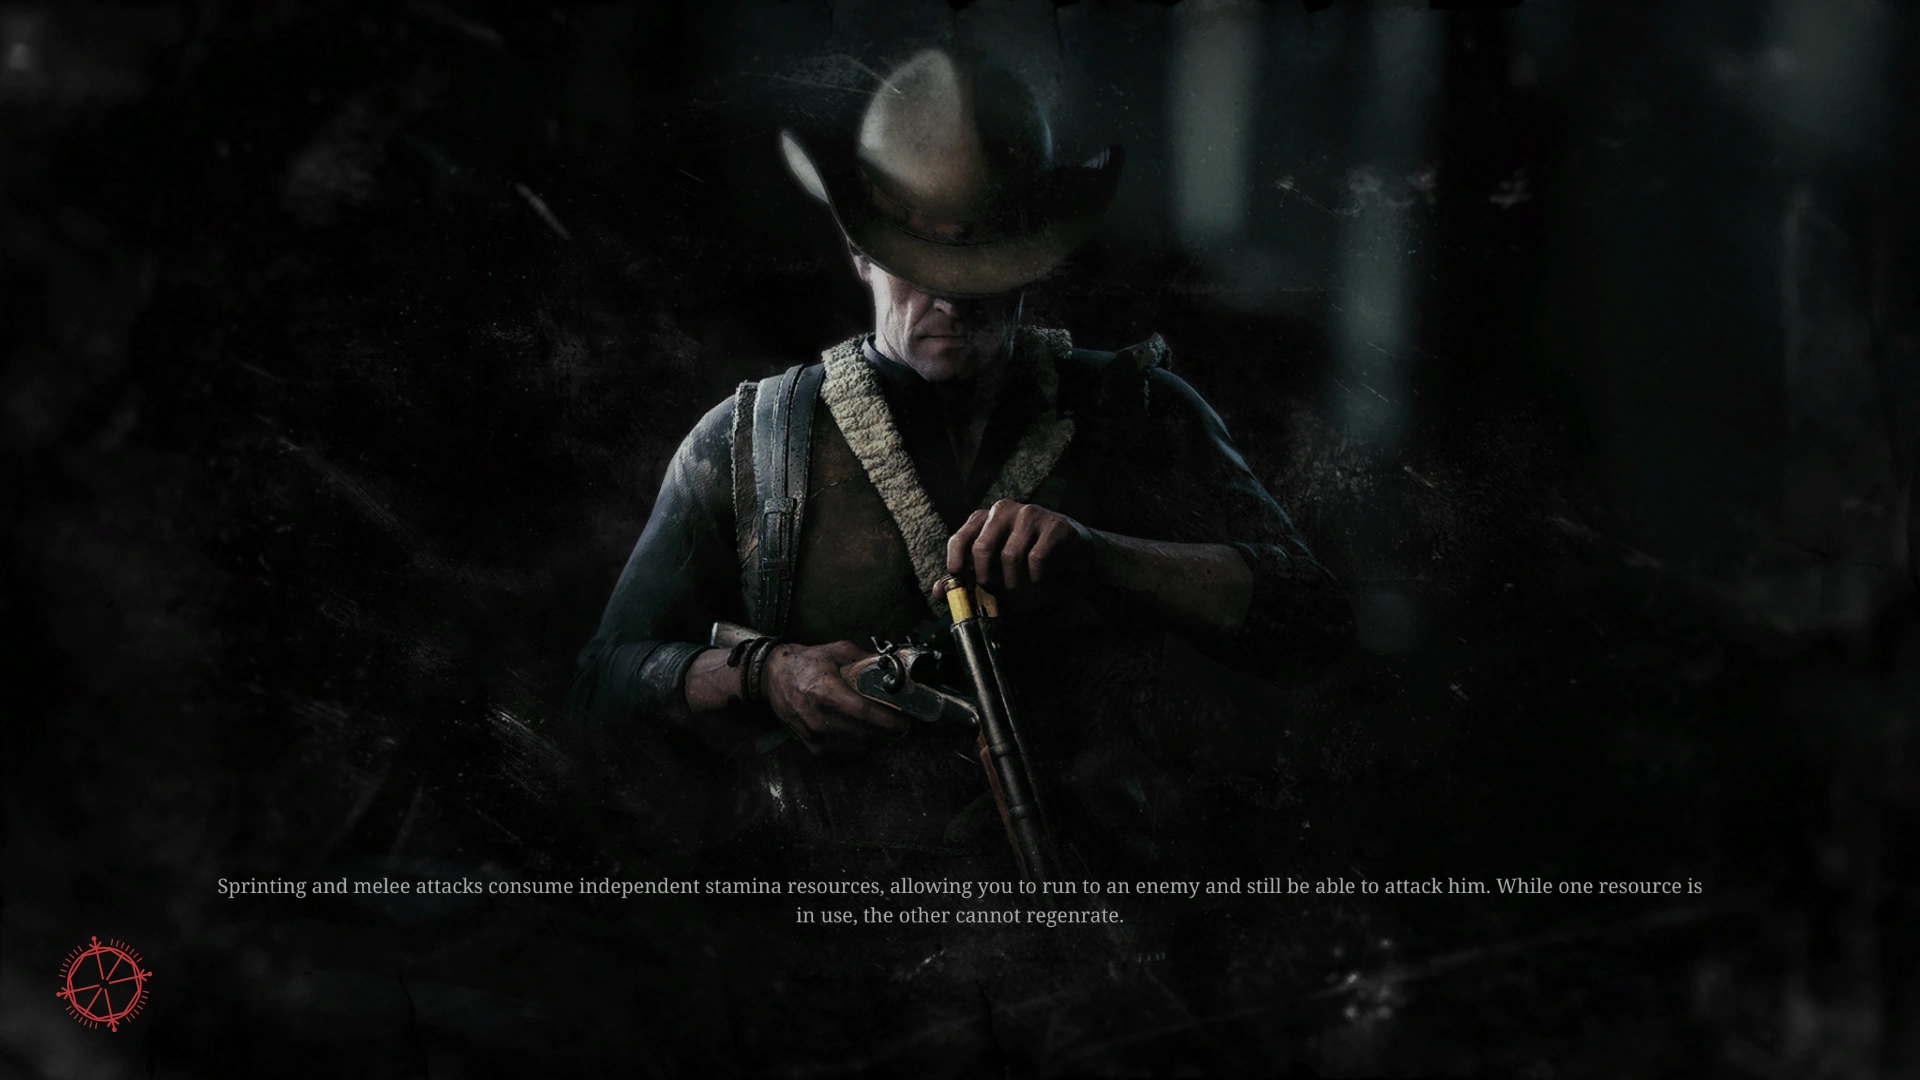
- Sprinting and melee attacks consume independent stamina resources, allowing you to run to an enemy and still be able to attack him. While one resource is in use, the other cannot regenerate.
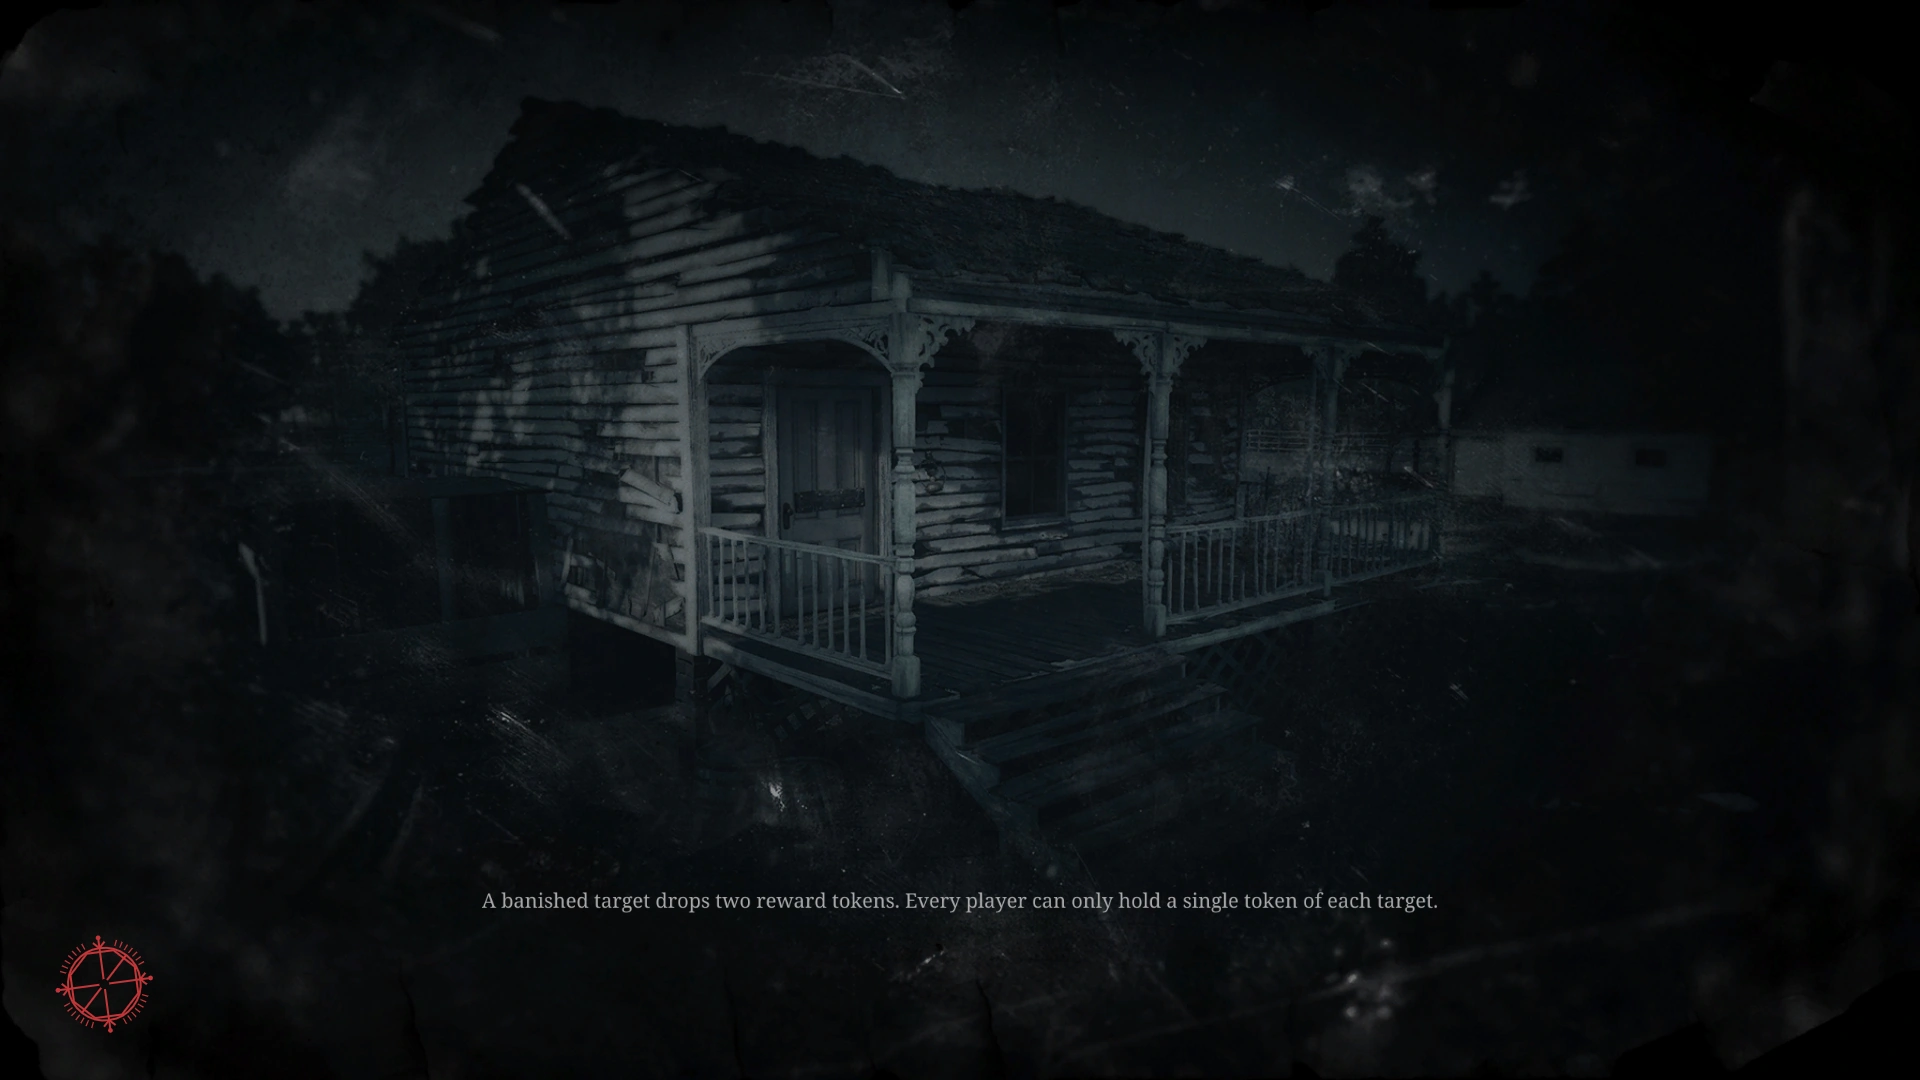
- A banished target drops two reward tokens. Every player can only hold a single toke of each target.
- Compounds contain the clues you need to track your target. Be careful though, they're guarded by monsters and attract other Hunters.
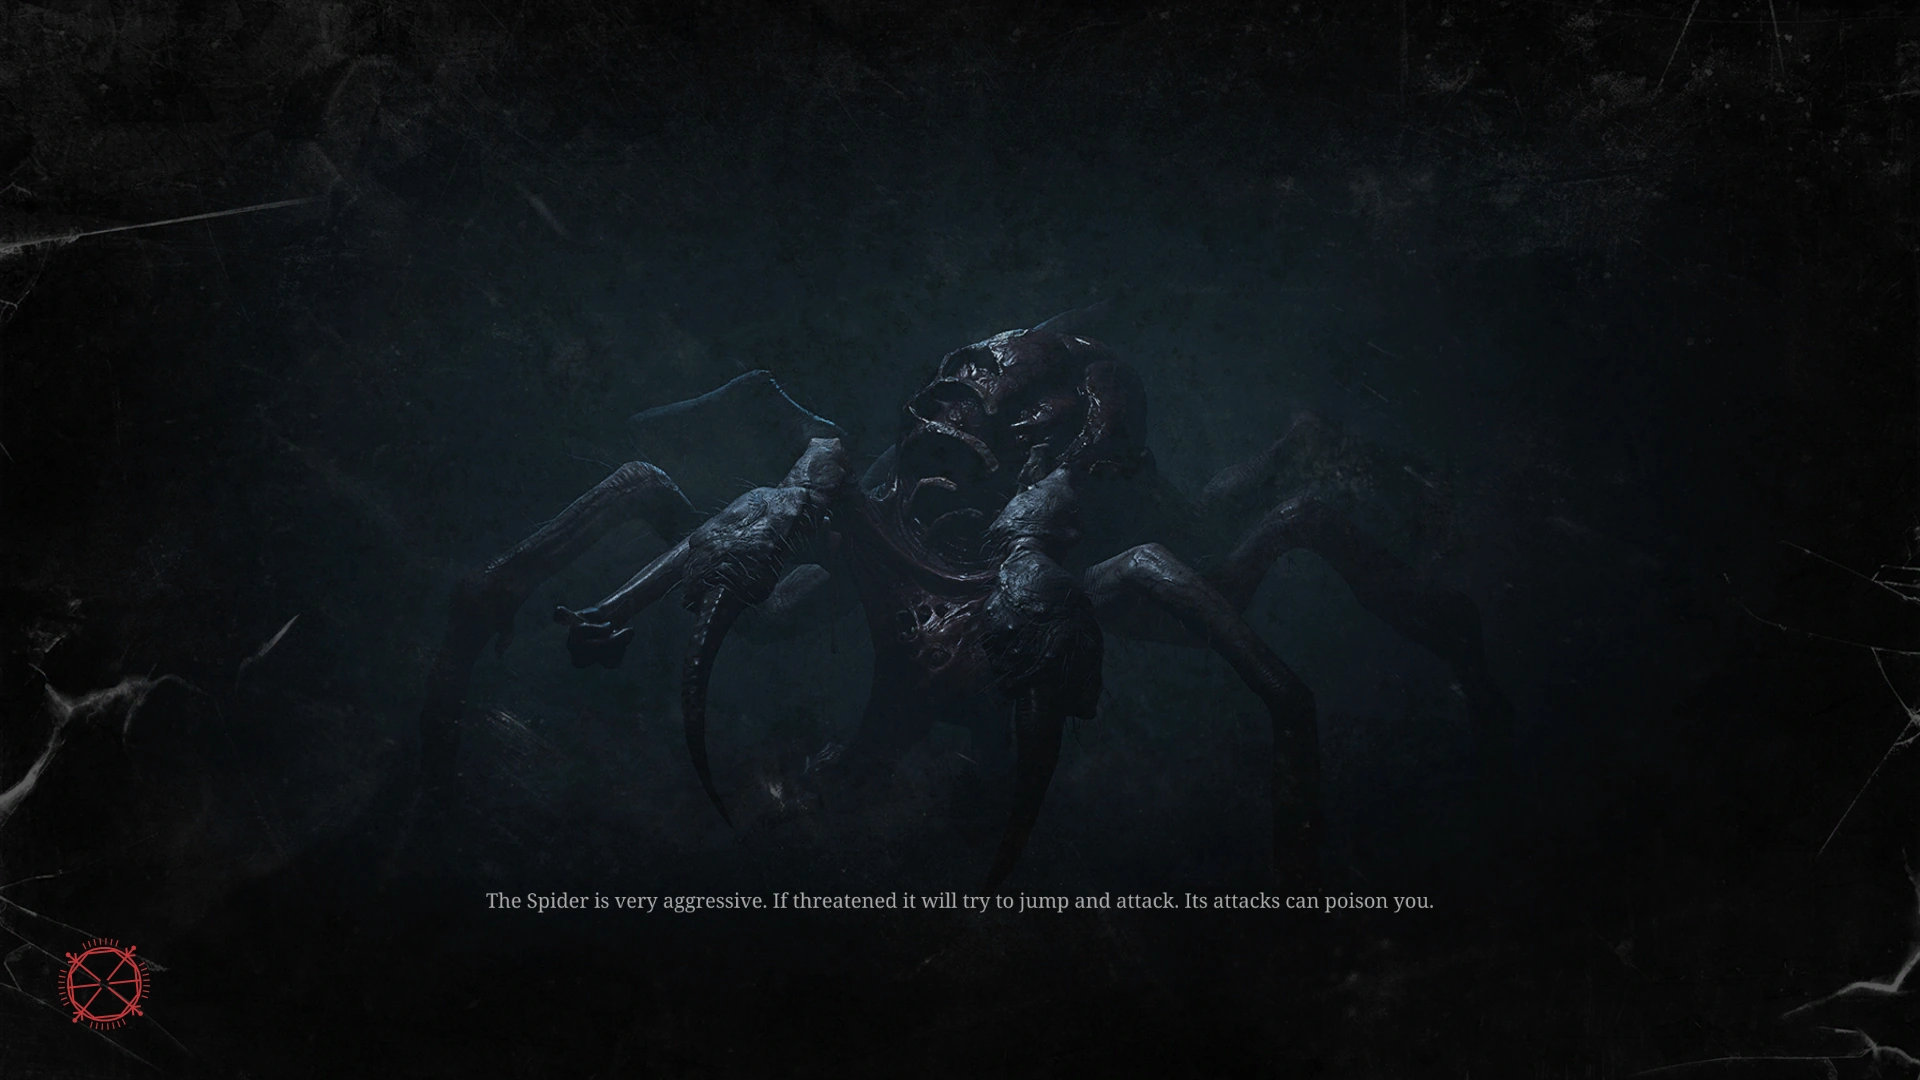
- The Spider is very aggresive. If threatened it will try to jump and attack. Its attacks can poison you.
- Open your map by pressing [TAB] to find your bearings. For every clue you find, the location of the target will be narrowed down further on the map.
- The banishing ritual is necessary to send the monsters back to hell and generate the reward tokens. Banishing takes a while though, before you initiate make sure the area is secured.
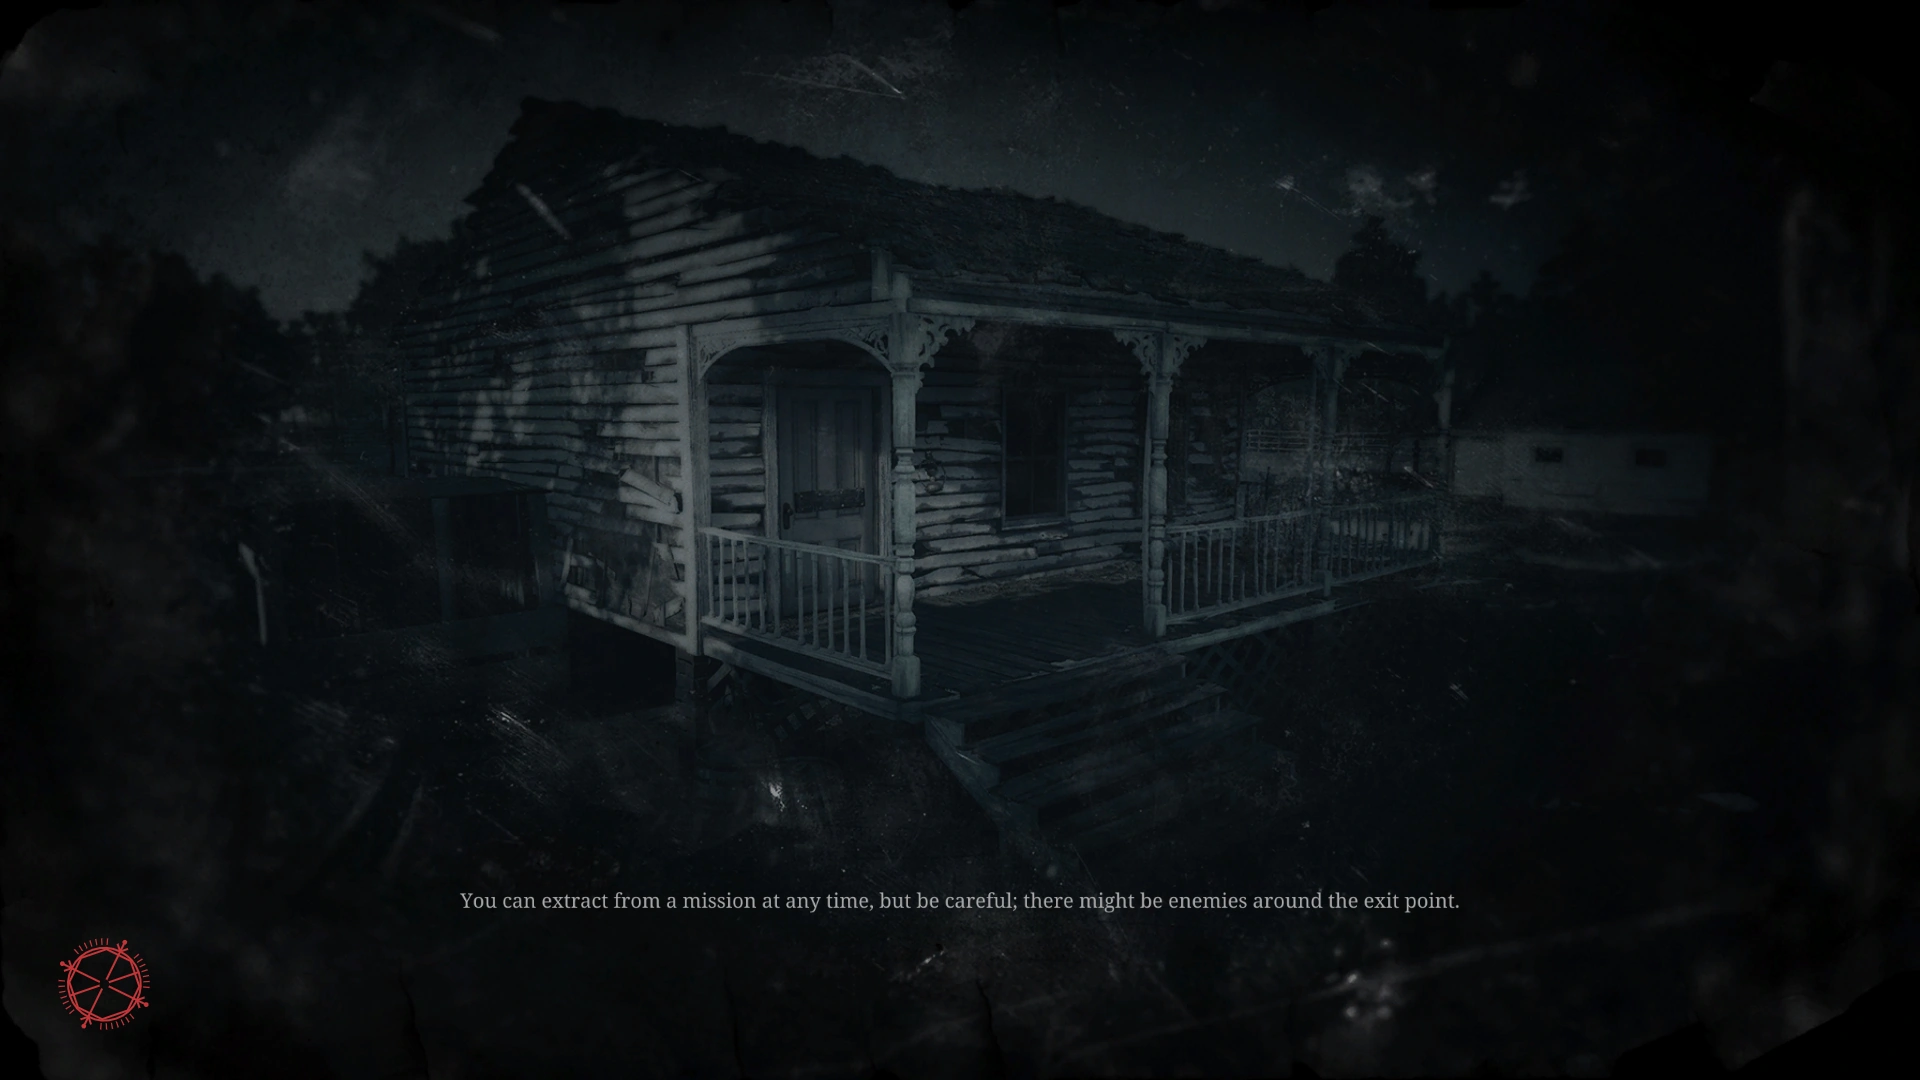
- You can extract from a mission at any time, but be careful; there might be enemies around the exit point.
- The contracts available will be shaken up from time to time. Keep checking back in for different types of missions.
- Ravens always fly in the opposite direction of whatever frightened them. Use this information to further pinpoint threats.
- You receive a 25 Bounty bonus for a Clean Sweep, when you complete a kill-banish-extract streak of a single target.
- The Immolator outpaces even the fastest hunter, and leaves everything in its wake ablaze.
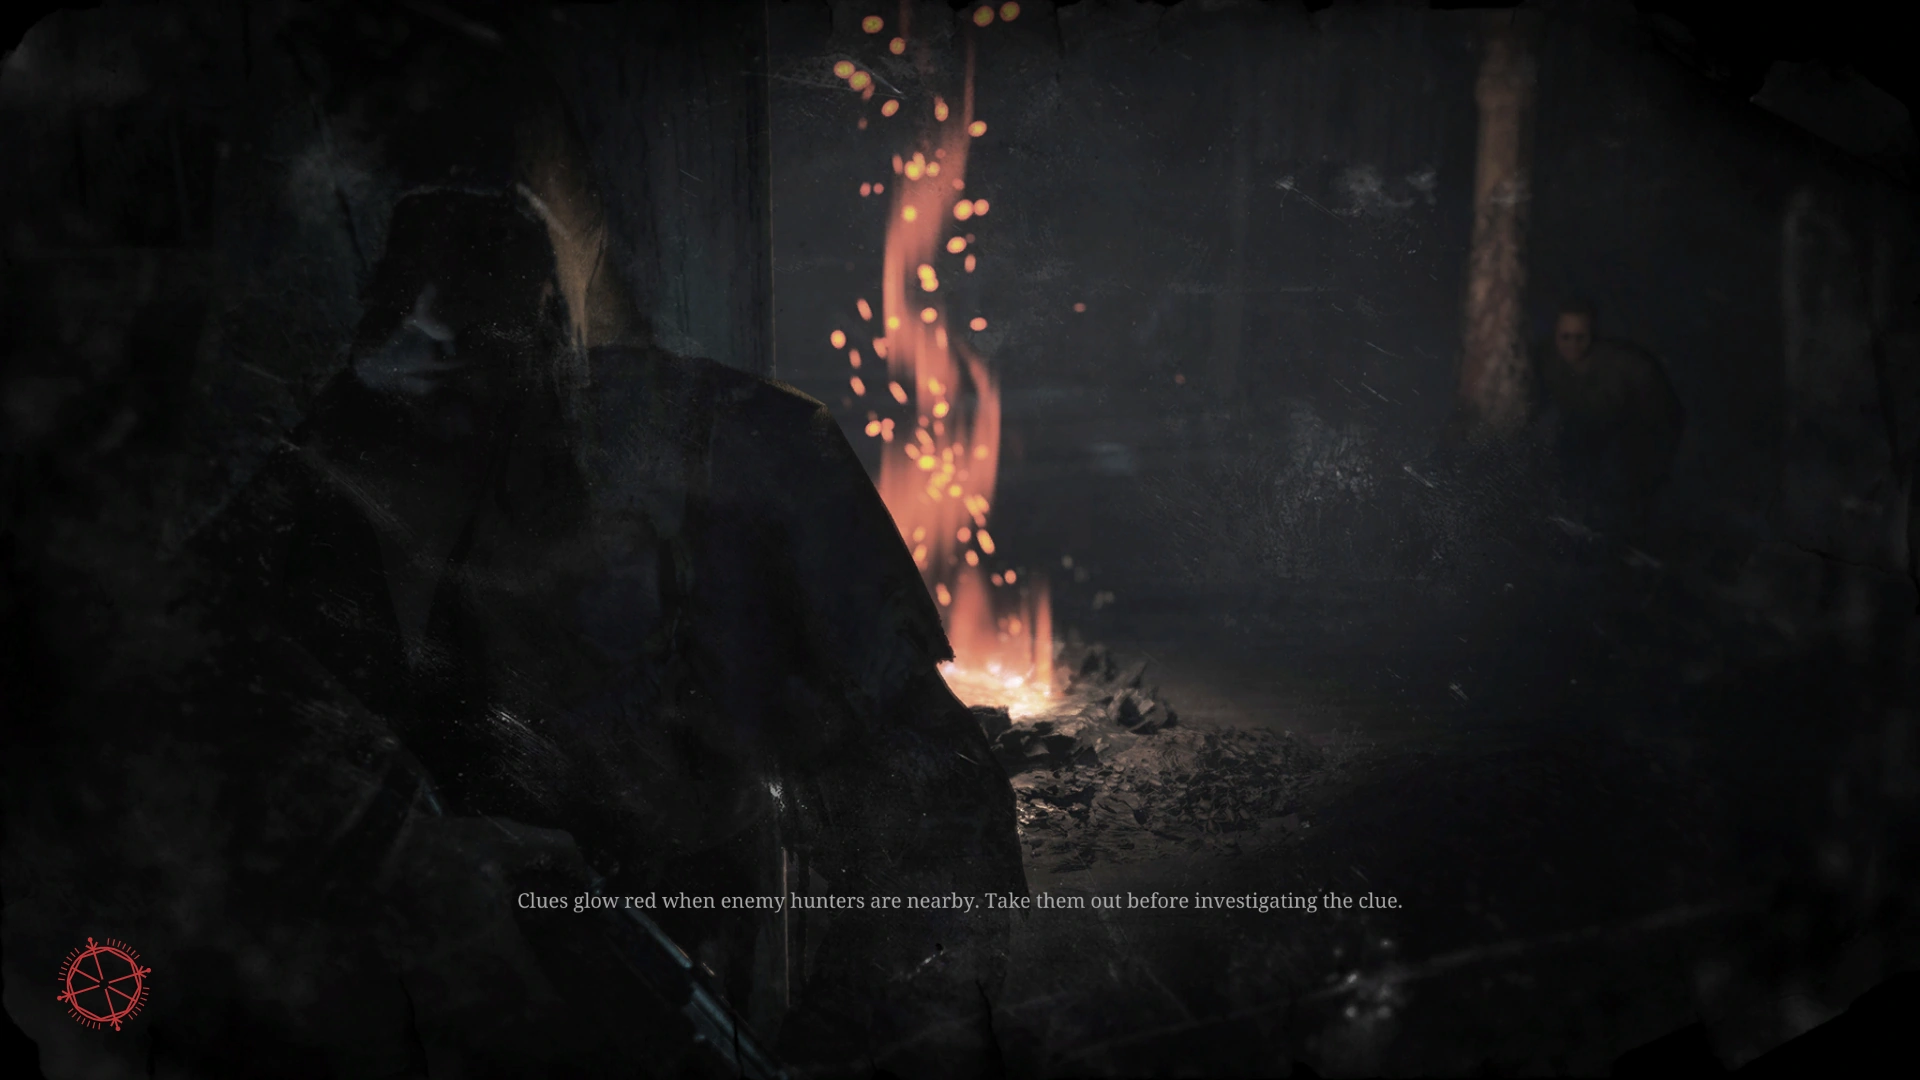
- Clues glow red when enemy hunters are nearby. Take them out before investigating the clue.
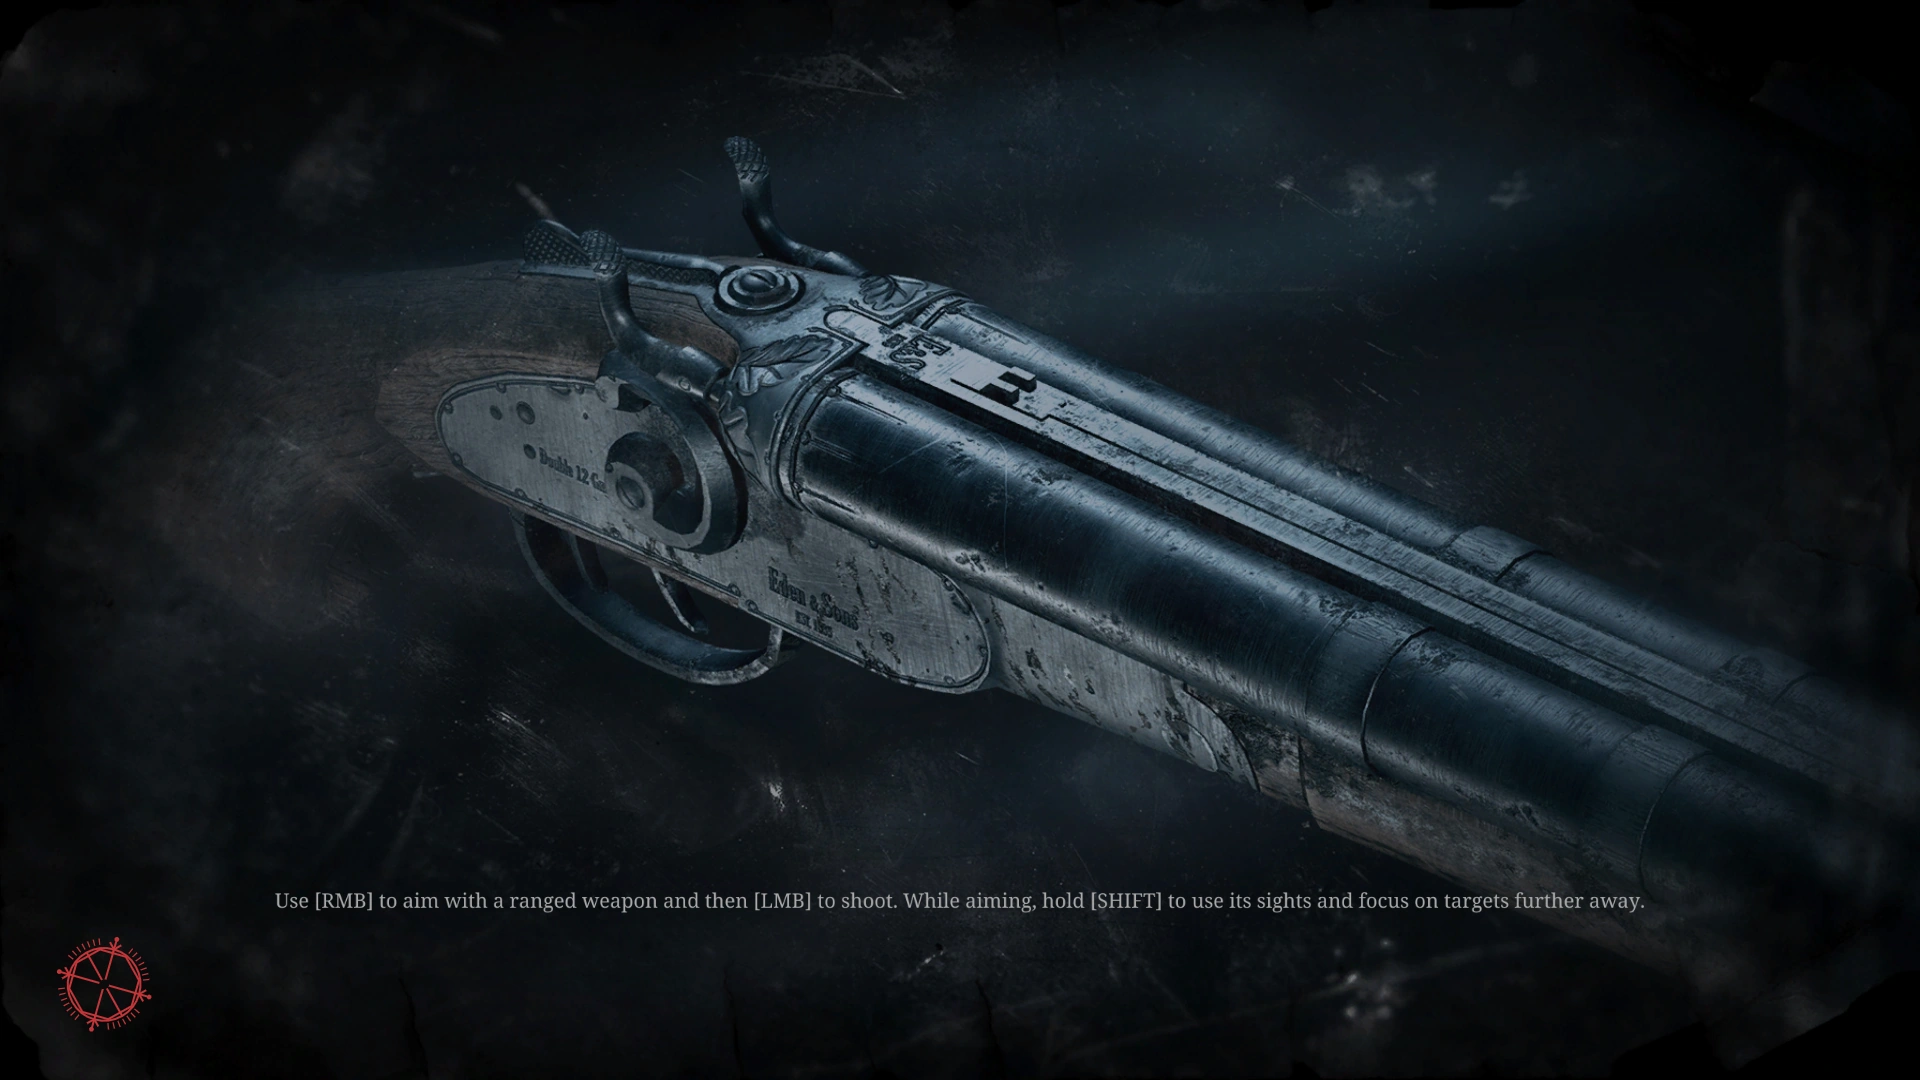
- Use [RMB] to aim with a ranged weapon and then [LMB] to shoot. While aiming, hold [SHIFT] to use its sights and focus on targets further away.
- Ammunition is rare, so make your shots count. Keep an eye out for ammo crates and restock your supply.
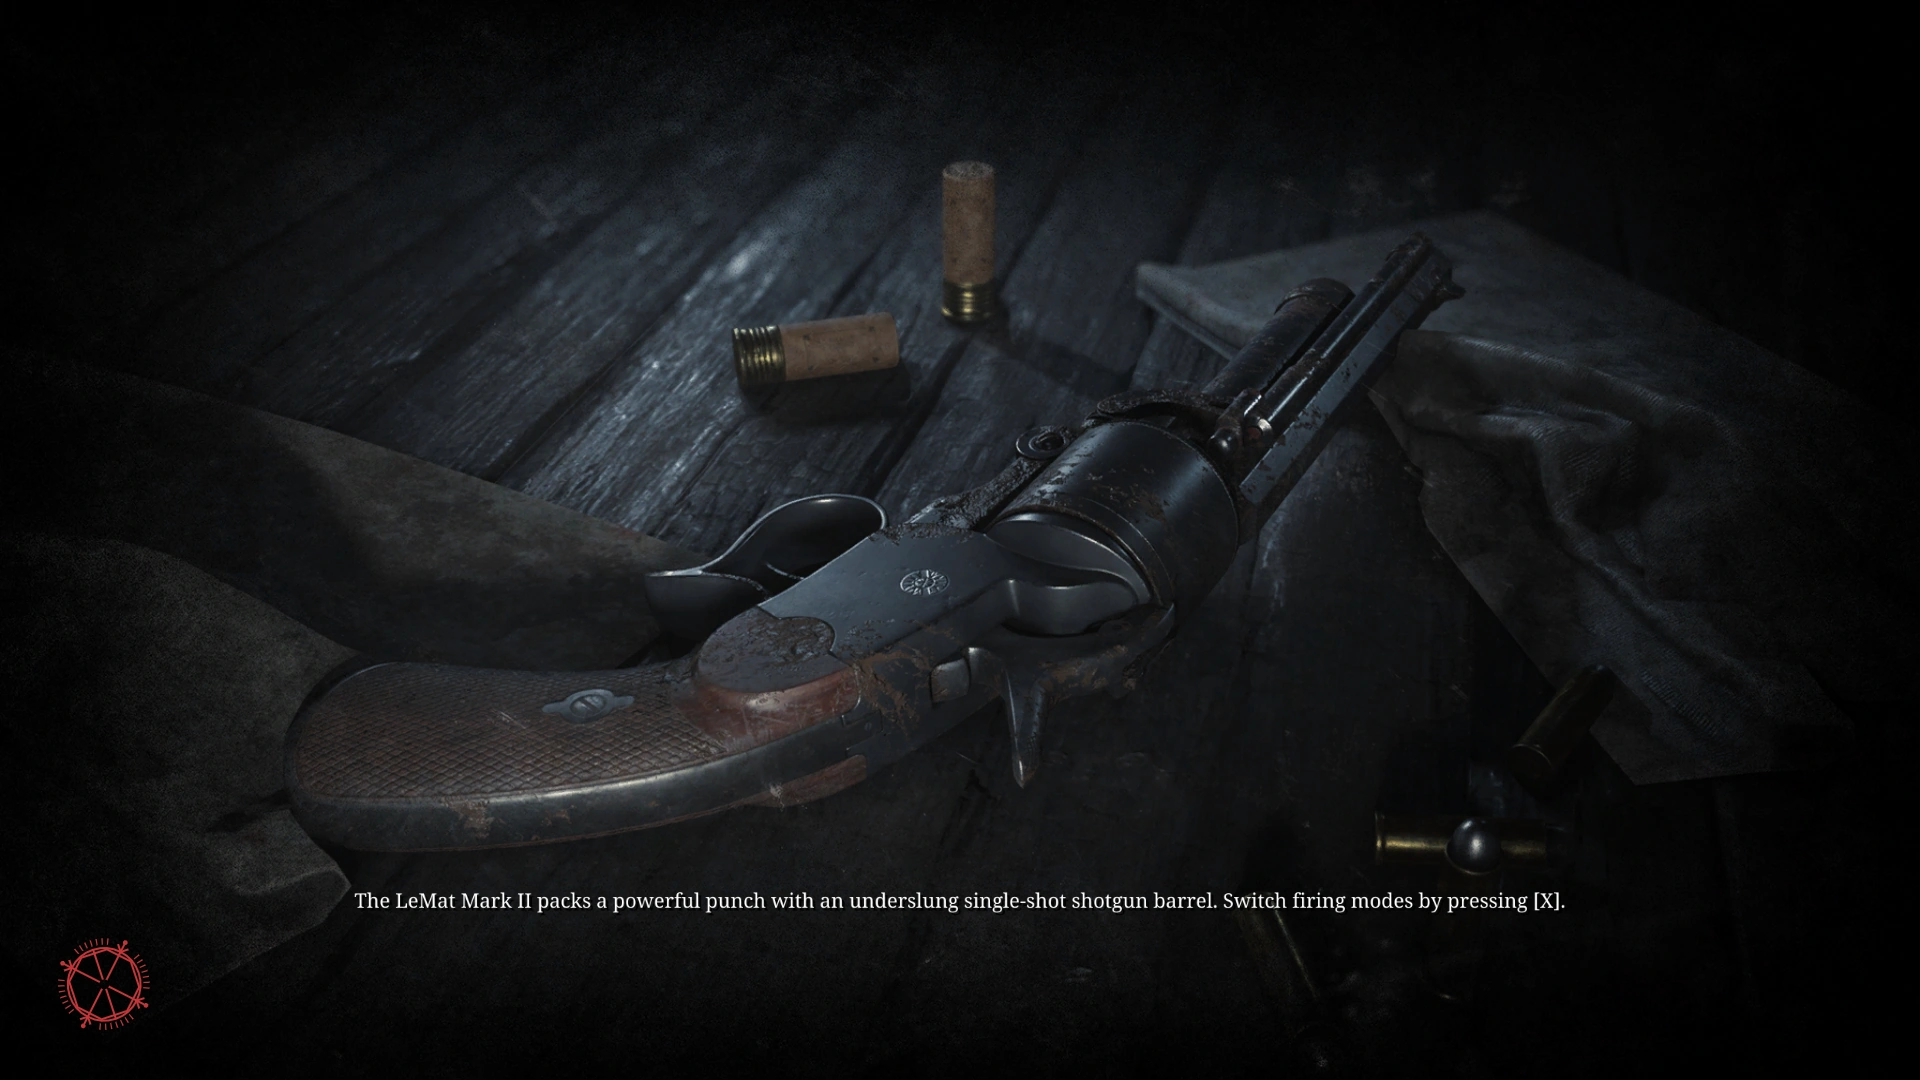
- The LeMat Mark II packs a powerful punch with an underslung single-shot shotgun barrel. Switch firing modes by pressing [X].
Soul Survivor tips[ | ]
- The Wellspring's total energy pool starts depleting as soon as the mission starts. The quicker you find and close all four rifts the more energy you can absorb.
- If you kill another Hunter while absorbing energy, you instantly absorb a large amount of Wellspring energy.
- Supply Points are not visible on the map until you discover them
- If you are killed while absorbing energy, you will keep the energy you have gained to that point.
- Search the environment for better weapons, tools and consumables. Weapons can also be looted from dead Hunters.
- Your Saved Souls Recruits list can only hold your last four surviving Hunters.
- In order to survive a mission, you must absorb all remaining energy from the Wellspring